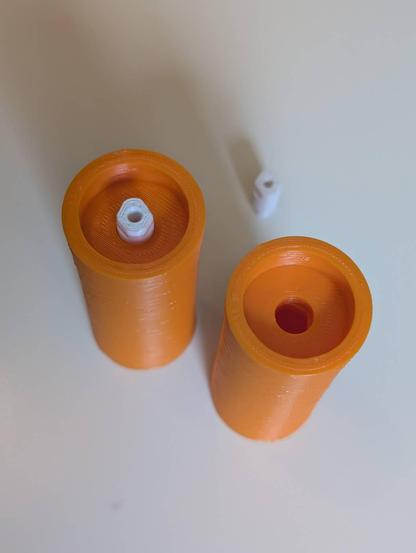
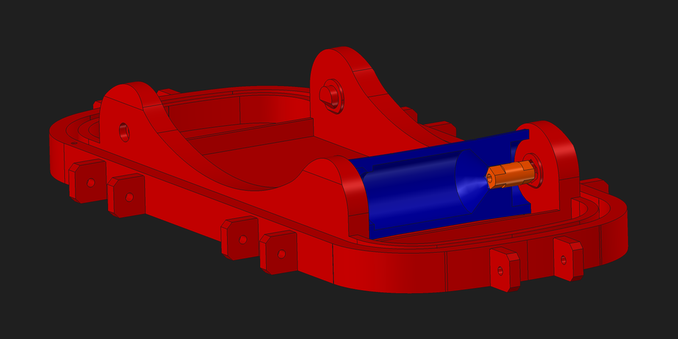
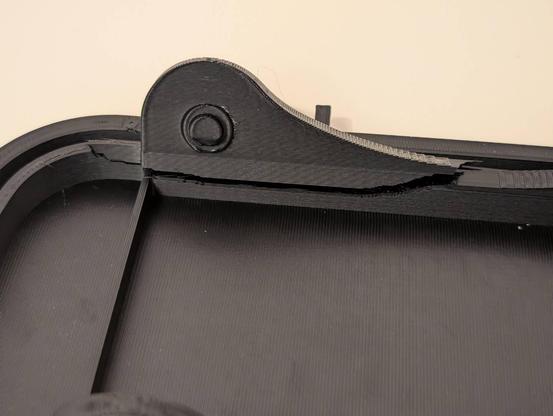
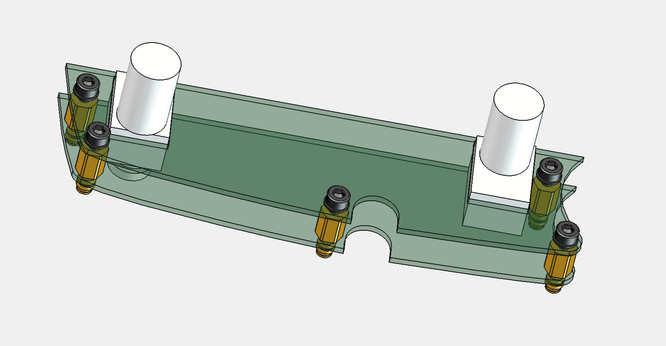
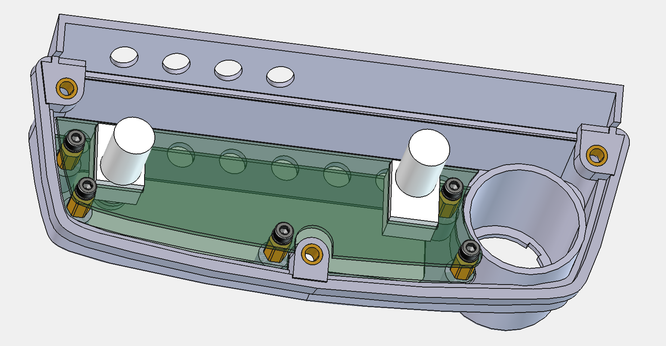
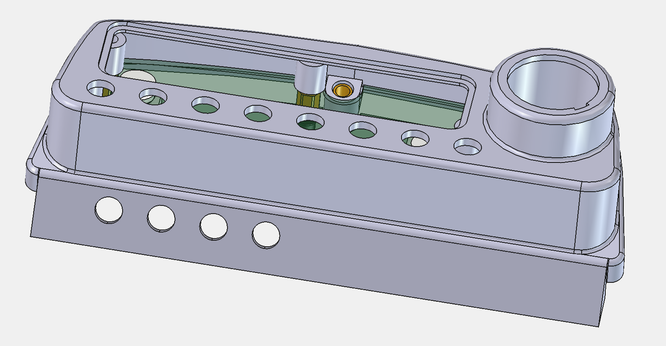
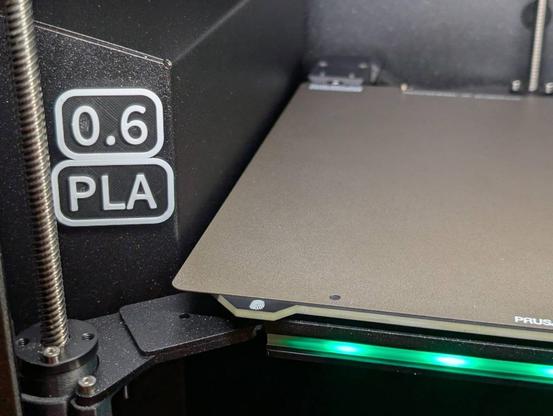
So yesterday was #freecadfriday but for me it's more like #freecadweek..
I finally managed to find some time and motivation to tidy up my workspace. Until now, I had all my devices that need power scattered around the room at random outlets. But now I made a "charging corner" with most devices in one place. For some of them I created 3D models to attach them to my 3D printed Honeycomb Wall.
https://www.printables.com/model/152592-honeycomb-storage-wall

I got a few things to show! #freecad #3dprint #cad

1/4

Honeycomb storage wall by RostaP | Download free STL model | Printables.com

Printables.com

About to go to bed and for me it's already #Saturday, but my #FreeCADFriday project has been all about designing a 7-sided #dice.

Fun little #design project about making something both functional and aesthetically pleasing.

Some design choices have been made, tests have been conducted, mistakes have been made and the final pieces are currently printing...

#3DPrinting

On this #freecadfriday, I finally got around to designing a paper towel roll holder for the stand I use in front of my bike that’s attached to the stationary trainer. For probably a year, I’ve wanted this so that I could blow my nose or mop up sweat off the bike, etc…

I took inspiration from a few other designs I saw around the internet. The hardest part was getting the thickness of the curved beam spring to provide the right amount of tension against the roll. It took me 3 iterations to get it just right. I effectively decreased the stiffness by 50% with each iteration, but I had no idea what would “feel” right to begin with.

A little #3dprinting, a little hardware, and a piece of PVC pipe I had around to make the spindle. We’re in business.

#MadeWithFreeCAD

@FreeCAD I made Legend of Zelda rupee magnets and charms.

Magnets and and TPU loop were inserted during the print.

First, I sliced the objects with a color change at the layer closing the hole for the inserts. Then I moved the color change code from the new layer back before the infill of the previous layer. This is useful to position blobs or underruns inside the object where it is not visible from the outside.

#FreeCADFriday #FreeCAD #3DPrinting #3DPrint

creating a digital cockpit for the old-school Honda MT/MTX mopeds/motorbikes.

The housing has got holes for the ignition lock, a display, a range of indicator lights, and a series of push buttons.

What's left is to union the various parts, remove the walls at the inside and bottom, and smoothen the edges.

Will have this housing 3D printed and start on the inner electronics as soon as the fitting is right.

#FreeCAD #FreeCADFriday
#HondaMT #bikelife

It's the first #FreeCADFriday of 2026. Happy new year! What are you working on currently, or, what are your #FreeCAD plans for the year? #CAD

@FreeCAD Working on our arcade's digital toilet status sign project (I posted pictures of the signs themselves earlier), I finally made the switch to detect the door lock's dead bolt. I originally considered optical switch, but I had a boxful of these pinball micro switches and they're pretty reliable.

I made a cradle for the switch, dremelled the door frame a bit and then hid it all there. Checking with a DMM, it appears to work great.

#freecadfriday #freecad

The latest #3D project for Jayne was a set of finials for dowels which hold fibre art for display. This is the second version, which meets the SAF. Designed for a standard 3/8" dowel, the #FreeCad file is easily modified for other diameters.

Available in multiple formats at https://www.printables.com/model/1528264-finial-for-dowel

#FreeCadFriday #fibrearts @FreeCAD

@FreeCAD I made a magnetic enclosure for my Raspberry Pi Zero 2 W.

It allows me to stick @octoprint right to the 3D printer. 🙌

https://www.printables.com/model/1528961

#FreeCADFriday #FreeCAD #Octoprint #OctoPi #3DPrinting

It's #FreeCADFriday hope everyone is having a peaceful wonderful day.