I used my 3D printer to 3D print a replacement part for my 3D printer.
It's giving me an inception vibes😆
#3DPrinting #3DPrint #functionalPrint #functionalPrinting #youtube

I used my 3D printer to 3D print a replacement part for my 3D printer.
It's giving me an inception vibes😆
#3DPrinting #3DPrint #functionalPrint #functionalPrinting #youtube
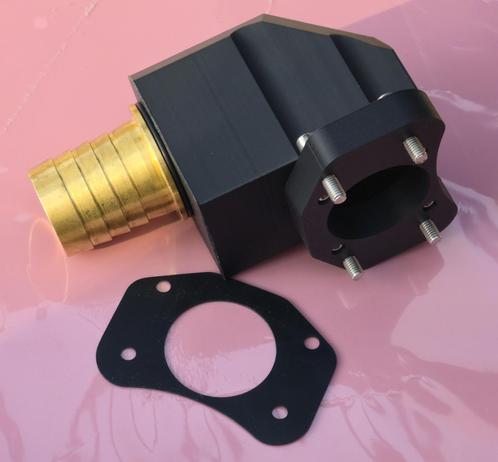
Todays' #3dprinted part: an exhaust elbow for a side channel blower. The rubber gasket was cut with a Siser cutting machine.
It could get a bit toasty, but the material should be able to handle that. The part does not pose a safety risk if it fails, anyway.
Needed some new ceiling vents for the basement to replace some old bulky and discoloured ones I installed years ago (after one fell out!). New store bought ones are $20+ a piece and still look bulky and ugly, so designed and printed some custom flush mount vents instead for <$1and they look awesome.
#3dprinting #functional3DPrint #functionalprint #homedecor #diy
#autodeskfusion #orcaslicer
Nine months later, I finally posted the knife block tilting base to Printables. The delay was because I didn't want to post photos of our messy kitchen. So I propped up a cutting board and used it as a backstop.
https://www.printables.com/model/1563887-tilt-up-base-for-wusthof-knife-block
@FreeCAD Is it FreeCAD Friday already? 👍
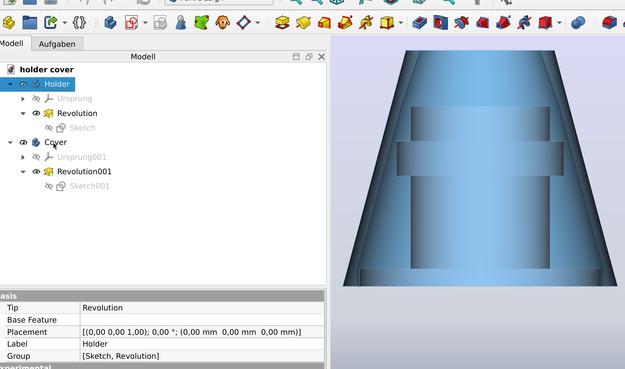
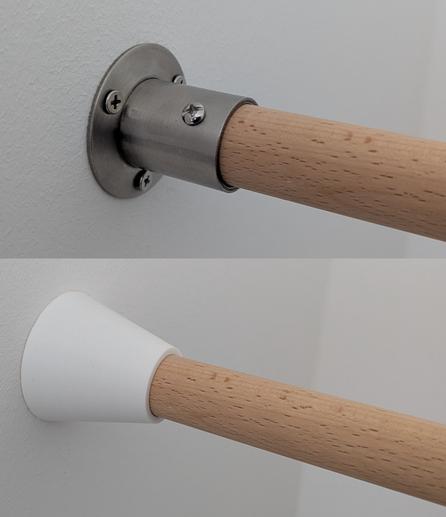
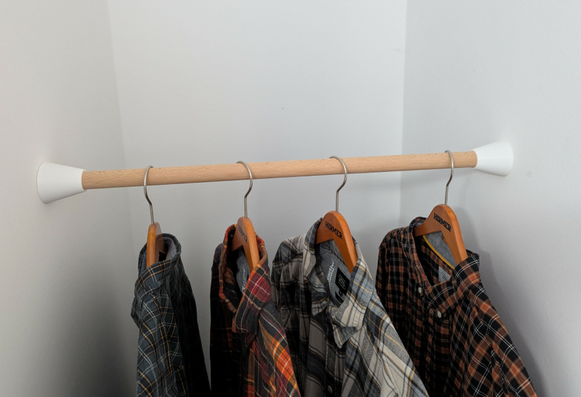
I have an unused corner I wanted to do something useful with, so I decided to install a clothes hanging rail. I had two wall mount flanges leftover from something else, so I just bought a wooden stick that fits. Because they’re ugly I decided to create a piece to cover them up.
I had one test print that was too small and which I created completely different (solid shape and then hollowing it out). This one is the one I ended up using.
I first created a maximum outer dimensions part resembling the flanges, and then modeled the cover around it. I was going for a simple cone shape with a straight line from the wall to the wood.
Overall, it worked out exactly as I expected. Leaving out the print time (one hour and 25 minutes on my Ender-5 Pro for one cover) this project was done in 30 minutes, including me amateurish installing everything in that corner.
… now I just need more coat hangers 🙃

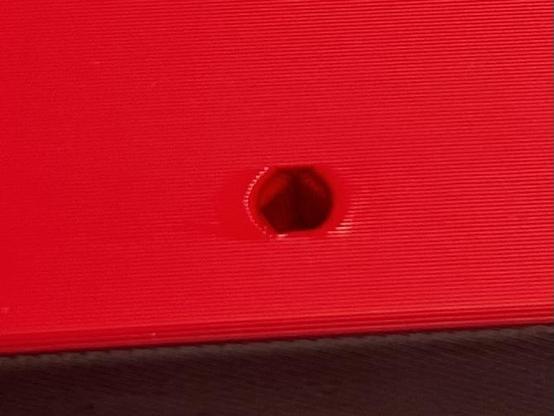
This disk drive has horizontal screw holes. Here's how I modeled them. They have four crush ribs and a maximum overhang of just over 45°.
Tagging @rahix because he's The Man of functional prints.
EDIT: also tagging @amd because he's done some work on this.
🧵 3/N #3DPrinting #FunctionalPrint


@macberg a subcommunity you can definitely check out for this is #functionalprint - not explicitely shunning that other kind of printing, but it is about something else.
although the iterations you often go through to get something to work are also consuming quite a bit of filament.


i uploaded a new model for a little #3dprinted #rackmount adapter bracket. it’s purpose is to adapt between 2u on a rack to a ceiling junction box screw pattern so that I could mount one of my omada wireless access points to the bottom of a wall mounted network rack.
#functionalprint
#3dprinting
https://www.printables.com/model/1308697-omada-ceiling-box-2u-adapter-bracket


