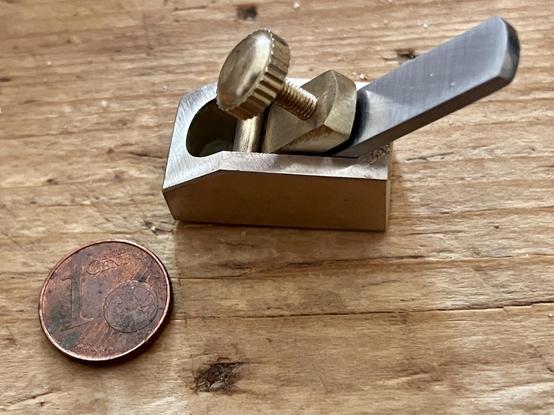
Sagt „Hallo“ zum neuen Babyhobel.
Ich habe ja den Putzhobel und die Raubank im Verdacht, aber wer weiß schon so genau, was nachts in der Werkstatt so abgeht... ;-)
Sagt „Hallo“ zum neuen Babyhobel.
Ich habe ja den Putzhobel und die Raubank im Verdacht, aber wer weiß schon so genau, was nachts in der Werkstatt so abgeht... ;-)
#3goodthings #ThreeGoodThings
Saw a Grass #snake in the woods near a stream. I'd estimate 50cm?
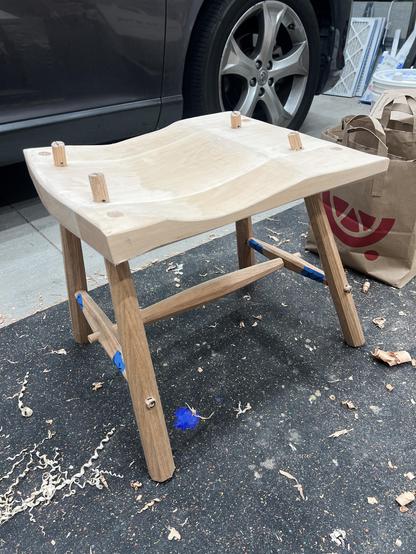
#woodworking bench is dispatched. My #mancave is in sight
Local elections have led to 180 degree change of direction regarding the leasing of a municipal golf course to Tottenham Hotspurs who want to put artificial grass over a huge area of naturally rewilding #greenbelt. This is #democracy in action and it is a beautiful thing
YouTube 算法又对了一次,这回它给我推中岛乔治的家的迷你纪录片,由他女儿中岛米拉讲述,原来乔治也是“出逃”的建筑师啊(自建房的设计很有感觉),经历过日裔集中营的岁月,在木材管制之前从海外整根整根进口了很多珍稀的原木,现在还有很多存放在他们家。然后,我又在 Google 上搜中岛乔治,这回得到一个 AI 幻觉,😂

Proofreading an article:
My dictionary knows “to rout” only in a meaning like to stir up, to rummage, or to destroy, but the author talks about woodworking as to rout = “using a router” (Oberfräse or Exzenterschleifer in German)? I don’t even know the correct German term… (fräsen?)
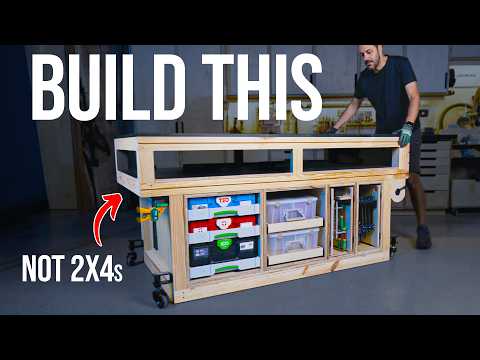
In the middle of this #workbench build video there is a tutorial for setting up a band saw that is worth watching.
https://www.youtube.com/watch?v=b0v1fB0WJuU&t=699
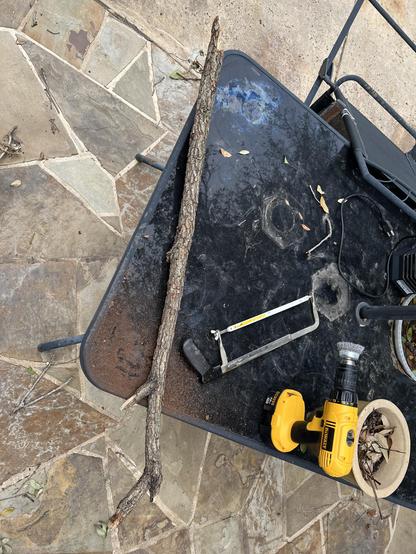
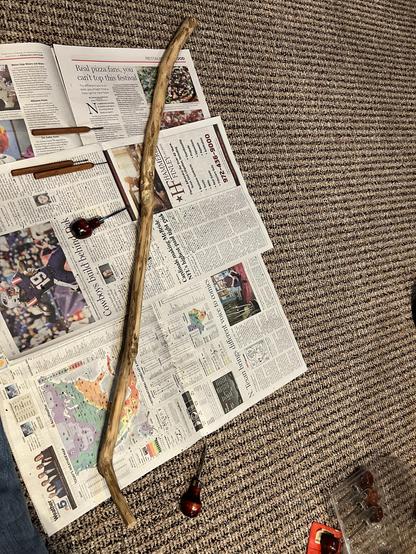
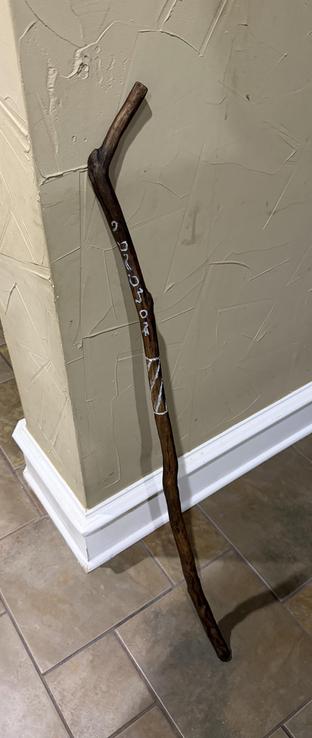
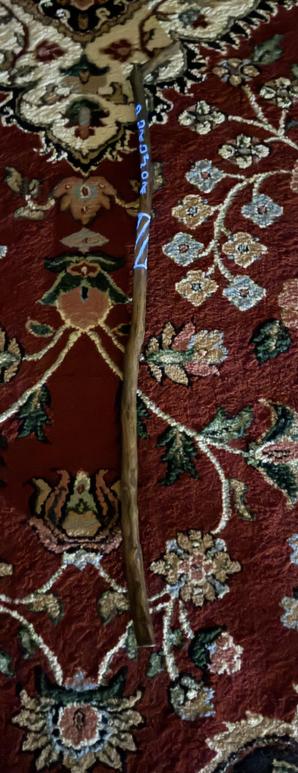
Almost done with this project. My 4 year old found a big branch on the ground after a storm and wanted to bring it home. We just finished the Hobbit and I decided this would make a great hedge wizard staff. Some silver paint topped by glow in the dark paint brought a nice touch.
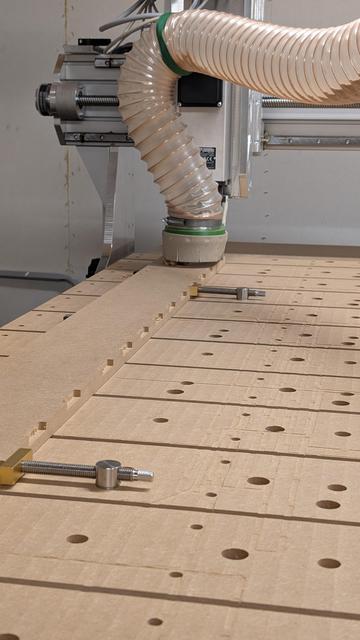
Der klassische Fall von: Erst muss man Werkzeuge bauen, um das eigentliche Projekt bauen zu können.
Gerade entstehen Positionierhilfen für die CNC, damit Platten später auf beiden Seiten mit hoher Genauigkeit gefräst werden können.
Sieht unspektakulär aus, ist aber einer der wichtigsten Schritte für saubere Ergebnisse.
Danach geht's endlich an das eigentliche Projekt, dem ihr auf @CamperHomes folgen könnt.
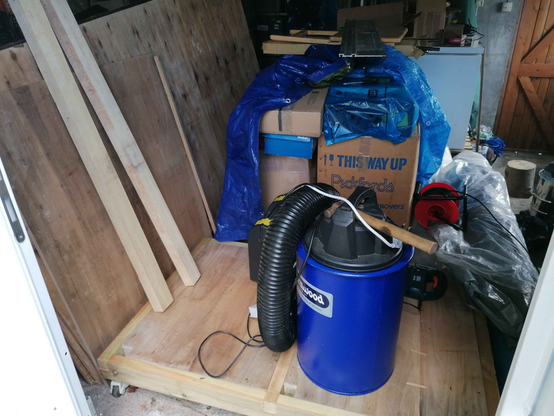
Didn't get much done today on account of the weather and exhaustion, but I did cut and fit a floor for the workbench and clear enough space for it and the rest of the ply to fit in the garage until I can deal with it tomorrow.