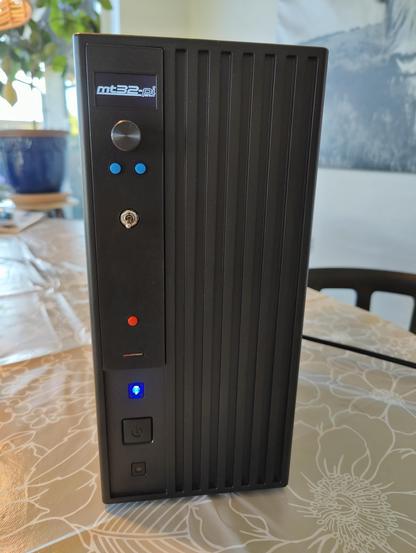
MT32-Pi on my EuroRack MiniDexed PCB
This is great. I was asked by Michel (mragutlich) if I knew how to build MT32-Pi to configure it for my MiniDexed EuroRack PCB but I don’t and there isn’t a lot of information apparently on how to build it from source.
So I offered my Rebuilding my Ability to Build MiniDexed post which talks about getting to the point of being able to build MiniDexed and as both synths run on circle, figured that would be a pretty good starting point.
And then Michel came back to me with a complete set of instructions for Ubuntu and I’ve just run through them – and they work great.
So massive thanks to Michel, this is how you could get MT32-Pi running on my MiniDexed EuroRack PCB.
https://makertube.net/w/2xzd8b4RPDPX1YJL3CpA57
Warning! I strongly recommend using old or second hand equipment for your experiments. I am not responsible for any damage to expensive instruments!
Previous posts on MT32-Pi:
If you are new to microcontrollers and single board computers, see the Getting Started pages.
Parts list
- Raspberry Pi Zero 2.
- Micro SD card.
- MiniDexed EuroRack PCB and panel.
- Power, leads, additional connectors and so on.
Building MT32-Pi on Ubuntu
Here are Michel’s instructions that worked for me.
Setup a Ubuntu 20.4 LTS system.
sudo apt-get update
sudo apt-get upgrade
sudo apt-get install build-essential
sudo apt-get install gcc-arm-none-eabi
sudo apt-get install git
sudo apt-get install curl
sudo apt-get install dialog
sudo apt-get install cmake
sudo apt-get install pkg-config
sudo apt-get install glib-2.0 Now clone the mt32-pi github repo
git clone –recursive https://github.com/dwhinham/mt32-pi.git
cd mt32-pi
nano src/control/simpleencoder.cpp In nano change the following lines
constexpr u8 GPIOPinButton1 = 5;
constexpr u8 GPIOPinButton2 = 6;
constexpr u8 GPIOPinEncoderButton = 11;
constexpr u8 GPIOPinEncoderCLK = 10;
constexpr u8 GPIOPinEncoderDAT = 9;
ctrl-X and say ‘Y’
make all
If everything goes well you will have a kernel8.img file in your directory.
Now hook up a microSD cardreader to your Linux environment and insert a blank microSD card
Goto the ~/scripts dir and start mt32pi_installer.sh , this will install all the needed bare metal files
sudo ./mt32pi_installer.sh
When ready copy the kernel8.img file to the SD card
Change in the mt32-pi.cfg file the line ‘encoder_reversed = off’ to 'on', now the volume knob will increase when turned clockwise
Copy the MT32 roms to to the rom dir
Copy some Sf2 soundfont files tot the soundfont dir
Thats it…unmount the sd card , put it in your Zero 2 W…and boot it.. the MT32pi logo should appear on the oled screen and the buttons and rotary encoder should work properly
The first button switches between m32 and soundfont mode.
The second button will switch to the next rom or soundfont file
The rotary encoder will change the master volume.
The encoder switch only displays a message that the button is pressed
There were a couple of tweaks I needed. First of, the mt32_inistaller.sh script has to be run as root. This will go through and ask you to choose the SD card to format and install and so on.
At some point you will need some MT32 ROMs. There are details of how to do that on the original MT32-Pi project here: https://github.com/dwhinham/mt32-pi?tab=readme-ov-file#-quick-start-guide
In addition to the aforementioned “encoder_reversed” setting in the mt32-pi.cfg file there are a couple of other options I find used (many of these were already set up by the installer):
[system]
default_synth = mt32 or soundfount
output_device = i2s
[control]
scheme = simple_encoder
encoder_reversed = on
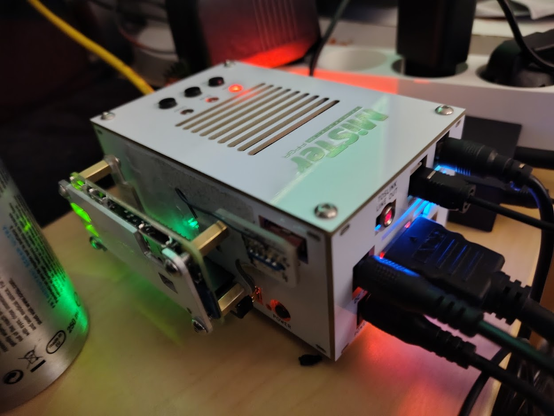
mister = off
[mt32emu]
midi_channels = alternate
[lcd]
type = ssd1306_i2c
width = 128
height = 32
i2c_lcd_address = 3c
I think those were the major changes.
I installed a single “new” ROM and a PCM ROM. The default soundfont is already installed. And that was essentially that.
The first time I tried it, I’d forgotten to copy over the kernel8.img file, so that took a moment to figure out! But apart from that it was all pretty straight forward for me. Many of the packages to install at the start were already there and up to date, so that didn’t take too long and the build itself was again fairly straight forward.
Closing Thoughts
A big thanks to Michel for asking the question, then figuring out the answer, and most importantly sending me the instructions and permission to post them here.
This is a great additional option for my PCB 🙂
The video shows the MT32-Pi in Soundfont mode playing a MIDI file of Khachaturian’s Masquerade Waltz.
It is great to have a full General MIDI Soundfont device in EuroRack format.
Kevin
#EuroRack #generalMidi #midi #minidexed #mt32Pi #soundfont