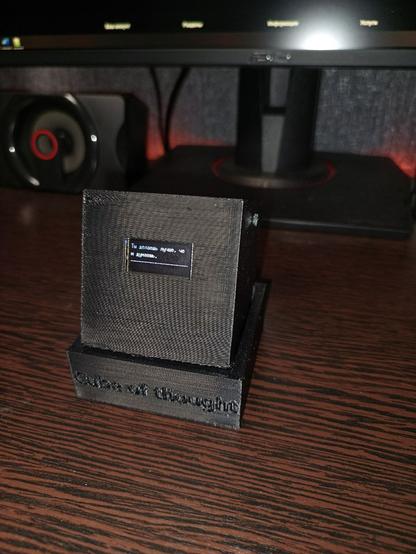
Кубик мысли: простой проект, который говорит вместо тебя
Предупреждение для читателя: Эта статья — не гайд, не туториал, и уж точно не техноблог. Я не инженер, не блогер и не эксперт по микроконтроллерам. Просто человек, который в один вечер решил разобраться с ESP32 и внезапно собрал «Кубик мысли». В этой статье я расскажу, как появился мой Кубик. Что он делает, из чего собран, как работает и зачем вообще нужен. Если вы ищете сложную электронику или гайды уровня “с нуля в продакшн” — тут не об этом. Зато, может быть, вы вдохновитесь и сделаете что-то своё. А это уже будет значить, что статья не зря.
https://habr.com/ru/articles/927752/
#esp32 #arduino #oled #3dпечать #мотивация #микроконтроллер #философия #своими_руками #diy #diyпроекты