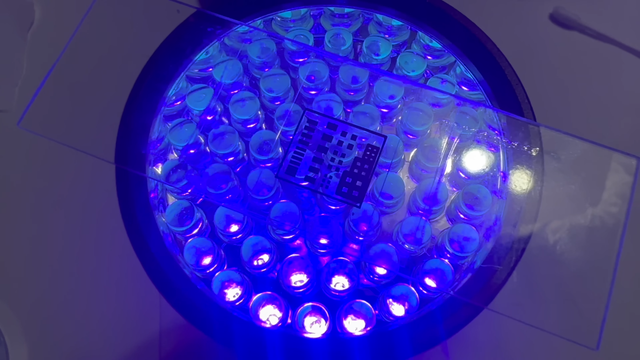
I solved the mystery! I was changing the variables (such as lighting conditions, photoresist layer thickness, exposure, developer concentration and temperature) and got different results, from which I was drawing wrong conclusions.
It was my oven all along! I thought I always baked the #photoresist consistently for 10 minutes at 100°C, and yesterday I got those forbidden nachos! That thing was just widely fluctuating the temperature every run! Out of sheer (un)luck, both times I actually measured the temperature, it happened to be correct.
Switched to baking on 3d-printer's heated bed (also component-abuse-chsllenge-vibe) and finally made a perfect #DIY #PCB.
It could be in my project log on #hackaday, but I still didn't get the maker status.
@hackaday does it always take this long to get?

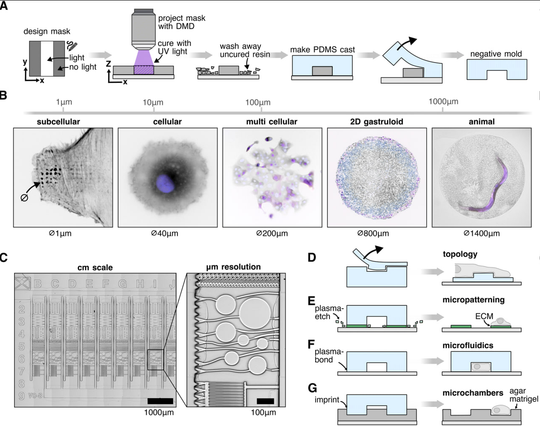
Teach your #microscope how to print: Low-cost rapid-iteration #OpenSource #microfabrication for #biology:

- no cleanroom required
- replace SU-8 #photoresist & silicon wafers by #3Dprinting #resin & microscope slides
- #fluorescence microscope-based maskless #photolithography
- achieve µm-scale precision across cm-sized areas

https://doi.org/10.1039/D5LC00181A
#DIYbio #lab #instruments #microfluidics

Silicon Photolithography The PCB Way

[ProjectsInFlight] has been doing some fantastic work documenting his DIY semiconductor fab lately. Next up: exploring down-and-dirty photolithography methods. If you’ve been following along …

Hackaday
Silicon Photolithography The PCB Way

[ProjectsInFlight] has been doing some fantastic work documenting his DIY semiconductor fab lately. Next up: exploring down-and-dirty photolithography methods. If you’ve been following along …

Hackaday

Lasers Make PCBs the Old Fashioned Way

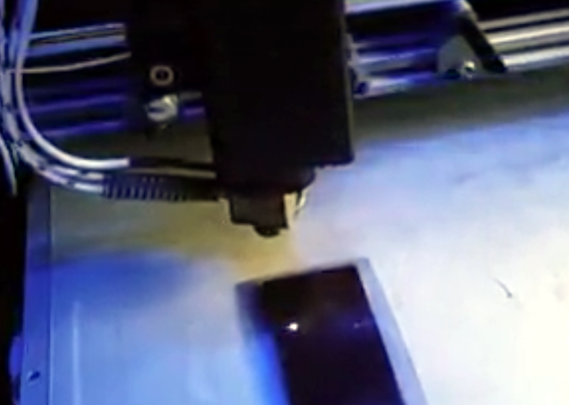
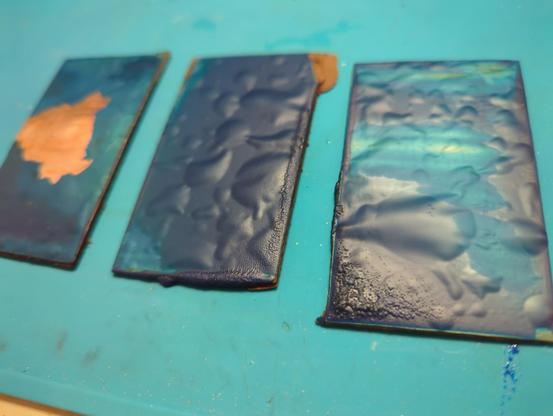
There are many ways to create printed circuit boards, but one of the more traditional ways involves using boards coated with photoresist and exposing the desired artwork on the board, usually with UV light. Then you develop the board like a photograph and etch it in acid. Where the photoresist stays, you'll wind up with copper traces. Hackers have used lots of methods to get that artwork ranging from pen plotters to laser printers, but commercially a machine called a photoplotter created the artwork using a light and a piece of film. [JGJMatt] sort of rediscovered this idea by realizing that a cheap laser engraver could directly draw on the photoresist.

The laser dot is about 0.2 mm in diameter, so fine resolution boards are possible. If you have a laser cutter or engraver already, you have just about everything you need. If not, the lower-power laser modules are very affordable and you can mount one on a 3D printer. Most people are interested in using these to cut where higher power is a must, but for exposing photosensitive film, you don't need much power. The 500 mW module used in the project costs about fifty bucks.

Of course, once you draw on the board with the laser, the rest of the process is like it always has been. Develop the board, etch, and all that. We wish the laser could drill the holes as that's the part we hate the worst!

We've seen powerful lasers just cut boards, of course. You can also forego the photoresist and just let the laser burn off a coating of paint.

#laserhacks #laser #pcb #photoresist #printedcircuitboard
Lasers Make PCBs The Old Fashioned Way

There are many ways to create printed circuit boards, but one of the more traditional ways involves using boards coated with photoresist and exposing the desired artwork on the board, usually with …

Hackaday
Is #3DPrinting safe? (Short answer, yes) It's a great question that this article answers for FDM printing. There are other kinds though, from #Laser Sintering plastics, metals, glass and ceramics, through #photoresist resin printing. Each flavor of 3D printing should have a safety model as this does for FDM. https://3dprintingindustry.com/news/3d-printing-safe-ul-publishes-safety-science-3d-printing-117136/