@revk is this you? As seen on this article #hackaday #tindie https://hackaday.com/2026/06/21/smallrun-net-enters-the-marketplace-market/
Mais uma fonte nova pro Commodore 64
https://retropolis.com.br/2026/06/11/mais-uma-fonte-nova-pro-commodore-64/
#MundoRetro #carregador #celular #Commodore64 #DIY #FonteDeAlimentao #Hackaday

Não é preciso ser muito versado nas artes retrocomputacionais para saber que aquele trambolho da fonte do Commodore 64 é um desperdício de peso e espaço hoje em dia. Ela é daquele tamanho justamente porque tem que ter um transformador com núcleo de ferro que gere 5V em corrente contínua e 9V em corrente alternada

Researchers from the University of Cambridge and GlitterinTech, a startup founded by the same research group, have unveiled a fundamentally new type of optical spectrometer that delivers laboratory-grade precision in a device small enough to be embedded in portable and wearable technologies. By rethinking how spectra are measured and processed, the team has demonstrated a spectrometer costing only around $10, operating at a centimeter scale, and capable of applications ranging from industrial quality control to real-time health care monitoring.
I has an excite. This dry-looking paper:
https://arxiv.org/html/2605.27250v1
describes a mechanosynthesis experiment where individual carbon atoms were combined into specific straight and branched molecular carbon chains with an STM. This is not just pushing atoms around a substrate. This is atomically precise fabrication of bonded molecules.
In short, the very basis of nanofabrication popularly referred to as "The Diamond Age." I've been waiting a while for this.
ESP8266 para as massas.
https://retropolis.com.br/2026/06/02/esp8266-para-as-massas/
#MundoRetro #Commodore64 #emulao #ESP01 #ESP32 #ESP8266 #GitHub #Hackaday #Macintosh #PSG #ZXSpectrum
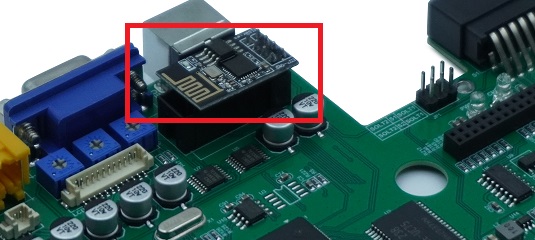
As plaquetinhas ESP8266 (e toda a sua família) são quase onipresentes hoje em dia, com inúmeros projetos que as usam, não só para trazer rede sem fio (*), mas também em emulação de hardware. E os micros clássicos estão bem por dentro desses projetos. Resolvi então listar aqui três projetos bacanudos que usam placas dessa
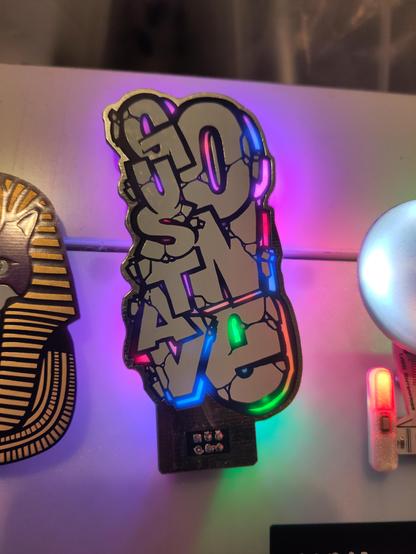
Hey @GustavOne - thank you for a wonderful SAO, I just added random LEDs and it looks amazing with added hot glue diffuser!
#simpleAddOn #simpleAddOns #Hackaday #HackadayEurope #HackadayEurope2026
I am returning a very high end fitness product. The hardware was defective or proprietary software was so bad or intentionally hostile. Did they use AI to design this thing? The lack of printed instructions to troubleshoot how to power it up and if it was supposed to lose all its memory after it died after a few minutes. I lost a lot of time with this. Did they test it before selling it? Not able to use it once.
I'm sure someone already published a quality DIY project on #hackaday and this is why I love open source open hardware.
Hackaday Looks Back at Canada’s Legendary CHU Time Station
https://swling.com/blog/2026/05/hackaday-looks-back-at-canadas-legendary-chu-time-station/