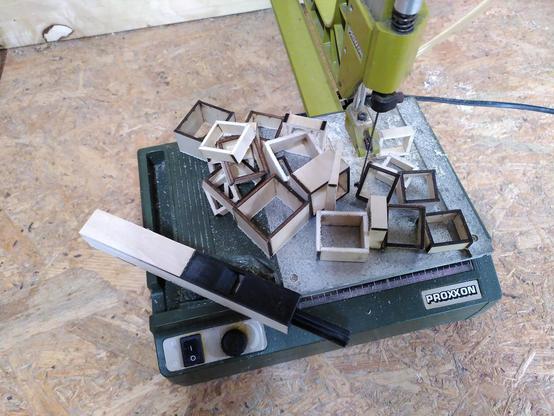
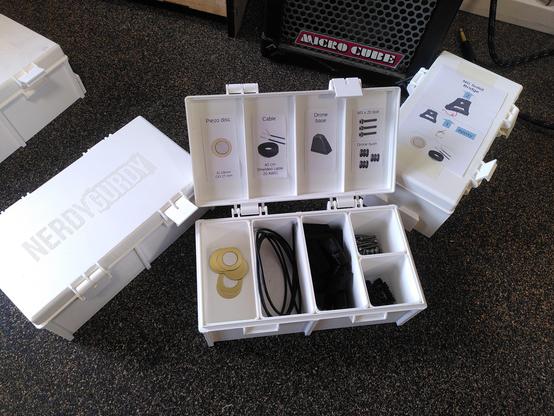
Designed and printed some pretty neat boxes, to organise our production. #3dprinting #hurdygurdy #NerdyGurdy #nerdygurdybuilders
By popular demand, this is a wheel guard for Nerdy Gurdy, based on 18th century models. #3dprinting #nerdygurdy #hurdygurdy https://www.thingiverse.com/thing:7291922

Nerdy Gurdy wheel guard (classic) by JaapBrand
By popular demand, this is a wheel guard for Nerdy Gurdy, based on 18th century models. The smaller arc is suitable for NG BASIC, Linotte and older models (v4, v6). The larger arc should work for NG Fortran and Cobol.https://www.nerdygurdy.nl/
I think that probably learning to play the Hurdy Gurdy / Nerdy Gerdy, or just tune for a sound, while my left ear is completely blocked it a good thing.....
#NerdyGurdy #HurdyGurdy
#NerdyGurdy #HurdyGurdy
Building this Nerdy Gurdy was super easy compared to getting strings on it and tuning this beast. What a nightmare...... aarrgh....
#NerdyGurdy #HurdyGurdy #DIY
#NerdyGurdy #HurdyGurdy #DIY
It is finished! It took me about two months, but I’ve finally completed the build of my Nerdy Gurdy Fortran. I just need to glue two string supports that are just held down by string pressure at the moment.
I haven’t tried it yet, as I don’t have any rosin or cotton. Hopefully I can get some tomorrow.
#HurdyGurdy #NerdyGurdy #Fortran #DIY #build #making #3DPrinting #LaserCut

Nerdy-gurdy builders, this one's for you! ✨ You've done the hard work of assembly, now let "Secret Life of the Hurdy-gurdy" guide you to making beautiful music. The ideal Christmas present for any hurdy-gurdy enthusiast!
quentinbudworthmusic.com/2025/11/12/t...
#NerdyGurdy #HurdyGurdy #Gurdy
The Christmas Gift Your Nerdy-...
The Christmas Gift Your Nerdy-...

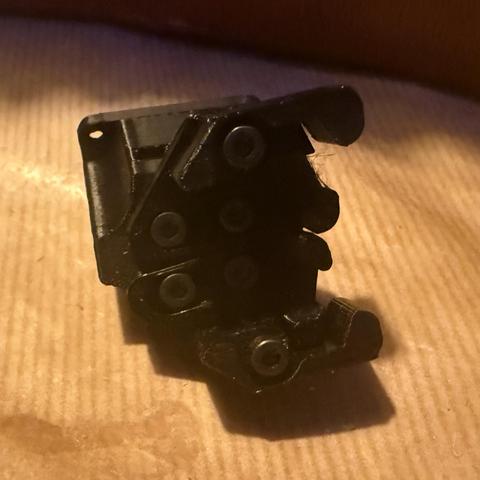
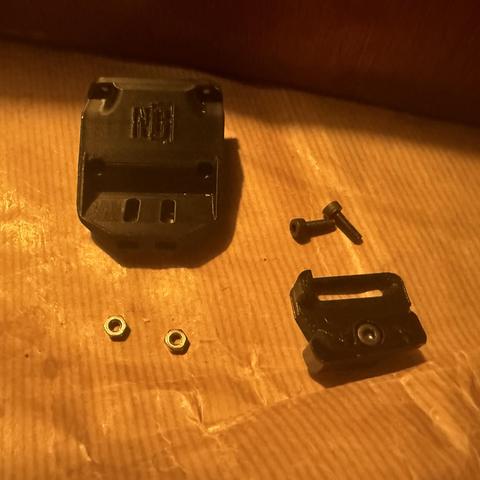
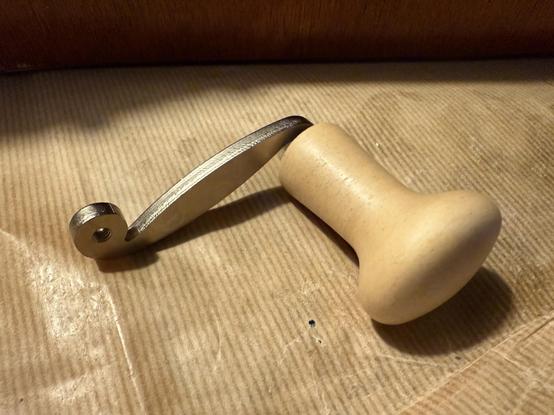
I didn’t get to fasten the strings today. I decided to jump ahead and build the capos first. It feels like it makes sense to mount them before the strings. Now I just need to pre-drill holes for them and screw them in. After that it’s just adding the strings left. And for that I need to figure out how to wind the strings on the tuners. The manual doesn’t go into detail on how to add the strings unfortunately.
#HurdyGurdy #NerdyGurdy #Fortran #DIY #build #making #3DPrinting #LaserCutting
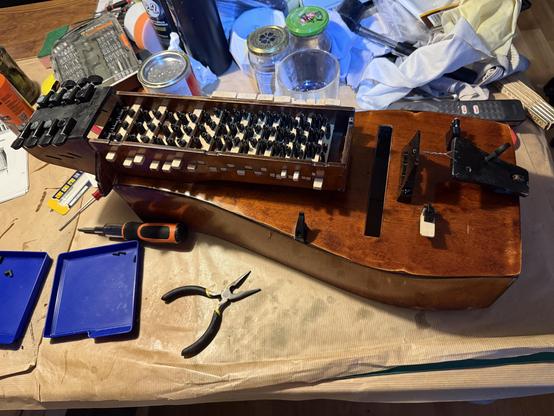
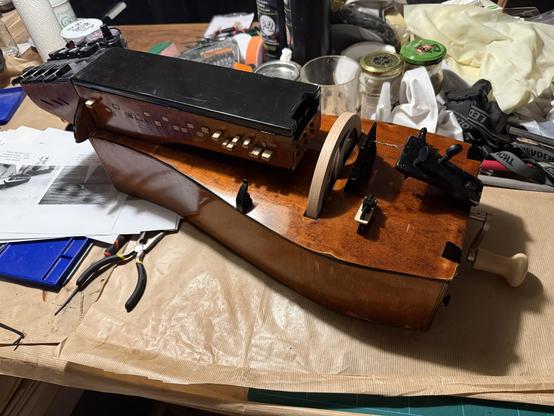
The hurdy gurdy is coming along nicely, it almost looks like a complete instrument now. I’ve finished the keys, the key box, and mounted the shaft and wheel. Next up is attaching all the strings.
#HurdyGurdy #NerdyGurdy #Fortran #DIY #build #making #3DPrinting #LaserCutting
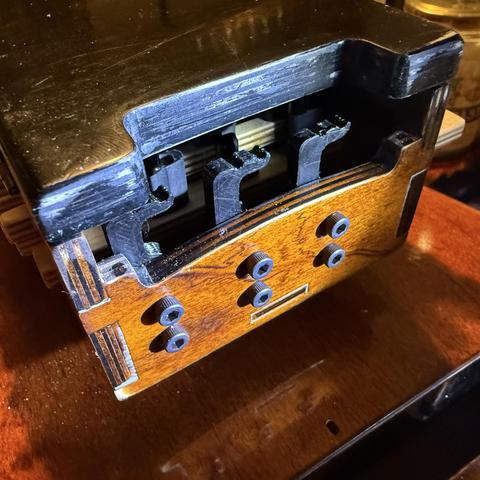
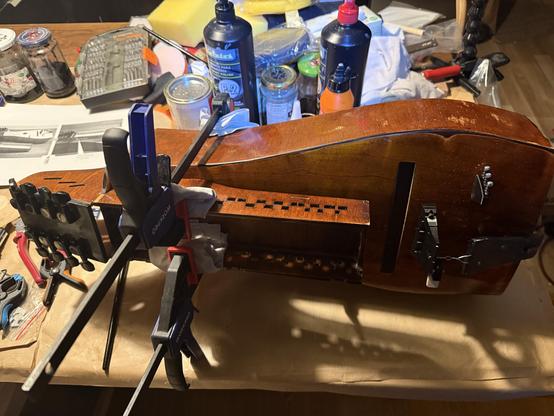
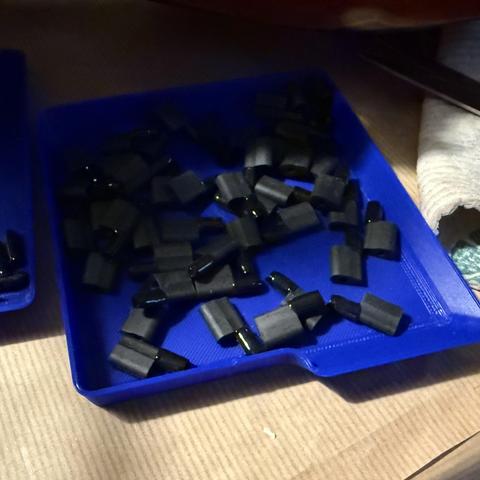
I’ve finished up to page 59 in the build manual. Which means I’m about two thirds finished. Today I attached the key box and 3D printed parts on to the top of the instrument body. I also started glueing together the keys and added rubber sleeves to the key pins.
The hurdy gurdy is really starting to come together now. Next up is ti build the keys, which will take some time.
#HurdyGurdy #NerdyGurdy #Fortran #DIY #build #making #3DPrinting #LaserCutting