BeOS 3.0 on 86Box with Socket 8 [1995]
BeOS 3.0 was a version of BeOS that was first made available for traditional Intel computers, alongside the PowerPC architecture. It was available for purchase at $69.95 then raised to $99.95.
Our focus in this article is testing BeOS 3.0 on an 86Box emulated machine with a Socket 8 [1995] motherboard. You can download it from here. However, you’ll have to create separate ISO files for the two tracks that were found in the BIN/CUE format:
- The first track is for the partitioning tool for Windows 95
- The second track is for the BeOS installation
You can use bchunk beos-3.0.bin beos-3.0.cue beos-3.0.iso to get the two ISO files for the above tracks. Please note that you’ll also need to install Windows 95 in order to be able to install BeOS 3.0.
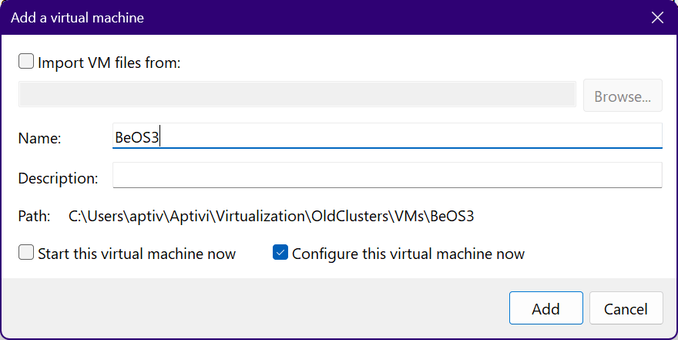
We’ve configured the virtual machine as follows:
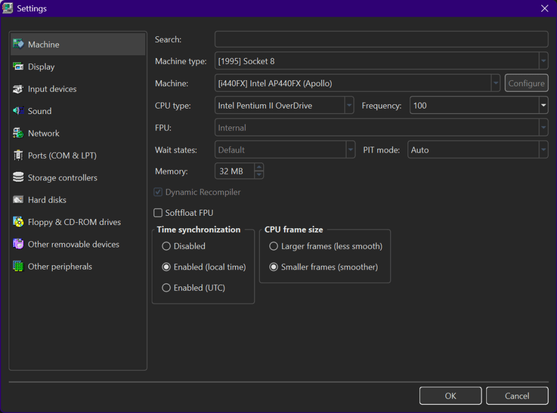
We’ve configured a virtual machine to run with:
- Machine type: [1995] Socket 8
- Machine: [i440FX] Intel AP440FX (Apollo)
- CPU: Intel Pentium II Overdrive @ 100 MHz
- Memory: 32 MB
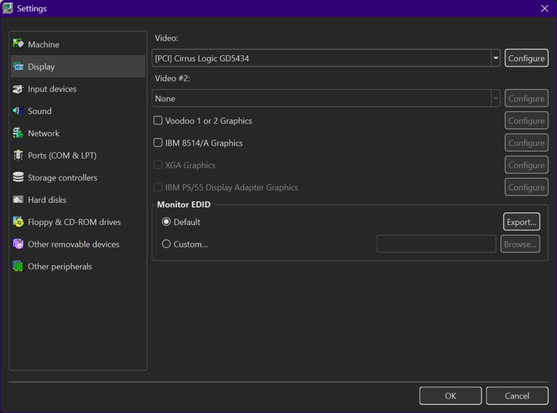
- Video: [ISA16] Cirrus Logic GD5434
- Keyboard: AT Keyboard
- Mouse: PS/2 Mouse
- Sound card: [ISA16] Sound Blaster 16 PnP
- Floppy disk controller: Internal device
- Hard disk controller 1: Internal device
- New hard disk: os2warp452.vhd
- C/H/S: 2080/16/63
- Size: 1024 MB
- Bus: IDE
- Channel: 0:0
- CD-ROM drive 1: ATAPI (0:1) HITACHI CDR-8130 0020 (16x)
Once everything is configured as above, we can now start the virtual machine. Before installing Windows 95 prior to BeOS 3.0, we need to change the following BIOS settings to ensure that BeOS can start successfully:
Now, let’s assume that Windows 95 has been successfully installed to the virtual machine. Insert the first disc called beos-3.0.iso01.iso to the CD-ROM reader, then let Windows start.
Open My Computer, then double-click on the BeOS logo to start the installation wizard for the PartitionMagic Special Edition partitioner.
Now, follow the steps to install this software.
As soon as you click Finish, Windows exits and the partitioner starts in a completely separate environment.
Since we need half the size of the Windows partition, we just need to click OK, then confirm the changes. Afterwards, the resize operation starts.
After the resize completes, you’ll be prompted to restart the virtual machine. Let it restart to Windows.
Once Windows starts, go to My Computer, then right-click on the CD-ROM drive (the BeOS icon), then navigate to experimental > Win95, and copy the BeLaunch folder to the root of the C: drive where Windows is installed.
After that, insert the second ISO file for the BeOS installer, just like below. Then, open the BeLaunch folder, and double-click on “BeOS Launcher”.
Wait for BeOS to start up…
You should be taken to a license agreement screen where you have to click Accept to continue the installation.
After that, make sure that the installer has automatically selected the newly-created BeOS partition created by PartitionMagic Special Edition. You can verify that by checking the partition ID, as well as the file system type. It should say “unknown”.
Press Begin, then let BeOS initialize the partition, just like below:
After initialization, the installation starts.
The installation should be successful at this point. Press Quit below.
Let the virtual machine reboot back to Windows. In case it hangs on the below screen (the tntats window), release the mouse control and press the reset icon.
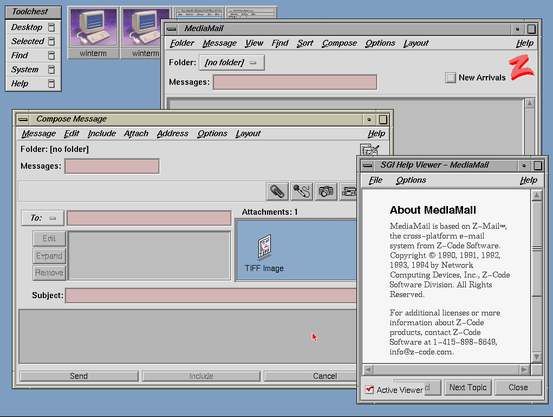
Once Windows restarts, double-click on the BeOS Launcher icon. Afterwards, BeOS should automatically recognize the installed system. You should see the desktop below:
The installation is successful at this point! Here’s a demo screenshot of BeOS 3.0 installed alongside Windows 95.
Of course, when you try to shut down BeOS, you should see this window, since we have disabled APM:
#86Box #BeOS #BeOS3 #BeOS30 #news #Retrocomputing #Tech #Technology #update