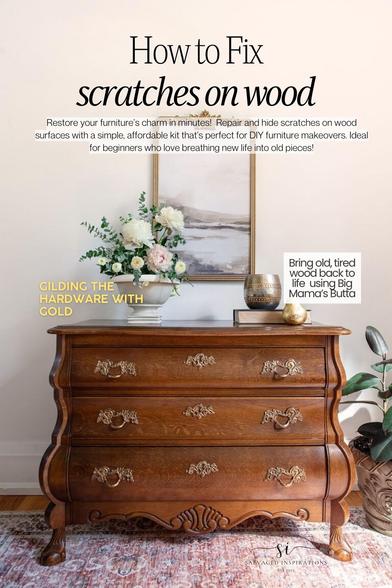
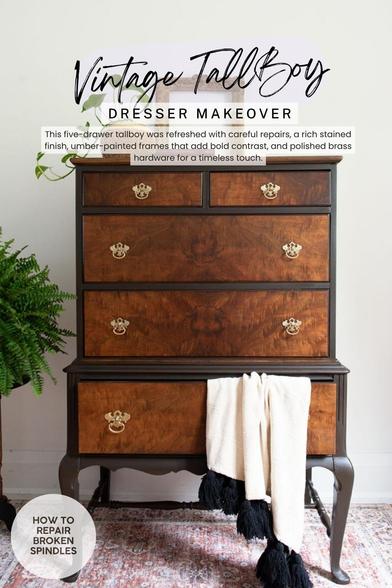
This five-drawer tallboy got a full refresh—from fixing its broken spindle and touching up small details to giving it a warm stained finish and bold umber-painted frames. The polished brass hardware adds the perfect finishing touch for a look that’s both classic and charming.

https://salvagedinspirations.com/how-to-fix-a-broken-spindle-leg/

#diy #furniture #furnituremakeover #furniturerepair #furnituredesign #homedecor

I brought this Facebook Marketplace gem back to life—restoring its original beauty with a DIY furniture repair kit, nourishing wood salve, and a touch of gilding wax magic. https://salvagedinspirations.com/how-to-fix-scratches-on-wood/

#diy #furniture #furnitureflip #furnituremakeover #furniturerepair #furniturerestoration

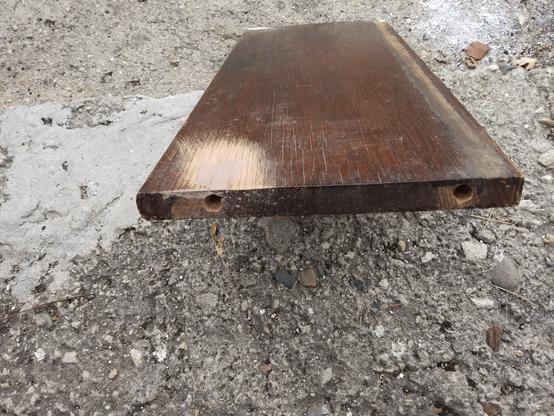
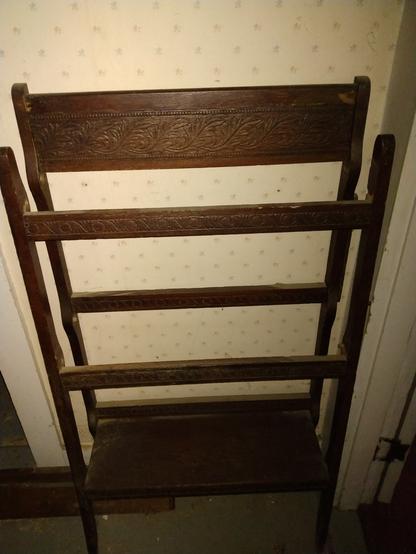
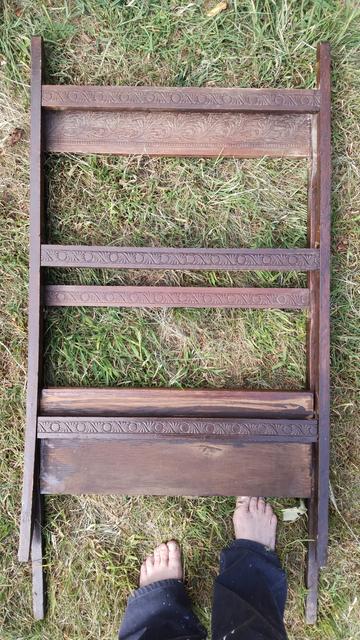
Hey, @ai6yr -- I found a couple of "before" photos!

#FurnitureRepair #ReuseRepairRestore #SolarPunkSunday

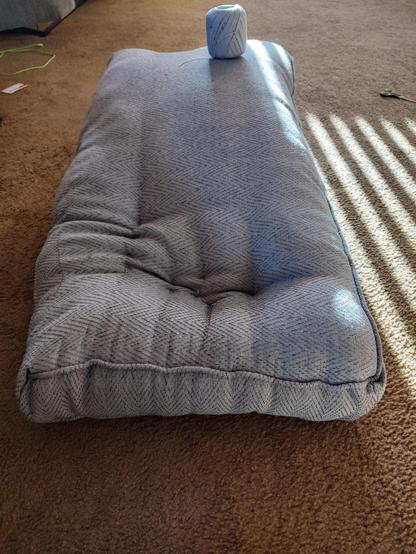
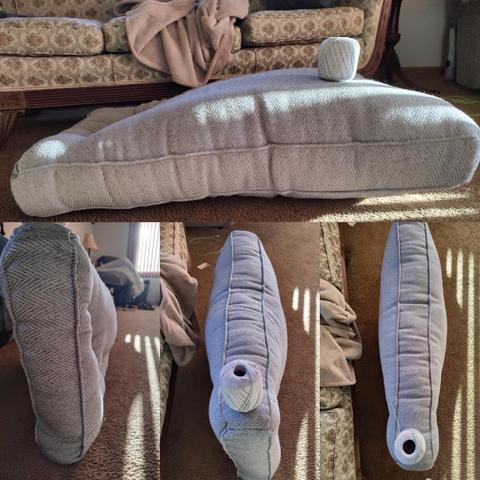
Process photos for second cusion - I wanted to capture how poor these pillows were doing before I wrangled them!

This was the first piece of furniture I ever bought new - a bargain barrel purchase for sure.

#Embroidery #FurnitureRepair #SewItUp

Old IKEA sofabed with enlarging tears in its microfiber upholstery. This section is bolted to the main frame, disassembly would be hard. Still comfortable, still works as a backup-backup couch bed, and I'd rather hang on to it. We can cover it for aesthetic purposes, but any tips on easy ways to stop the tears from progressing? Is there a good fabric tape for this? #FabricRepair #HomeRepair #FurnitureRepair

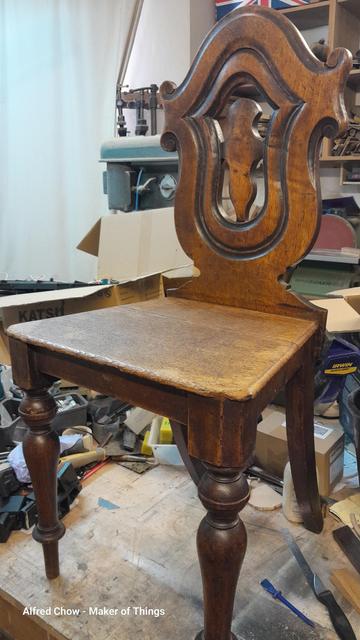
This morning, I was able to return the Oak chair to a very happy client at Levenshulme Repair Cafe.
She was very pleased and enjoyed having a copy of the write-up of the repair process. To add to the history of a sentimental piece of furniture.

#RepairCafe #FurnitureRepair #Levenshulme #Repair

My decision on the backsplat, in the end, was to give in and glue it back together, almost as it was before.

I only glued the backsplat to the back rail, clamped it tight and put the original screws back in. I didn't glue to the top of the legs in case of any movement, so it wouldn't damage the legs as they are. The back rail could always be replaced. I even think maybe the beech rail migth be a replacement instead of an upholstered part.

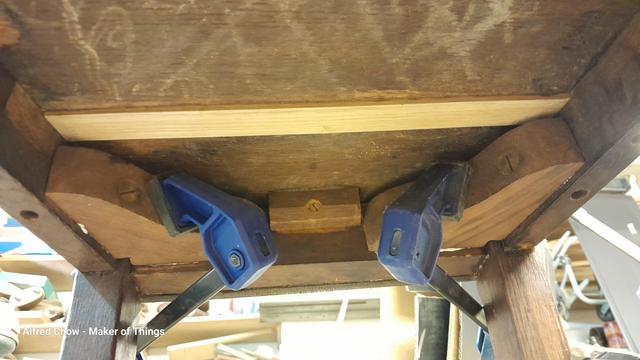
The added corner blocks were originally glued in place, though the glue hardly made any contact. I cleaned the old glue off, and planed the faces to make a better joint. I then glued, clamped, adn refitted the screws.

A document has been written up and will be given to the client with the chair, on Saturday.

#RepairCafe #FurnitureRepair

Anyway, what's the problem with the seat back, the backspalt?

I am sure it came from another chair, used because it was more ornate. I think the original backsplat (maybe upholstered?) was removed, possibly sawn off at the back legs. I think that back seat section isn't original, swapped in to cover the tops of the sawn off back legs.

This left the back face of the back legs proud of the back rail, so the excess was sawn away weakening the mortice joint.

The replacement backsplat was glued and screwed, with two big screws, into the back rail.
Anyone who sat in the chair and leaned back would put a huge torque into the back rail.
This is what caused the mortice and tenon joints there to fail, along with the joints being already weaker.

So, what to do? What to do?
I don't know yet, but it won't be strong enough to lean back on.

#RepairCafe #FurnitureRepair
Another interesting find on this chair. The right side rail has had a loose tenon glued in.
The work looks really good on both sides and so I suspect that it is original to the chair from the original maker of that component.

Why is it there when the left rail has the tenon cut into it?

Maybe the tenon was damaged, or cut too small?
Perhaps there wasn't enough timber and so a tenon was let in to save wasting it?
Maybe the maker simply made a mistake and cut the stock too short?

Who knows.

#RepairCafe #FurnitureRepair
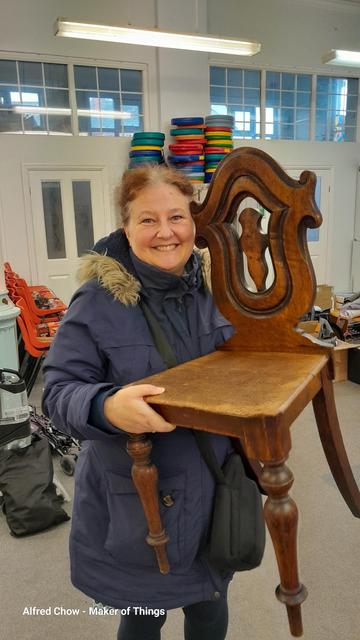
Having been ill since the last update, today I went into the workshop to photograph the last bit of work.

I repaired the seat. The seat panel was in two parts, not a break but two separate boards edge glued. Due to movement over the years the edges no longer meet nor lined up. If I planed and glued them then the tapered sides of the seat wouldn't align either.
I decided to maintain the gap and just removed the excess glue. To hold the two parts together I glued on a thin oak strip underneath. It can be cut away for future repair.

I used an exisiting well glued glue block to fix the back of the seat with a screw, and then refitted the two non original corner blocks.

I suspect those blocks were added after earlier damage.

#RepairCafe #FurnitureRepair