#GoodMorningWorlds
We are off to Boothstown #RepairCafe this morning.
Then we are all going for Covid jabs,
Followed by collecting meds from the pharmacy,
Then a quick lunch,
Then out to ToolStation to collect some adjustable legs,
Then carry on working on the wheelchair ramp,
Then tool sharpening,
Then back onto the chair repair.

It's gonna be a bit of a busy rush today.

#Repair #FurnitureRepair

At Boothtown #RepairCafe I had:

- A 25 years service presentation clock - Advised it needed a specialist.
- A bike damaged in an attempted theft - Advised it needed a bike shop for parts and checking for frame damage.
-A noisy Ryobi vacuum cleaner - The motor bearing was completely worn away. Advised it needs a new motor and impeller, if one could be found.
-A lawn mower - The power cord had been pulled and damaged at the switch so I shortened it and tested working.
-Lawn edging shears - The pivot nut needed to be tightened.
-A doll with flashing lights - The 9V battery was dead, changed it and left working.
-Another clock, one of six given to six brothers - Advised it needed a specialist.
-A noisy toy dog that sang songs and powered around the floor - Motor drive chip dead, hard wired so it always drives when on and singing.
-A musical jewellery box - It will come back next month as we ran out of time.

The weld repaired pan lid, and the towel rail were returned to their owners.

I have done a bit more on the oak chair repair.
I have shaped the spliced in wood and made the mortice the right size.
Then I adjusted the joint to fit the broken off back rail to the leg. Part of the original leg was still attached to the back rail and that has also been glued back on to fit.

This repair will not be full strength, in my opinion, and I have have told the client this.
The way this chair was made has left this back leg joint very weak, and then part of the joint was cut away to fit a decorative backsplat, weakening it further.

The chair will be functional, but primarily ornamental for sentimental reasons.

#RepairCafe #FurnitureRepair.

So back onto the oak chair repair today.
With the left side back leg repaired adn glued onto the back rail, I check for fit.
It all goes back together nicely and lines up squarely.

The back of the right leg mortice is snapped off and missing. As you can see in the photo it is very thin due to the rebate cut into it for the backsplat. Also it looks like is has been missing before as the break line is also covered in glue!
Also inside the joint there is something funny going on. It is all made up of bits! Ether over exuberant mortice cutting or the side rail joint was packed out with chips.

I think this is not the first time this chair has broken adn had surgery. Hopefully I am doing a better job than the previous person.

#RepairCafe #FurnitureRepair

Having cut away the ragged edges of the broken mortice, I cleaned and squared it up with a chisel. There isn't much point gluing a patch in there as it will only really glue to the tenon adding no strength.
I could splice in another bit of oak, but decided to mortice it in instead.
I drilled an chiseled out a mortice into the leg, it came out at 17mm by 7.5mm, and 22mm deep.
I cut a strip of oakand formed a tenon to fit. An additional bit of oak was glued to it to form the top of the mortice.

The repair splice was glued in and left to cure.

In the meantime I cleaned up the tenon of all the old glue and readied it for a dry fit.

It worked fine, the joints nice and tight, so I glued and clamped it before stopping for dinner.

I will check it in a little while to make sure it is still square and leel, and to remove the clamps and clean up the glue squeeze out while it is still 'rubbery'.

#RepairCafe #FurnitureRepair

With the work done on the oak chair so far I decided it was time to stain the visible repairs to make them a little less visible.
We have a set of tester bottle of colours and I found a dark mahogany gave a good close match to the exisiting finish. I will do a little more with it to blend in the colour. Also, it will adjust a little when I have applied a surface finish, probably an oil and a wax buffing.

I am working on the seat repair now.

---------

While I am working on this oak chair repair, I just wanted to share these YouTube channels. I have been really enjoying being inspired to do more repair and restoration work, just for the fun of it.

https://www.youtube.com/@ATRestoration

https://www.youtube.com/@atrestorationplus

#RepairCafe #FurnitureRepair

Before you continue to YouTube

Having been ill since the last update, today I went into the workshop to photograph the last bit of work.

I repaired the seat. The seat panel was in two parts, not a break but two separate boards edge glued. Due to movement over the years the edges no longer meet nor lined up. If I planed and glued them then the tapered sides of the seat wouldn't align either.
I decided to maintain the gap and just removed the excess glue. To hold the two parts together I glued on a thin oak strip underneath. It can be cut away for future repair.

I used an exisiting well glued glue block to fix the back of the seat with a screw, and then refitted the two non original corner blocks.

I suspect those blocks were added after earlier damage.

#RepairCafe #FurnitureRepair

Another interesting find on this chair. The right side rail has had a loose tenon glued in.
The work looks really good on both sides and so I suspect that it is original to the chair from the original maker of that component.

Why is it there when the left rail has the tenon cut into it?

Maybe the tenon was damaged, or cut too small?
Perhaps there wasn't enough timber and so a tenon was let in to save wasting it?
Maybe the maker simply made a mistake and cut the stock too short?

Who knows.

#RepairCafe #FurnitureRepair

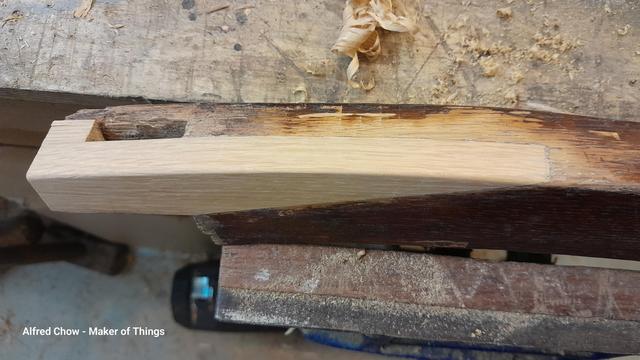
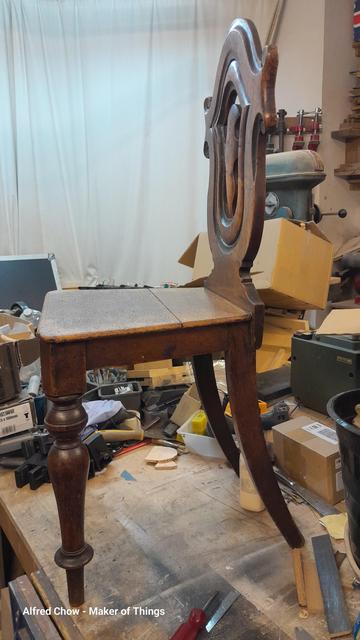
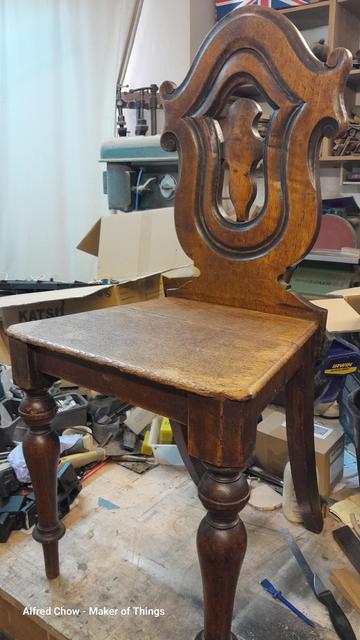
Anyway, what's the problem with the seat back, the backspalt?

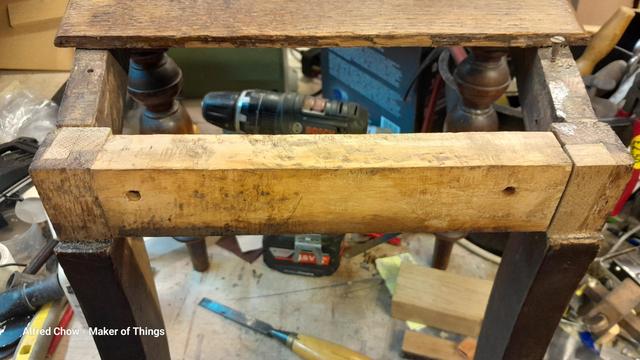
I am sure it came from another chair, used because it was more ornate. I think the original backsplat (maybe upholstered?) was removed, possibly sawn off at the back legs. I think that back seat section isn't original, swapped in to cover the tops of the sawn off back legs.

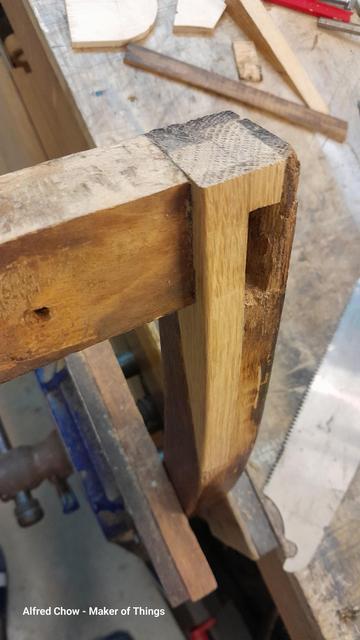
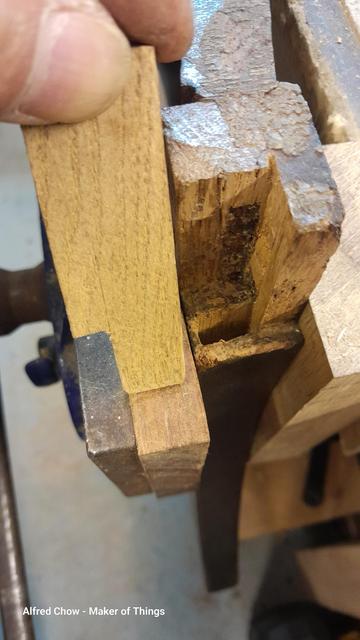
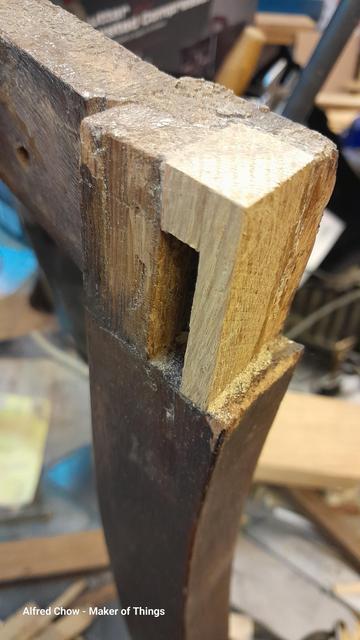
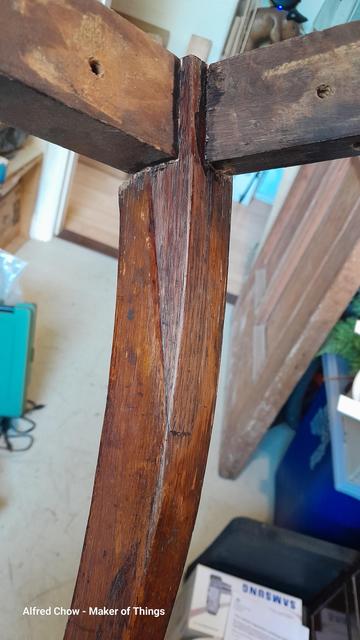
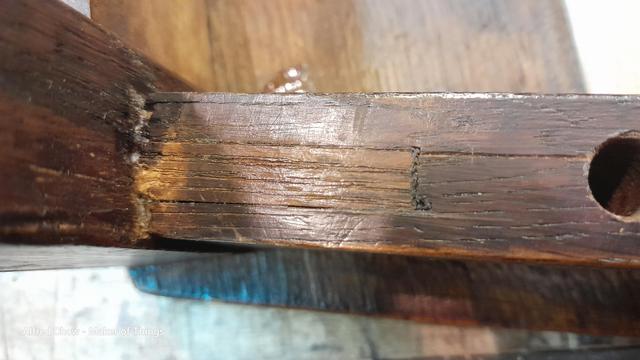
This left the back face of the back legs proud of the back rail, so the excess was sawn away weakening the mortice joint.

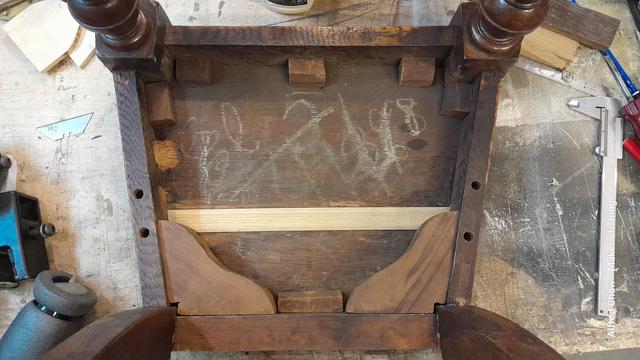
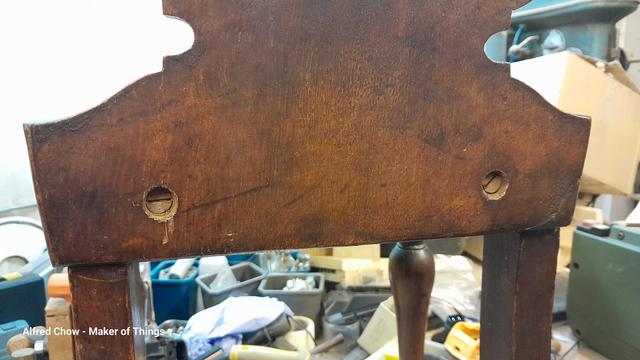
The replacement backsplat was glued and screwed, with two big screws, into the back rail.
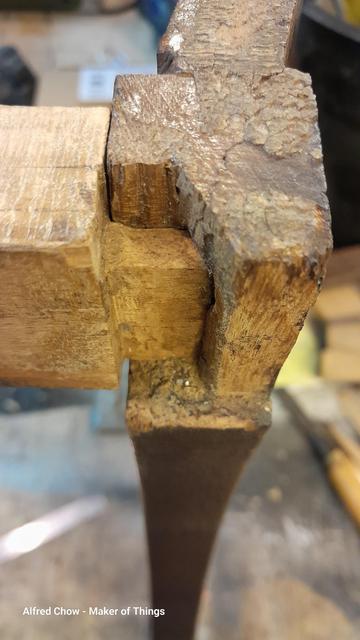
Anyone who sat in the chair and leaned back would put a huge torque into the back rail.
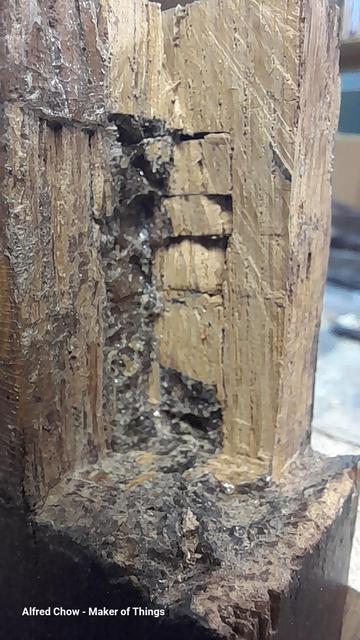
This is what caused the mortice and tenon joints there to fail, along with the joints being already weaker.

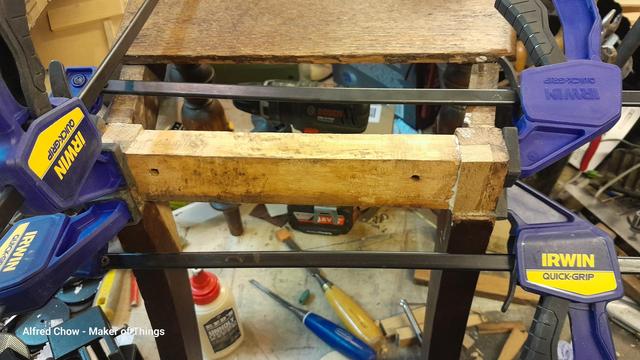
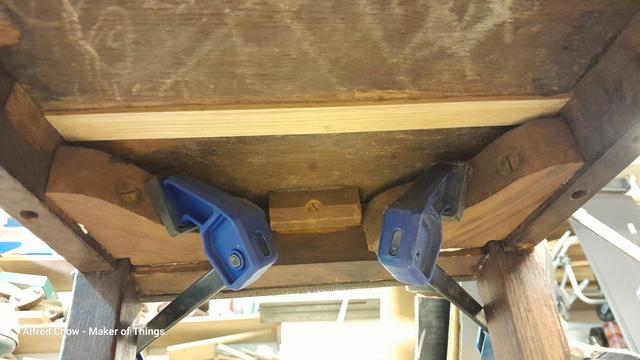
So, what to do? What to do?
I don't know yet, but it won't be strong enough to lean back on.

#RepairCafe #FurnitureRepair

My decision on the backsplat, in the end, was to give in and glue it back together, almost as it was before.

I only glued the backsplat to the back rail, clamped it tight and put the original screws back in. I didn't glue to the top of the legs in case of any movement, so it wouldn't damage the legs as they are. The back rail could always be replaced. I even think maybe the beech rail migth be a replacement instead of an upholstered part.

The added corner blocks were originally glued in place, though the glue hardly made any contact. I cleaned the old glue off, and planed the faces to make a better joint. I then glued, clamped, adn refitted the screws.

A document has been written up and will be given to the client with the chair, on Saturday.

#RepairCafe #FurnitureRepair

This morning, I was able to return the Oak chair to a very happy client at Levenshulme Repair Cafe.
She was very pleased and enjoyed having a copy of the write-up of the repair process. To add to the history of a sentimental piece of furniture.

#RepairCafe #FurnitureRepair #Levenshulme #Repair

@Maker_of_Things

Perhaps an apprentice/assistant miscut the rail(s) and a capable maker found a way to salvage the work? (Perhaps after a few choice words?)