Received my #bigtreetech #vivid #vvd and have to share I'm disappointed.
- heater sounds like a tractor
- active rollers rely on very little grip
- don't open the buffer or you'll end up searching lot of small pieces around your room
Received my #bigtreetech #vivid #vvd and have to share I'm disappointed.
- heater sounds like a tractor
- active rollers rely on very little grip
- don't open the buffer or you'll end up searching lot of small pieces around your room
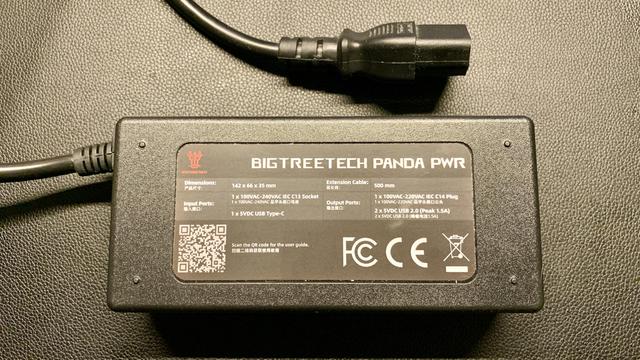
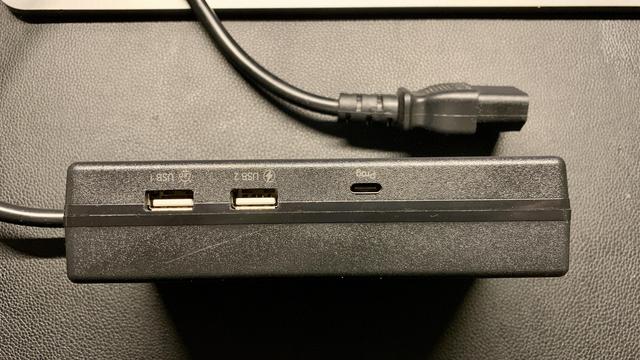
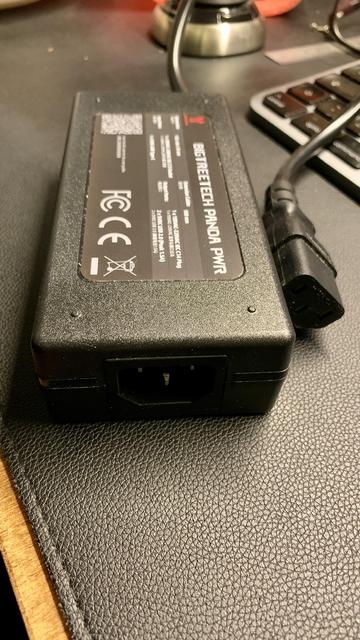
Ich habe hier ein nicht mehr benötigtes Panda PWR von #BIGTREETECH zu verkufen.
Gerne teilen.
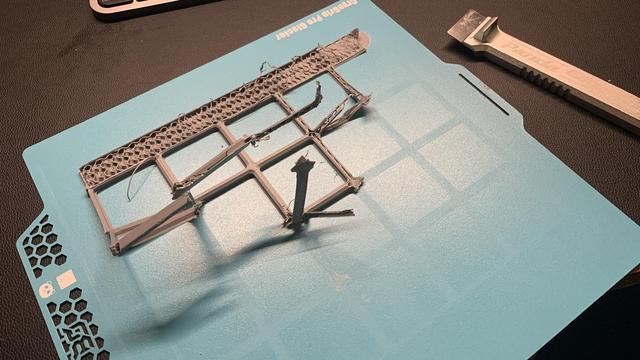
These #GyroGrip Pro printing plates from #Bigtreetech are really awesome! PLA adheres so firmly that I had to really abuse this plate to get the print off. Unfortunately, it ended up with a few unsightly deep scratches. 😟

Always interesting. If I want to buy something from #Bigtreetech / #BIQU, I put it in my shopping basket and leave it there for the time being.
A few days later I get a reminder to complete the purchase after all, together with a 5% coupon code. And if I leave it further, sometimes I even get a 10% coupon code.
Every time. 😃
FYI: Big Tree Tech's Panda Touch is on sale 20% off at Amazon (yeah yeah, I know, Amazon... I'm just saying).
I don't have one yet but I'm seriously considering picking one up.

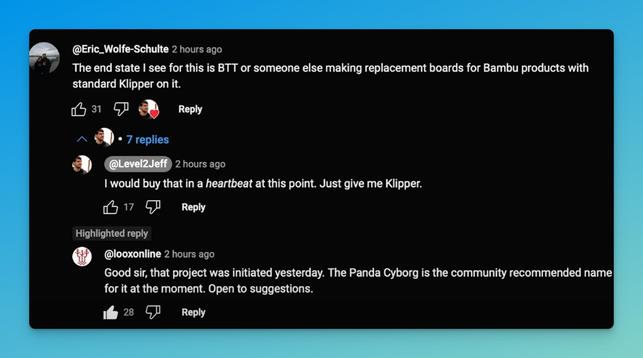
Update: This screenshot comes from “Level 2 Jeff” YouTube Channel video: “I probably won’t buy another Bambu Lab printer.” Thank you, A1_user, for sharing this information in the comment! In a screenshot (above), initially shared on Bluesky, someone says BigTreeTech is working on a replacement board for Bambu Lab printers running Klipper, with the project […]
Interesting background from #BigTreeTech on their collaboration with #BambuLab regarding their Panda Touch.

Good People, We would like to offer an update on the Panda Touch and the upcoming firmware updates from Bambu Lab. In order to address some statements that have been made we do need to offer some background. This is offered without any intention to bring the reputation of Bambu Lab into disrepute and with the utmost respect. We admire their designs and appreciate how they have accelerated innovation in the 3D printing community. If anything, we hope that this post will help clarify that we would love to work more closely with them.

Running Klipper on a Bambu Lab machine by replacing it's internal electronics with readily available open-source hardware. - ChazLayyd/Bambu-Lab-Klipper-Conversion