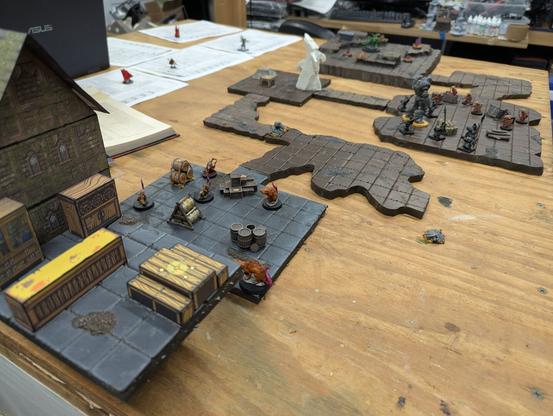
Impromptu dungeon build!
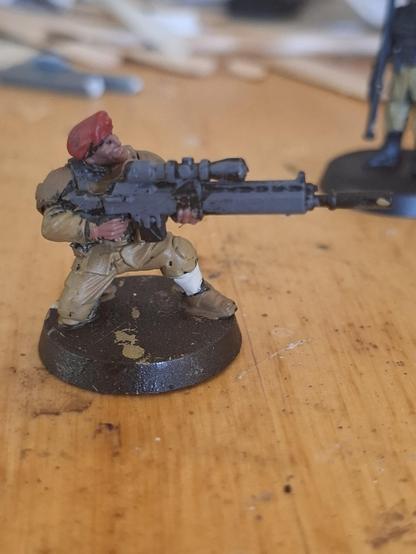
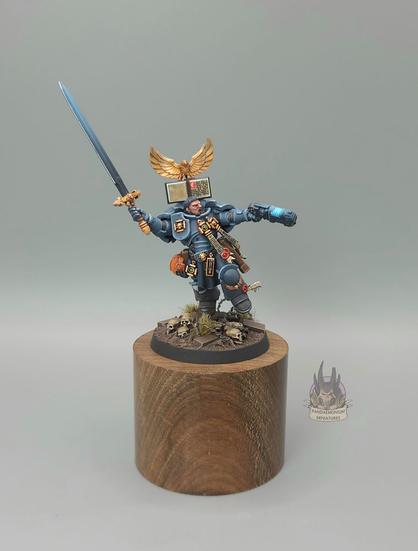
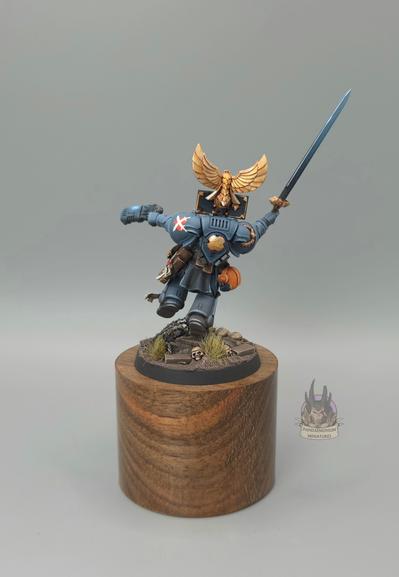
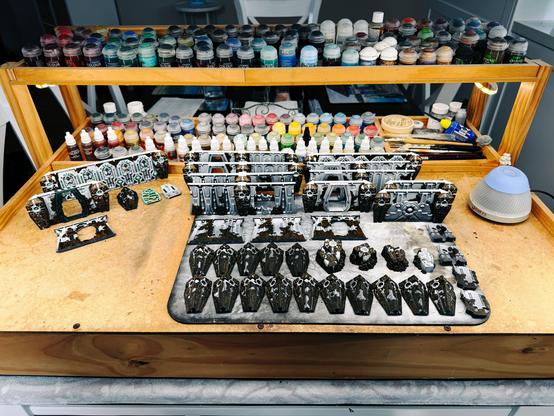
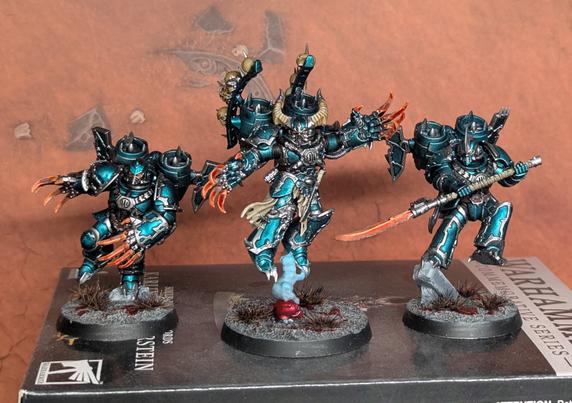
On Friday evening I learned that some new players wanted to try out #DND this weekend so I jumped into action and pulled together a five room dungeon out of terrain and scatter I had on hand and minis I previously painted. A couple pregen characters later and we were of to the races on Sunday.
The players picked up on it well and everyone had a fun time.
#TabletopGaming #PaintingMiniatures #MiniPainting #FediPaint #RPG #TTRPG
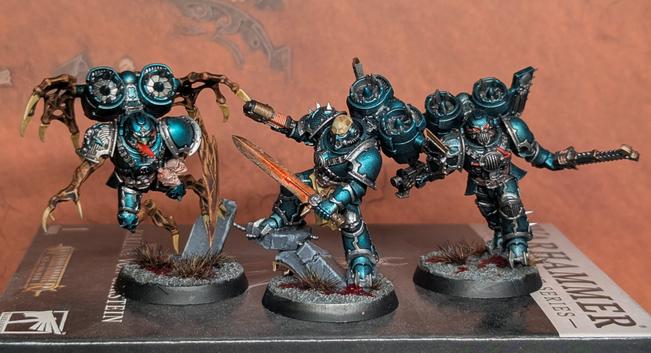