Sigh. Actual attempt at being less on my phone or just another way to justify yet another gadget? Time will tell I guess.
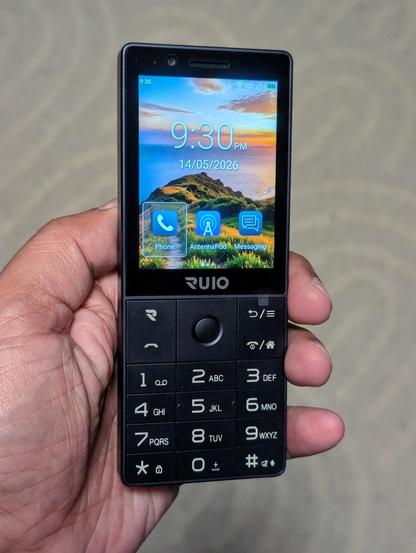
Sigh. Actual attempt at being less on my phone or just another way to justify yet another gadget? Time will tell I guess.

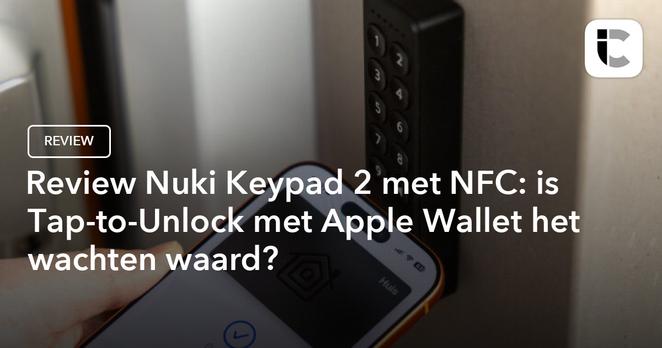
𝗥𝗲𝘃𝗶𝗲𝘄 𝗡𝘂𝗸𝗶 𝗞𝗲𝘆𝗽𝗮𝗱 2 𝗺𝗲𝘁 𝗡𝗙𝗖: 𝗶𝘀 𝗧𝗮𝗽-𝘁𝗼-𝗨𝗻𝗹𝗼𝗰𝗸 𝗺𝗲𝘁 𝗔𝗽𝗽𝗹𝗲 𝗪𝗮𝗹𝗹𝗲𝘁 𝗵𝗲𝘁 𝘄𝗮𝗰𝗵𝘁𝗲𝗻 𝘄𝗮𝗮𝗿𝗱?
Na jaren wachten is hij er nu dan eindelijk: het vernieuwde Nuki-keypad met ondersteuning voor Tap-to-Unlock met NFC, via Apple's eigen Wallet-app. Maar is dit nieuwe keypad het wachten waard?
https://www.iculture.nl/reviews/nuki-keypad-2-nfc-tap-to-unlock-review/
Smart Home Diagnostic (Lukas): Schlage
Schlage Keypad Lock: Flashing Red, Green, and Orange Error
#Schlage #Keypad #FlashingRed/Green/Orange
🔍 Full Report: https://www.digitalhomefaults.org/schlage/keypad/schlage-lock-keypad-flashing-red-green-orange
Smart Home Diagnostic (Lukas): Schlage
Schlage Keypad: Solid Red Light Troubleshooting Guide
#Schlage #Keypad #SolidRedLight
🔍 Full Report: https://www.digitalhomefaults.org/schlage/keypad/schlage-keypad-red-light-fix
Technical Report - SmartHomeFehler: Weiser
Weiser Keypad Bubbling or Peeling: Diagnosis and Repair Guide
#Weiser #Keypad #BubblingorPeelingKeypad
🔍 Full Report: https://www.digitalhomefaults.org/weiser/keypad/weiser-keypad-bubbling-peeling-fix
Smart Home Diagnostic (Lukas): Weiser
Weiser Keypad Lock: Ghost Pressing Troubleshooting
🔍 Full Report: https://www.digitalhomefaults.org/weiser/keypad/weiser-lock-keypad-ghost-pressing
Smart Home Diagnostic (Lukas): Schlage
Schlage Keypad Lock: Pinched Cable Repair Guide
#Schlage #Keypad #PinchedCable
🔍 Full Report: https://www.digitalhomefaults.org/schlage/keypad/schlage-keypad-pinched-cable-repair
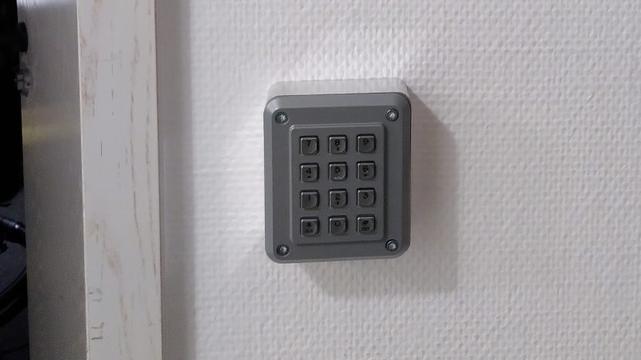
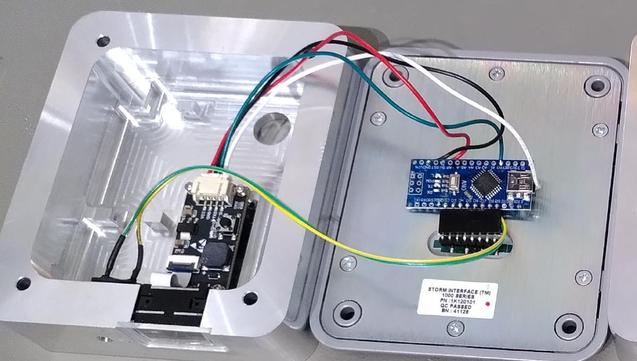
Building a Hackerspace Entry System
https://fed.brid.gy/r/https://hackaday.com/2026/03/03/building-a-hackerspace-entry-system/