Yessss I was able to finish up the last bag in what shall be known as the Mad Science Triptych this morning, so I’ll have it for sale tomorrow at the Artisans Asylum Winter Maker’s Market. I’m still noodling on some ways to improve the tech pocket (it’s a lot of small seams in tight corners) but overall I’m really happy with these.

Market is TOMORROW December 8 1-6p at Artisans Asylum, 96 Holton St Boston. Much art, many makers, so wow.

https://rhymes-with-doctor.myshopify.com/products/messenger-bag-for-controlled-reactions

#science #chemistry #art #handmade #handmadebags #artforsale #SomervilleMA

Messenger Bag of Controlled Reactions

Oh, and have a video of the sparkles...

#neurons #neuroscience #handmade #art #science #sewing #handmadebags

I just finished this up today and I'm *delighted* by how it turned out. I added a tasteful number of aurora rhinestone rivets to the flap to represent neuron signaling (also because my aesthetic sense has not evolved even a tiny bit since I was an Irish dance-obsessed middle schooler). Rainbow hardware (because of course) and pockets galore inside and out.

I'll have this bad girl for sale this Sunday at the Somerville Flea at the Armory or online at https://rhymes-with-doctor.myshopify.com/products/messenger-bag-of-neural-activity

Surface pattern design by Sumana Mahata (https://www.spoonflower.com/profiles/hodgepodgebricolage) / bag design by me.

#sewing #handmade #handmadebags #shopsmall #shoplocal #neurons #neuroscience #science #art

Messenger Bag of Neural Activity

Today’s progress: front pocket is done and attached, rear and side pocket piece is complete but not yet sewn to the body. I’m still adapting how I do the rear and side piece - I only recently started using a separate piece of canvas for the base of the side pockets, which is much more cost-effective for using the expensive hero fabric wisely. That’s opened up some options for handling and reinforcing seams in good ways, but it’s still a lot of very small seams in a very tight area where a lot of precision is required. BUT I’m so much happier with the end product and how tidy it looks, as well as giving me more options for how I use the rest of the fabric.

Tomorrow: hopefully get the flap done (those are usually pretty fast) and finish up the body, see how far I get on the interior.

Fabric design by hodgepodgebricolage / printed by Spoonflower: https://www.spoonflower.com/profiles/hodgepodgebricolage

Bag design by me

#sewing #handmade #handmadebags #art #science #neurons

hodgepodgebricolage's shop on Spoonflower: fabric, wallpaper and home decor

Doctor. Graphic Designer. Share your creations with me on my Instagram @hodgepodgebricolage because it literally makes my day.

Spoonflower

Home stretch here! Once the bag’s been flipped right way around, it’s just a matter of a lot of topstitching. I like to do three rounds at about 1/8” from each other because I never met a sewing project I couldn’t overkill. The first pass is the fiddliest as it’s the one that’s closing all the gaps I left. I have learned from hard experience that you want to make sure the turning gap is on the non-flap side of the bag as it’s a monster to try to keep things even with the flap in the way. I use triple stitch to go over the strap attachment points with a hump-jumper to help (my machine does tend to protest at this point). Then a quick press all around and it’s done!

#sewing #handmade #handmadebags

So with that, the exterior is done. The lining is more straightforward: make a bunch of pockets and sew them on in the right spots. I like to make flaps with KAM snaps to hold things closed (new-new band name: flaps straps and snaps). I mark the snap on the exterior flap, position the flap on the pocket, and then use an awl or knitting needle or other pointyboi to poke through both the flap and the pocket at the same time, so I can spend less time messing around with marking both pieces of material. Fun fact: a metal straw is a great tool to help encourage the plastic stem of the snap through several layers of heavy canvas - the small diameter means I can apply pressure close-but-not-on the stem (so I don’t squish it) and it’s easy to apply even pressure all the way around so the stem won’t torque.

#sewing #handmade #handmadebags

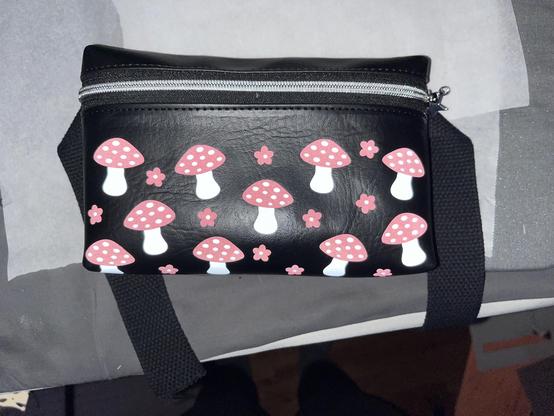
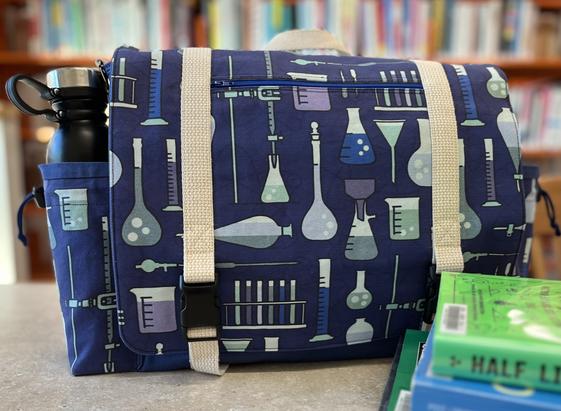
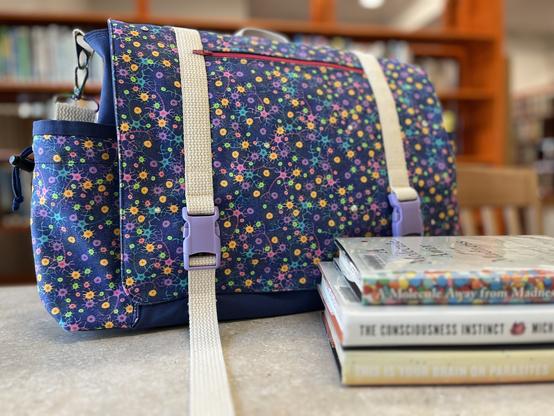
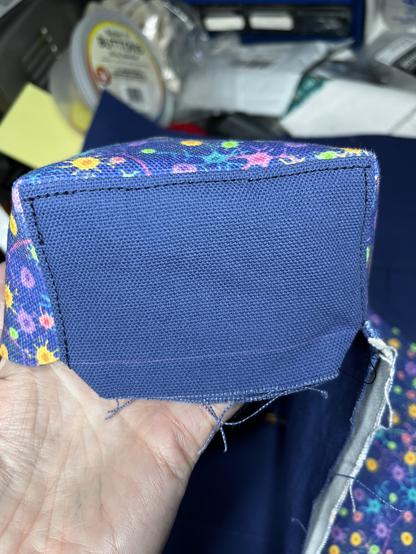
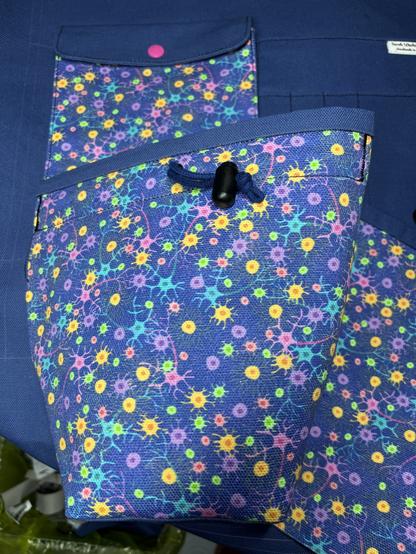
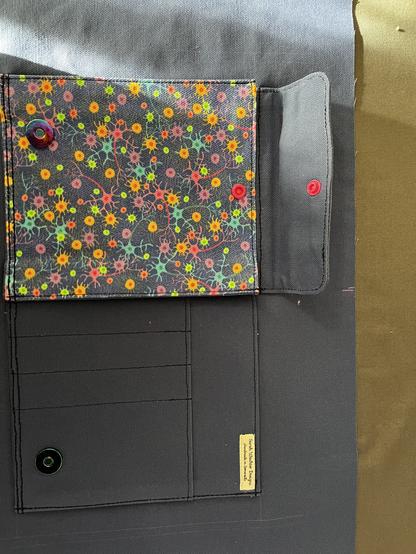
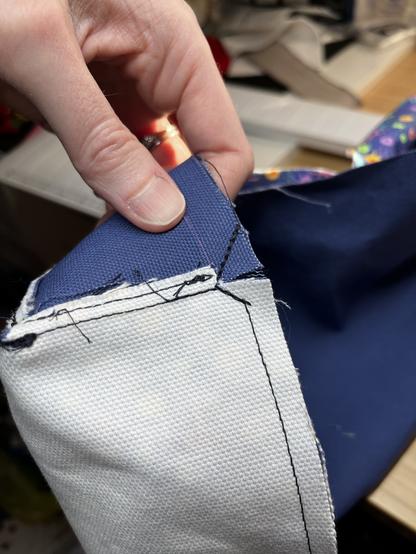
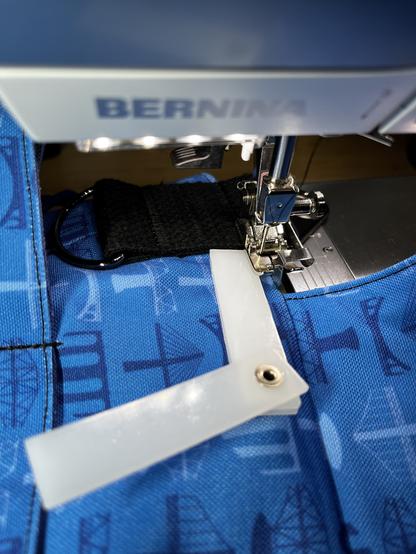
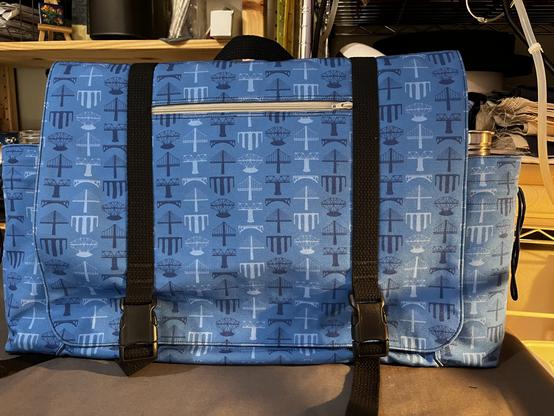
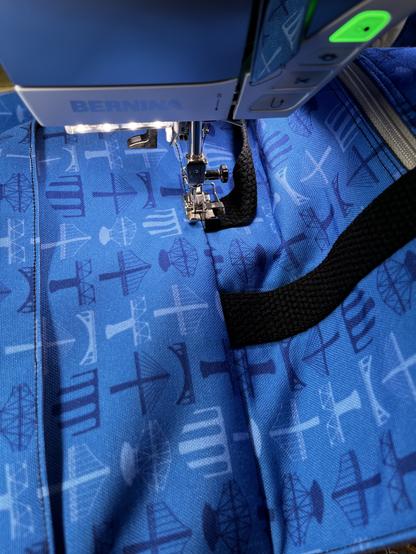
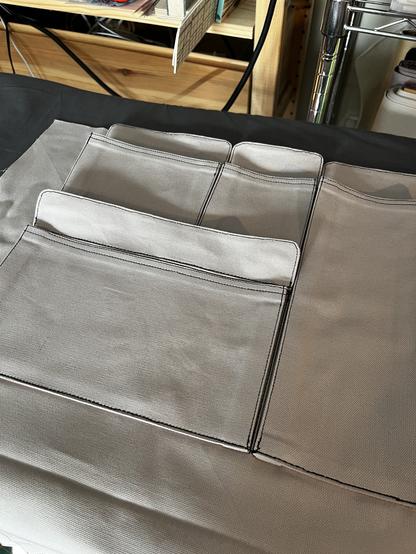
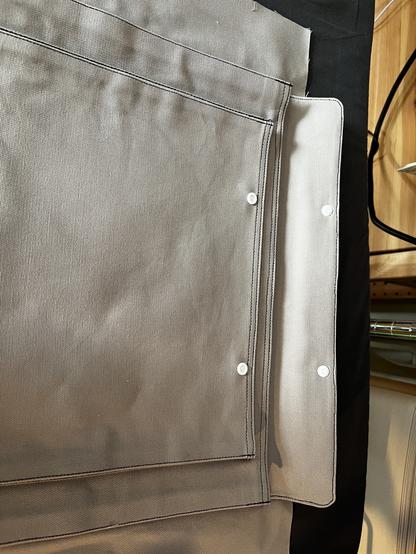
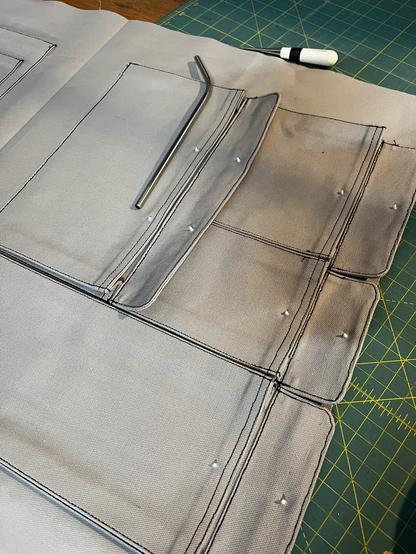
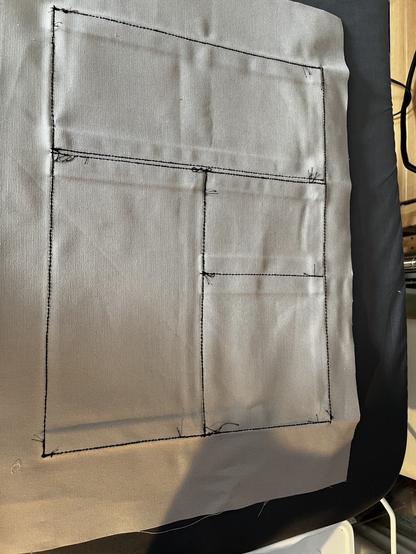
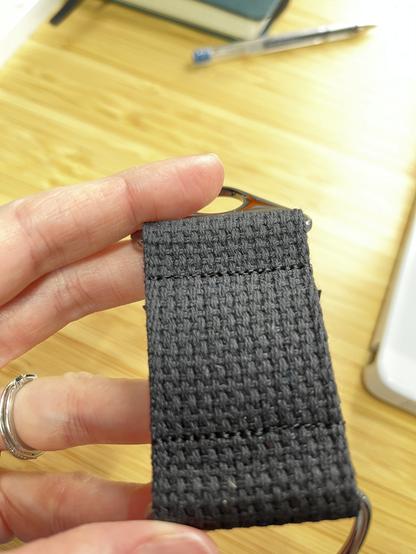
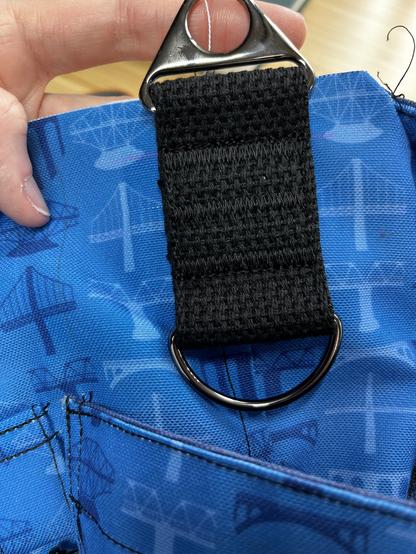
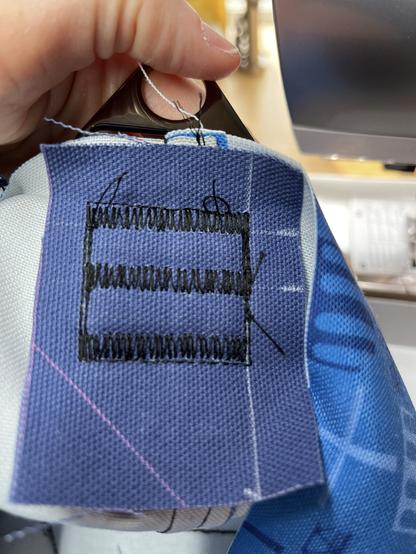
Straps and flaps are done now. Flap is a simple matter of sewing the already-assembled flap to the body in the right place with a quarter-inch seam allowance, which will be inside the half-inch allowance I use to sew the lining and exterior together. Straps are a little more complicated - I usually baste the strap component separately and then attach it to the body. In this case I put a piece of heavy canvas behind it to provide more stability - this is a different exterior fabric than I usually use and it’s quite a bit thinner, so I want to make sure that the places where it’s taking weight are well-enforced. I’ll trim the canvas closer to the stitching lines later. The lines on this canvas are meaningless - it’s a bit of waste fabric from the back and side pocket assemblage that I cut off while making that component, but it still has the marks from that piece on it.

I lined up the straps in such a way that, if I’ve done the math right, they should peek just about 3/4 inch above the edge once the lining has been sewn in. This will cause some slight complications when I’m sewing the exterior and the lining together but the fun clever kind of complications not the “oh shit” kind.

#sewing #handmade #handmadebags

Ok! Apparently I didn’t get a picture of the side seams but that’s fine. I shoved the pocket bits out of the way and sewed up both side edges, then did some fiddly fake-felling where I have to kind of sew inside the pocket itself and get as close to the corner as I can given the limits of working with a domestic machine’s geometry. Then I box the corners (having marked them previously). I was cunning this time and shaped the raw edge of the pocket base to have 45 degree angles at each corner, which means that when I pulled the corner flat, the edges of the pockets just kind of snapped into place without a lot of unnecessary drama. This is a huge process improvement for relatively little effort.

Once the box corners has been stitched, it both catches the base of the pocket and forms the bottom corner of the bag. Again having been clever about using my angles when sewing up the pocket assemblage, everything kind of tucks in nicely and we get a nice tight tidy corner despite having some hella complicated fabric geometry going on.

Repeat on the other side and the exterior is damn near done - just needs the flap and straps sewn on. This fabric is pretty floppy but I’m using heavy canvas as the lining, so that should help stiffen up the structure.

#sewing #handmade #handmadebags

Ok I’m back on my bullshit re my sister’s bag. Sewing room is tidied and then gently re-mussed via some mending and so I can use it again.

The front and back of the body have been sewn together and fake-felled (seam allowances are sewn to one side, but not fully encased - the bag is lined and I singed the edges, so I’m not worried), magnetic snaps and bottom straps sewn to the front panel, and the back & side pocket assemblage have been sewn to the back with a fully encased seam. Now comes the tricky part of getting the side pockets done. I marked the line that the edge of the pocket needs to land on and carefully pinned, then stitched it down. The bottom corner is still free, but I’ll do that in the next couple steps.

#sewing #handmade #handmadebags