I'm looking at setting up an auto-feeder for my #aquarium. I would like to find one that either has a native #HomeAssistant integration, or is at least easy to override it's native controller with an #esp32 brainworm I can run #esphome on.

@esp32 @esphome @homeassistant @aquarium @nanotank @shrimptank #shrimptank #nanotank

I blogged about automating the irrigation in our garden. Still very much a work in progress, but at least one step further.

https://www.splitbrain.org/blog/2025-06/15-irrigation_automation_with_homeassistant

#irrigation #homeassistant #esphome
Irrigation Automation (with Home Assistant) [splitbrain.org]

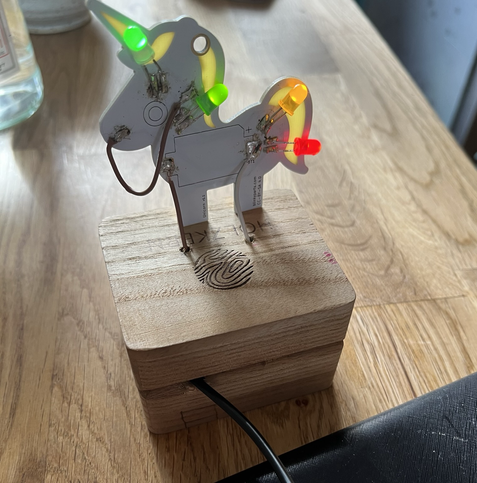
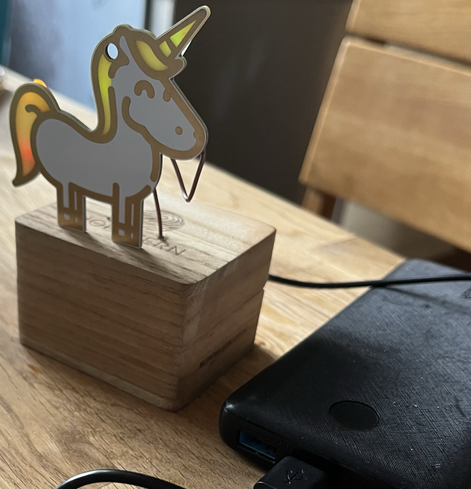
Ich habe das #blinkyparts Unicorn mit einem ESP8266 und einen Transistor per #ESPHome mit #homeassistant steuerbar gemacht. Jetzt blinkt es, wenn der Bewegungsmelder an der Gartentür auslöst und ich weiß das ich die Katzen reinlassen kann :) Danke an die lieben Menschen im @chaospott die mir bei der Erweiterung geholfen haben. Für mich war es das erste Mal, dass ich bei einem Lötprojekt von der Blaupause abgewichen bin ❤️
I think it's probably time to switch from #Tasmota to #ESPHome https://github.com/arendst/Tasmota/discussions/23542
IR: Fujitsu ARREW3E received, sleep setting not decoded · arendst Tasmota · Discussion #23542

PROBLEM DESCRIPTION Tasmota IR is able to mostly emulate a Fujitsu ARREW3E remote, but it's being detected as a different model and sleep settings are not being decoded. 13:02:05.231 MQT: tele/bedr...

GitHub

I've been doing a bit of @MCQN_Ltd project archaeology of late. As a result I'm rather pleased with getting this LED to blink in response to the Mastodon API

#weeknotes #esphome #NodeRED #Mastodon #ibal12 #ibal177

@ikkeT@mementomori.social @santi #ESPhome is much more reliable than say depending on remote Home Assistant but I have seen ESP32 lock up if you input the wrong current from a sensor on GPIO for example. Would be bad.

I am planning on adding another ESP at the root with an energy sensor on the wire and a maximum timer.

Of course the simplest/safest way would be to just turn off the dedicated circuit breaker when not using it (the controller of course is on a separate circuit with an UPS).
Since a few days some of the sensor id's of my solar inverter got changed, i suspect with an ESPHome update… Now the device name is prepended to the sensor name. So from ‘sensor.sensor-name’ it went to 'sensor.device-name_sensor-name’ . But only for a few of the sensors on that device…. !? Does anybody know what caused this and how to fix it? The ESPHome changelog does not mention anything about ‘name' in the last few releases. 
#homeassistant #esphome

Replaced the PCB on my Moorescloud Holiday so now it runs #esphome

Managed to put the power socket in backwards so needed to source a negative tip power supply 🤦‍♀️

#electronics

Preparing #ESPHome controller for that sauna project with LED buttons and a small LCD screen.

It’ll be accessible from #HomeAssistant for stats & alerts mainly but fully independent.

Obviously with that kind of electric heater load (once connected to the contact or, not pictured ) that’s not the kind of thing you want to depend on a working (or not) WiFi.

M5Stack TimerCamera basado en ESPHome con Home Assistant

A partir de la instalación del servidor de Home Assistant en una Raspberry Pi con ArchLinux, vamos a continuar añadiendo dispositivos para su integración en esta plataforma.

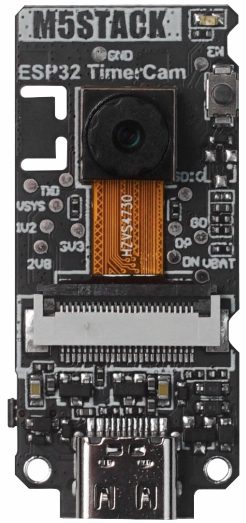
En esta ocasión integraremos una cámara TimerCamera de M5Stack, basada en ESP32, bajo ESPHome, cuya instalación ya vimos en un artículo anterior.

Configuración de ESPHome

Partiremos de una TimerCamera donde instalaremos ESPHome con la siguiente configuración:

substitutions: hostname: 'camara-timer-m5'esphome: name: ${hostname} friendly_name: Cámara Timer M5esp32: board: m5stack-timer-cam framework: type: arduinowifi: ssid: !secret wifi_ssid password: !secret wifi_password ap: ssid: "${hostname}_fallback" password: !secret fallback_passwordcaptive_portal:logger:api:ota: platform: esphomeesp32_camera: name: "Cámara Timer M5" external_clock: pin: GPIO27 frequency: 20MHz i2c_pins: sda: GPIO25 scl: GPIO23 data_pins: [GPIO32, GPIO35, GPIO34, GPIO5, GPIO39, GPIO18, GPIO36, GPIO19] vsync_pin: GPIO22 href_pin: GPIO26 pixel_clock_pin: GPIO21 resolution: 800x600 jpeg_quality: 10 max_framerate: 10 fps idle_framerate: 0.1 fpstext_sensor: - platform: wifi_info ip_address: name: ${hostname} IP icon: mdi:ip ssid: name: ${hostname} SSID icon: mdi:access-point-network bssid: name: ${hostname} BSSID icon: mdi:access-point-networksensor: - platform: wifi_signal name: ${hostname} WiFi update_interval: 60sbinary_sensor: - platform: status name: ${hostname} statusswitch: - platform: restart name: ${hostname} restart

Nótese en el código que se ha habilitado la actualización por OTA, información de la conexión wifi y control de reinicio.

Alta del dispositivo en Home Assistant

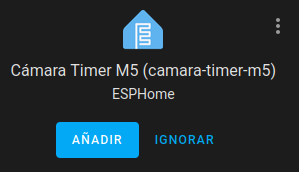
Home Assistant tiene la capacidad de detectar cualquier dispositivo basado en ESPHome, por lo que este aparecerá en la lista de elementos descubiertos.

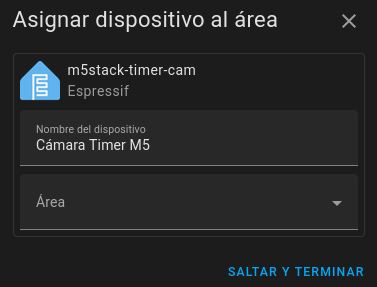
Una vez añadido el dispositivo, podremos indicar su área de aplicación.

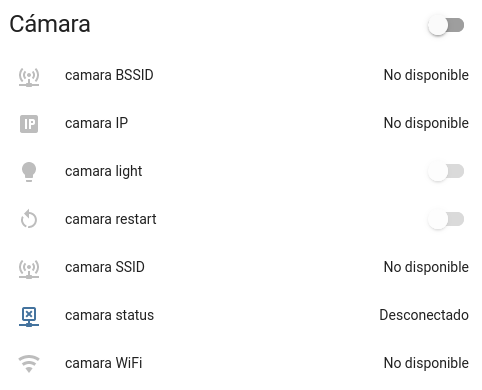
Podremos añadir los controles correspondientes en la interfaz de Home Assistant.

Y, finalmente, podremos añadir una tarjeta en el panel de control a partir de este código:

show_state: trueshow_name: truecamera_view: livefit_mode: covertype: picture-entityentity: camera.camara_timer_m5_c_mara_timer_m5camera_image: camera.camara_timer_m5_c_mara_timer_m5

#cámara #ESP32 #ESPHome #HomeAssistant