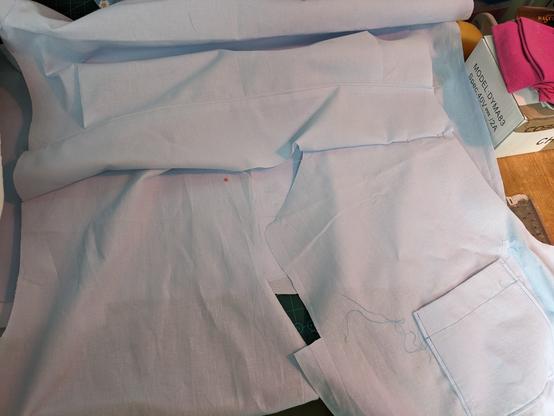
I've topstitched the yoke facing into place and it involved more ironing. Next is more basting, then putting away the body of the shirt and starting on the sleeves.
I have read the instructions for the continuous lap next to the cuffs and I strongly suspect them of being very "now draw the rest of the owl."
Last time I made a shirt, the collar confused me until I had finished it. This time, the sleeve end and cuff are extremely confusing so I hope they'll also become obvious as I plough through.
But I am afraid of the continuous lap. #Sewing
Today I have unpicked and rebasted one sleeve, fully stitched both sleeves, and unpicked both sets of basting.
Next is trimming half one side's seam allowance, ironing in the other side's, and stitching all THAT. So I'm not congratulating myself on my lack of puckering just yet.

Ailbhe (@[email protected])
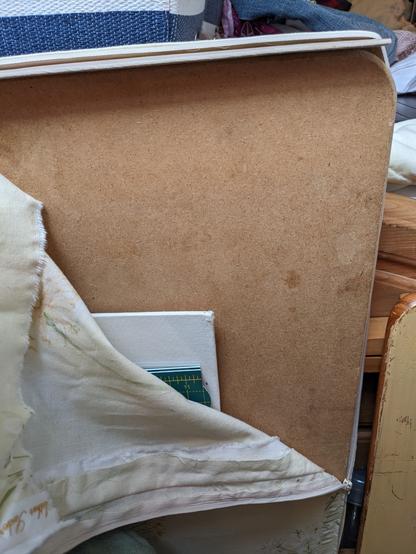
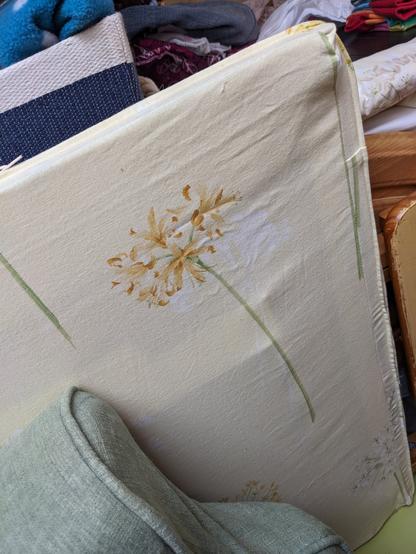
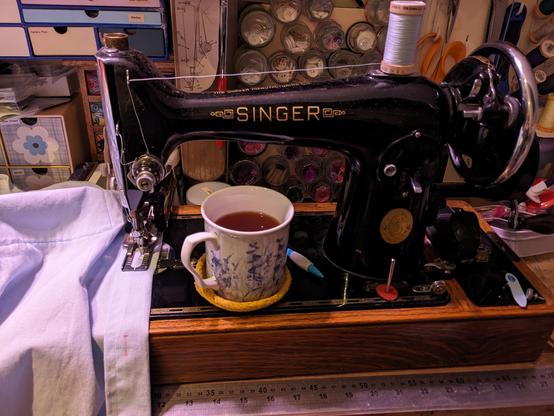
Attached: 4 images The case of my 1940 Singer 201K handcranked sewing machine. The way the storage and case works is so, so simple and clever. #SewingMachine #Sewing
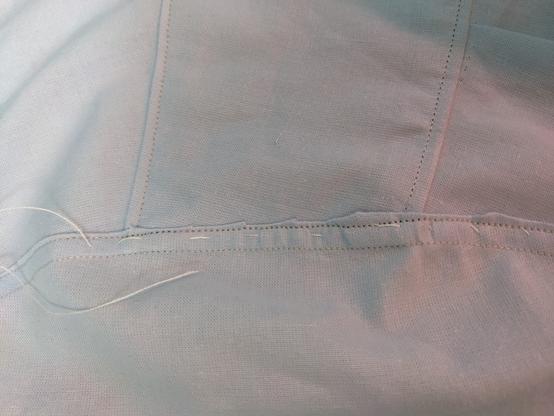
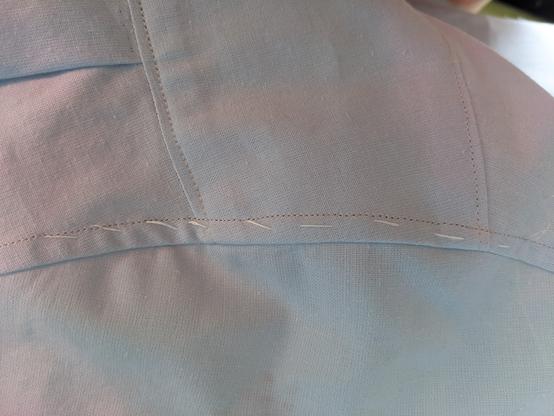
Trimmed seam, ironed seam, folded seam, pinned seam, ironed seam, basted seam, ironed seam, stitched seam (swearing elided for brevity).
The inside isn't great but the outside is fine. #Sewing
Ailbhe (@[email protected])
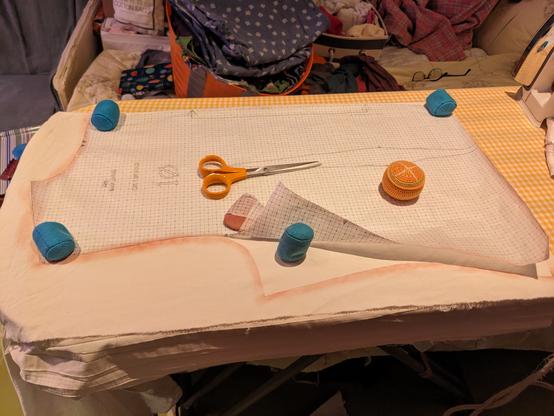
Cut out the fronts, back, and sleeves. Smaller bits tomorrow. Tired now.
#sewing #organisation
https://mastodon.art/@artbyailbhe/111053979534985785
Ailbhe (@[email protected])
Today's #sewing was ironing. Three metres of cotton shirting in preparation for making another from my McCall's pattern. This one will be longer and have sleeves, but will be of a reasonably civilised fabric, so that's exciting. The first one was made of extreeeeeeeemely slippery linen and was like sewing a teflon-coated octopus.

Ailbhe (@[email protected])
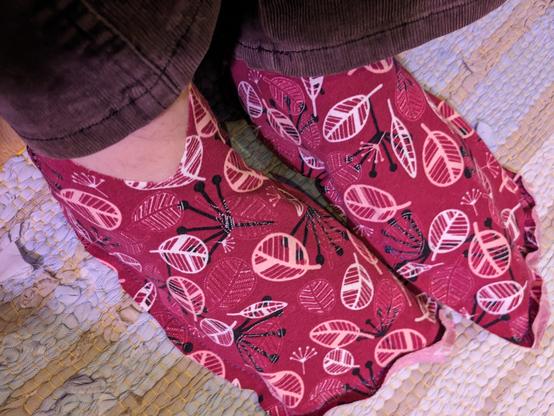
Attached: 1 image I finished the shirt. It's a little short so I'll make it longer in future, but it's GREAT. I'm so pleased with it. The linen is much too drapey and soft for the pattern but it's a functional garment and all the internal seams finished nicely so the wearer is almost completely unaware of the clo once clothed. #Sewing
Buttonholes on the Singer 201k with the Greist buttonholer are an absolute doddle. I'm not yet completely accurate with my starting point placement but everything else is just drinking tea and turning the handle.
https://mastodon.art/@artbyailbhe/110820830320708682

Ailbhe (@[email protected])
Attached: 3 images Today my Greist buttonholer arrived. It comes with five templates, a thingy to cover the feed dogs so that only the buttonholer will move the fabric, and a sense of simplicity and elegance. It's like a walking foot: when the shaft for the presser foot is screwed in place, the lever will fit over the screw that holds the needle in place, and the movement of the needle will operate the buttonholer mechanism. If kept oiled and free of rust, it will last forever. #Sewing #SewingMachine #Buttonhole


No pictures, but I've finished except for tidying stray threads, adding fasteners, and attaching the lining to the hem.
This is because I attached the lining to the hem yesterday but I did it wrong and it's pulling everything weirdly and I have to do it again. Unpick unpick unpick. #Sewing
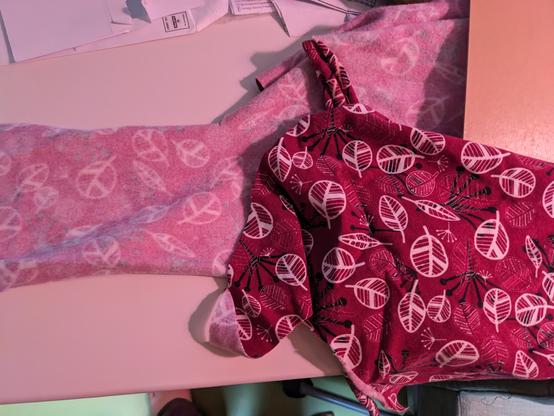
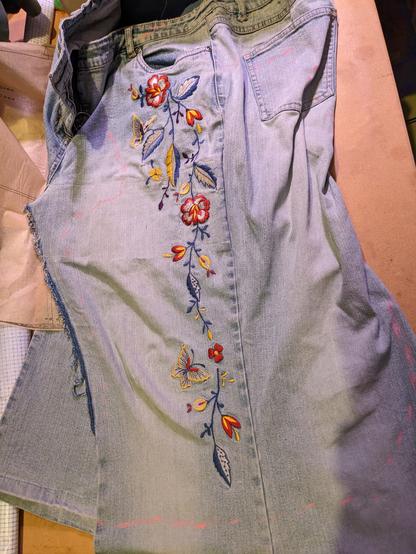
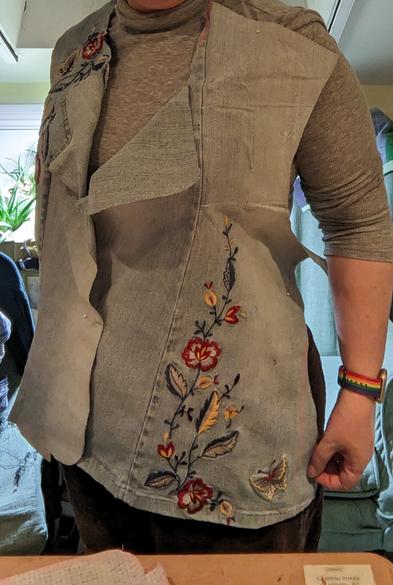
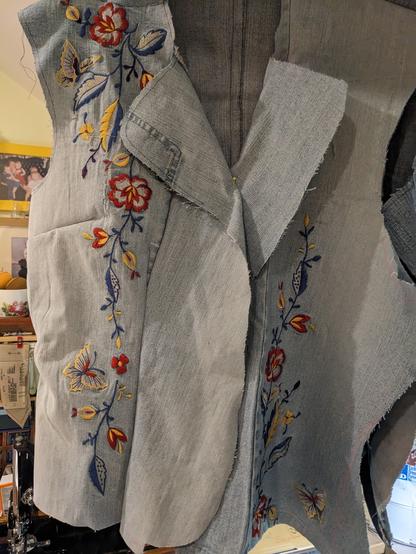
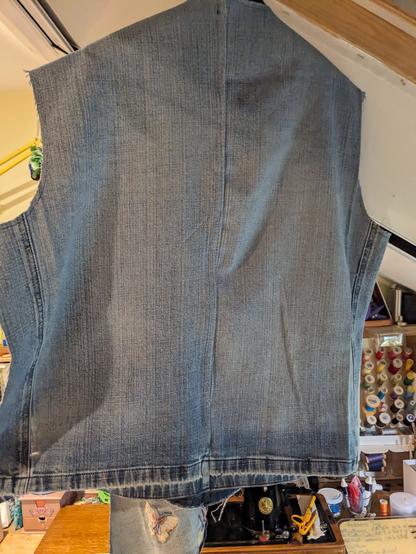
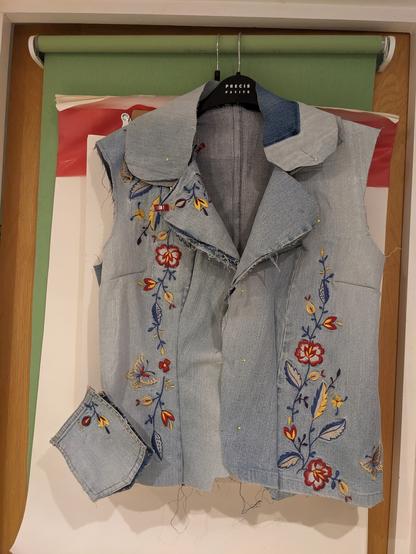
The original idea was to make a wearable mockup from scrap denim, mainly to practice welted pockets before using my wool and velvet. But then I found that the pattern had fake pockets, little patches to mimic a welt but no pocket bags. And then I found my old embroidered jeans. And now it's this.
Next time I make it I will take an inch off the height at the true waist. #sewing #reduce_reuse_recycle #upcycling


