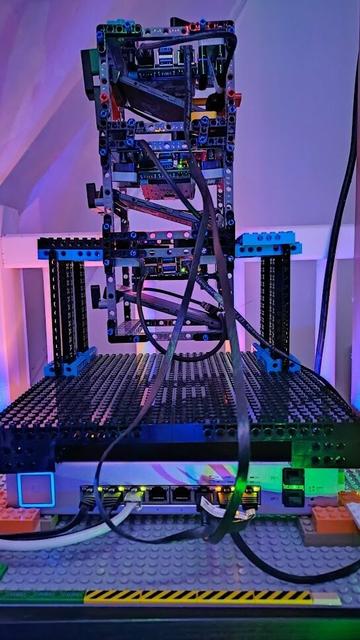
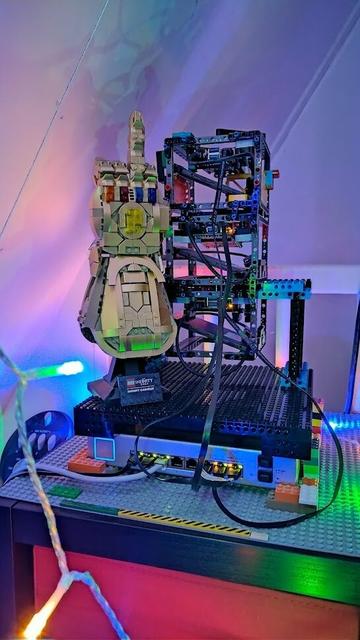
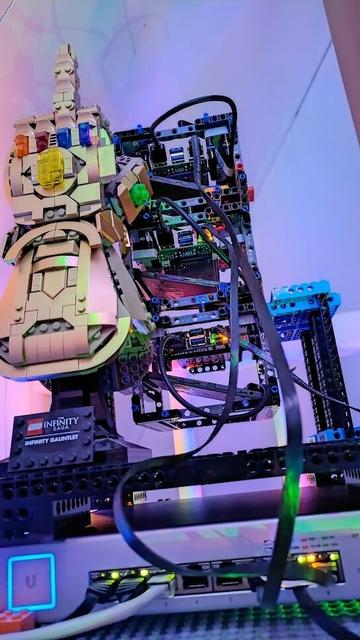
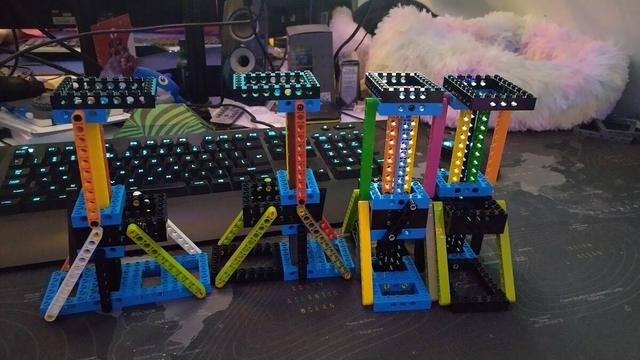
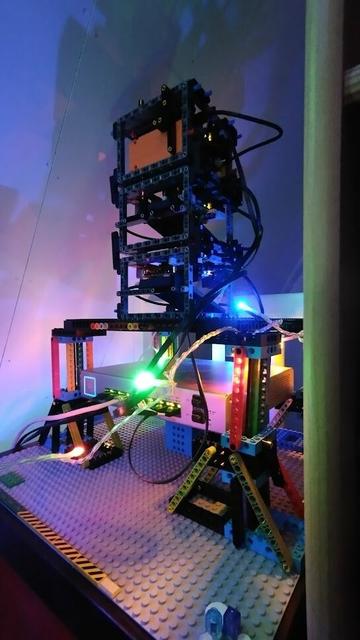
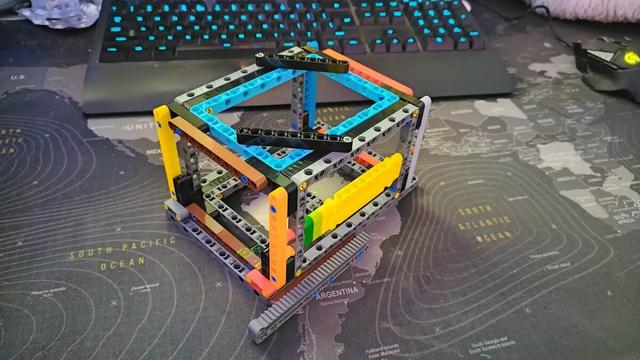
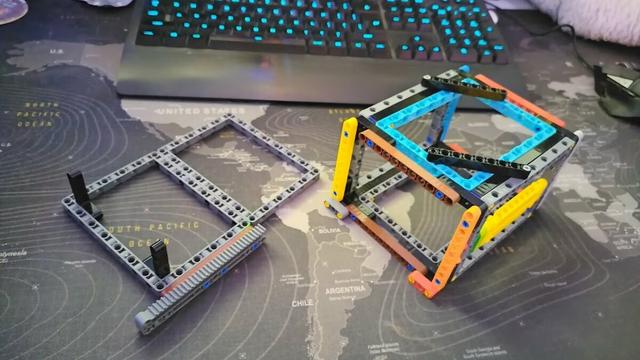
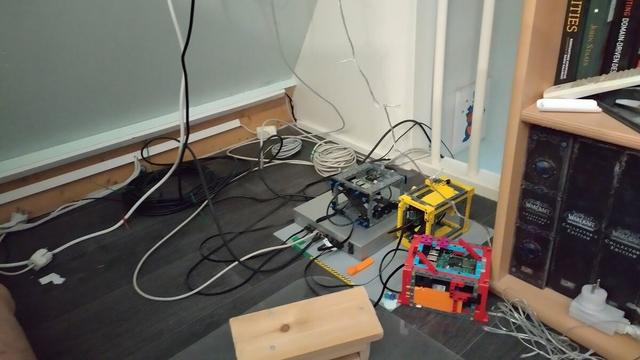
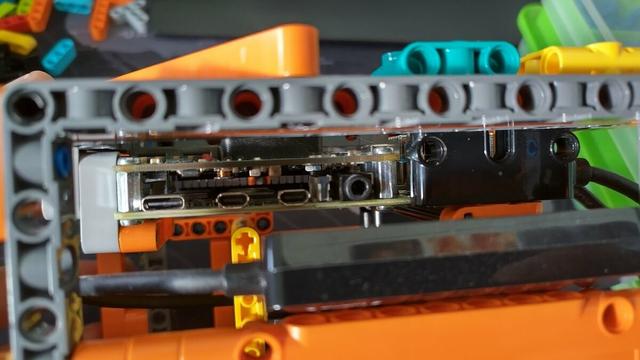
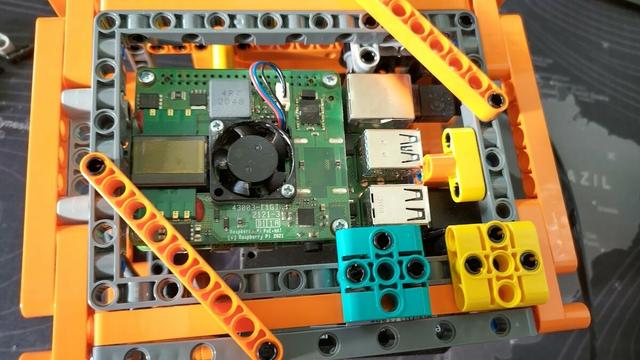
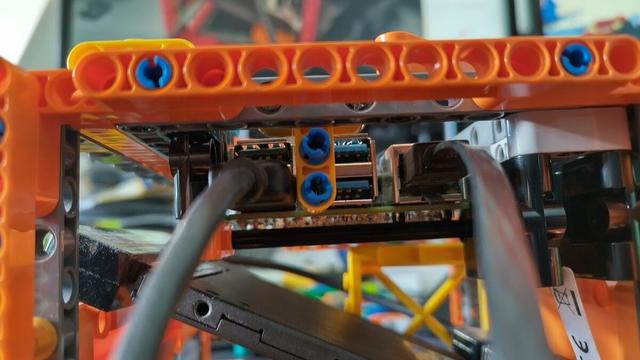
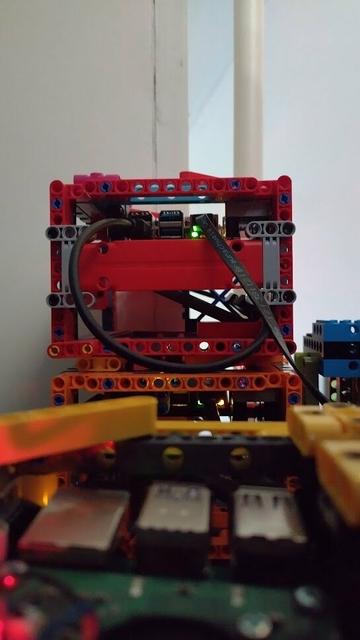
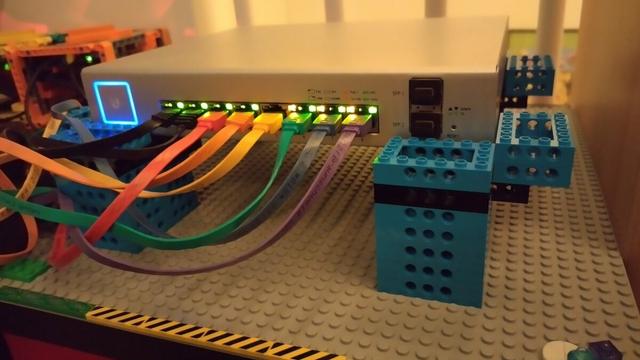
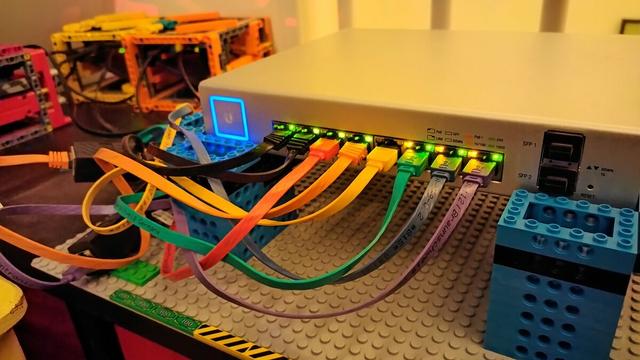
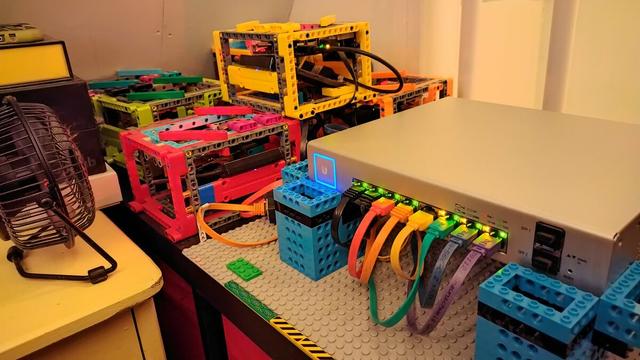
Realised today that I could just stack all 3 into one tower above each other. Like the intended result:
Infinity Gauntlet in meeting mode for scale
Another win for the cluster today is the set up of NFS as PVC storage backend. The SSD's are useful and Longhorn did do what is intended to do. But NFS survives cluster reinstalls. And trying to KISS it here: https://t.co/AwqmBDit7w
Cees-Jan Kiewiet (@wyri@haxim.us) on X

@achetronic Yeah this took me less time to set up and get running than I spent today reading up on Rook:

X (formerly Twitter)
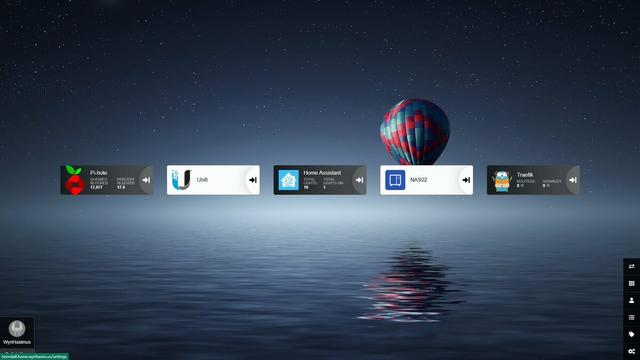
Installed #linuxserverio's Heimdall on the cluster today. A bit sad the #Unifi app isn't an enhanced app, but I'm pretty sure I can muster up writing some #laravelphp to turn it into an enchanted app 🤔
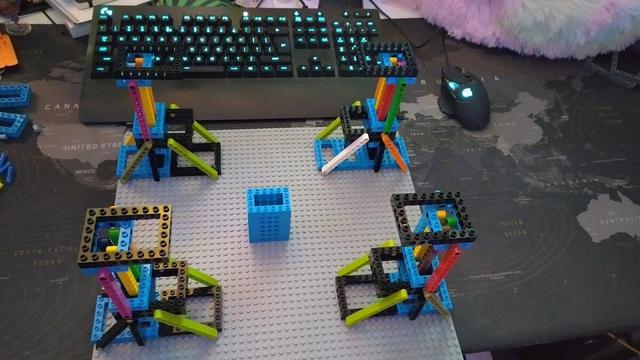
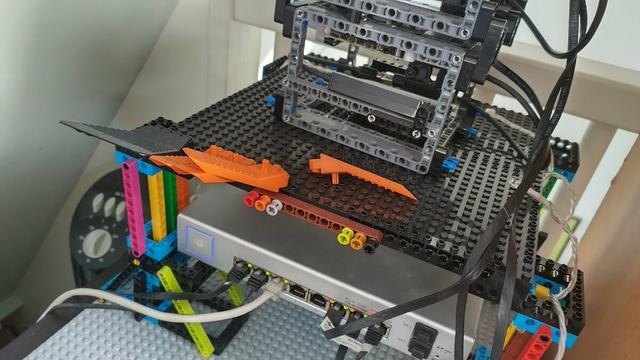
#linuxserverio #laravelphp Had lots of fun this weekend building a platform above the switch. Starting out with these half perfect towers (the top still needs diagonal support before adding more nodes):
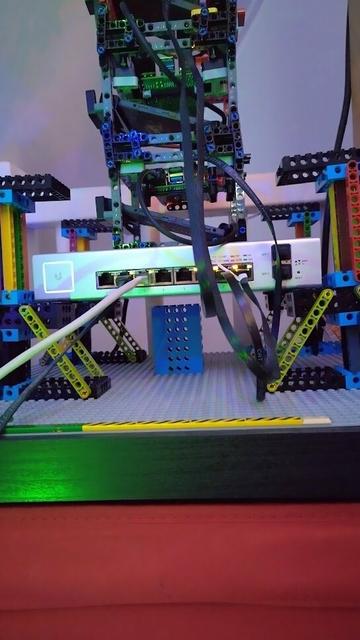
#linuxserverio #laravelphp The switch is placed in the middle on top of the middle blue statch for additional support:
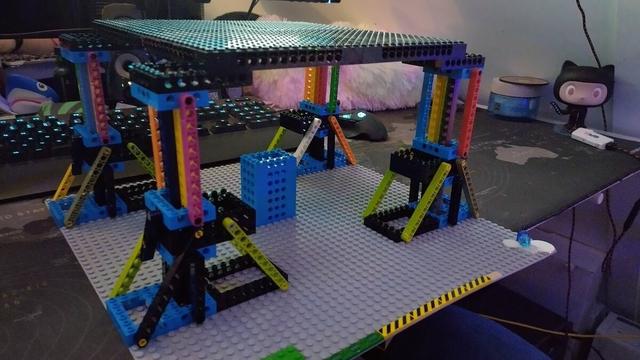
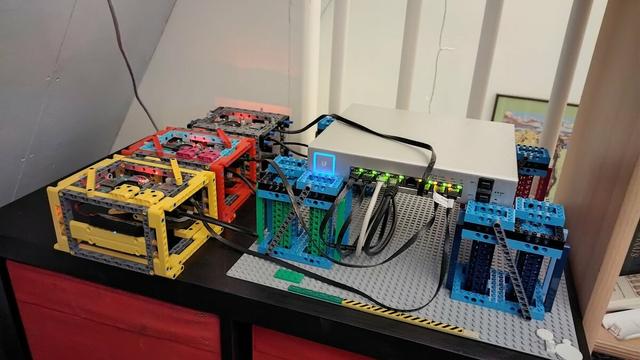
#linuxserverio #laravelphp It looks big, and it is big but this finally means I can start working on a long term cabling plan and have plenty of space underneath the switch to do so and for cooling:
#linuxserverio #laravelphp During the placement (without anything going down FYI), I found a slight miscalculation:
#linuxserverio #laravelphp After fixing that it has been standing fine like this for a day now. Just need to make the space between the top of the switch and the node platform smaller:
Really happy with the results of this weekend. Swapping all of this when all the nodes where up and running and my wife was playing online games that went through this switch made it "fun" as at some point I had the live running nodes on my lap while trying to get the switch in
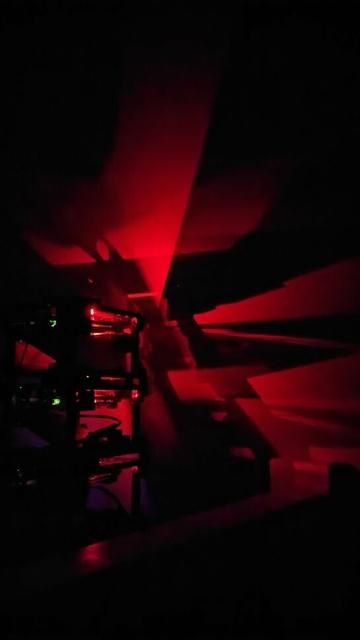
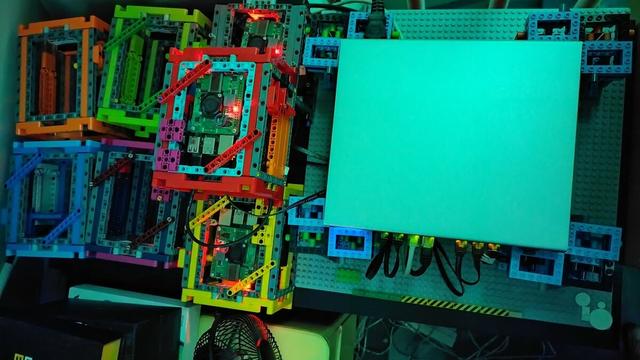
That thing looks like an abstract painting at night 😍
Had some fun yesterday prototyping an easy way to support maintenance/swap nodes out without having to take the rack apart:
Think I found a good way to try and keep the cats off the platform, or at least detect when they get up it:
Worked on a PoC to make adding and removing node enclosures easier by not directly making them part of the structure. But instead by putting them on a cart you can take out:
First "big" success of the cluster: https://twitter.com/WyriHaximus/status/1534893994731352066 (sorry no Toot)
Cees-Jan Kiewiet (@wyri@haxim.us) on X

Nearly 10 years ago my first @Raspberry_Pi arrived. Two years later we moved to a different house. And last weekend, 8 years after that I finally took it off DSMR P1 duty and offline (for now). As it has been succeeded by a #kubernetes node running @home_assistant:

X (formerly Twitter)
Also, it looks like I missed the first birthday of the project (and thread): https://toot-toot.wyrihaxim.us/@wyri/109858081844775179
Cees-Jan Kiewiet :rp: :wm: (@wyri@haxim.us)

Content warning: Kubernetes home lab using lego thread imported from Bird site

Mastodon
The #LEGO node enclosure for Reality came out pretty well last night. Been iterating over this design for months and it's come together really well. Both the #raspberrypi and the #SSD in it are well kept in place. All supervised by #deathwing_t_cat who just wanted a nap 🤣.
Don't try this at home:
Made them in other colours as well, only purple is left to be build:
Came upstairs this morning and found out a certain cat has been on the cluster during the night and made a mess. Now the cool part is that this shows the latest iteration of node enclosure kept the SSD in place for those two nodes:
Been doing maintenance on the cables in the home office today, and as such 3/4 of the cluster was down for a few hours today:
It came back up with the switch in its new raised position after I took the old raise down for redesigning. And you might notice that the #IKEA cabinet it was on is no longer standing, but is now lying on it's side providing double the space and a lot more height to work with:
Now I can put all the nodes directly on the cabinet instead of stacking them on unstable towers. There will be a better more epic #LEGO #MOC to it all once I've figured it all out. But for today I'm happy with the progress:
Cees-Jan Kiewiet (@wyri@haxim.us) on X

It came in today 🎉!

X (formerly Twitter)
Made a minor tweak to keep the node better in place. Not sure if I'm happy with it but we'll see:
It can't move back or forward anymore.
Also experimented with a new rear closer for cable management but folder it behind it put a lot of strain on the cable. Might need to do a few varriations:
Node colour wise the cluster is shaping up
Another important part of this project is cable management. So I started creating a hole different groups of cables can go into the structure. This was the first attempt
This is the second attempt. (Got to love me some #glowinthedark #lego.) Not fully happy but getting somewhere with this. It needs two more whole like this for all 3 groups. (Downstream switch, nodes, and upstream switch.)
Nice little milestone, serving HTTPS from the cluster internally on the home network only. Without port forwarding 😎:

Part of getting this to work was to put all my DNS records for that domain in #digitalocean's nameserver service and let #certmanager do a DNS01 challenge.

So I made the call to put all my DNS records in #terraform making managing it easier and more atomic. This makes migrating

away in the future also easier. And I can have a set of defaults on all my domains.
Minor detail, but it colour coded cabels for the nodes:
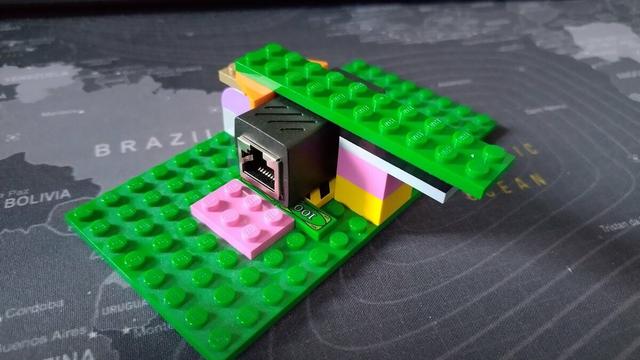
Initial prototype to keep an RJ45 patch block in place with just plain and simple standard #LEGO_Group #lego 😎.
#LEGO_Group The locking in place in action on video:
#LEGO_Group This will make sure I can keep the cool external aesthetics of the coloured cables from the switch, without having to pull that throughout the MOC to the nodes (it just makes maintenance also a lot easier): https://toot-toot.wyrihaxim.us/@wyri/111193914559469567
Cees-Jan Kiewiet :rp: :wm: (@wyri@haxim.us)

Attached: 1 image · Content warning: Kubernetes home lab using lego thread imported from Bird site

Mastodon
Also lowered the switch, these legs are both more solid and require 100 or 200 connector pegs less to keep it up. The previous design had a flaw where the top was turned/twisted a few degrees out of alignment with the bottom due to the tensions in the design.
Also with this new design I can put the fan you see to the right inside to cool the switch off extra when needed. (It should only be needed during heatwaves; plus temperature is monitored through several systems.)
s/right/left
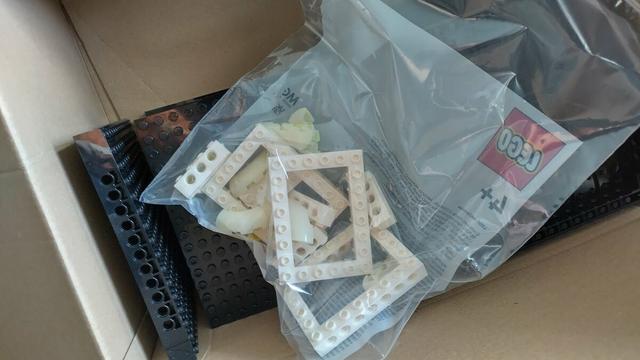
New parts came in while I was for work on the other side of the pond. All for the base plate, and cable management at the front:
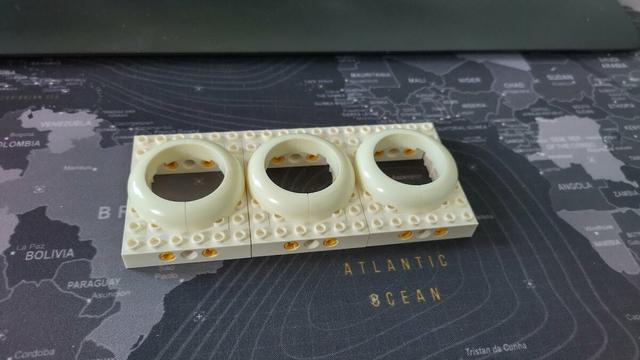
The front cable management looks like this and will divide different groups of cables into different sections:
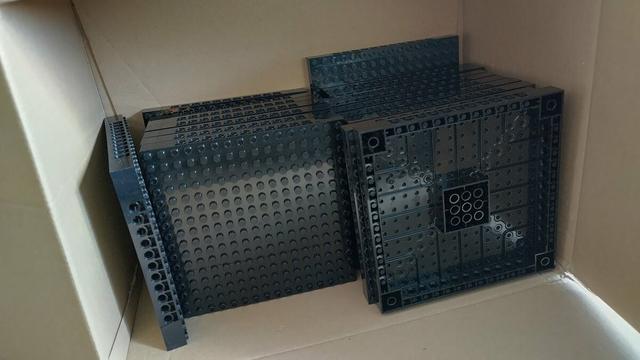
The baseplates, all 18, will replace the current 48x48 grey baseplate and making it much more sturdy and expandable in the future:
It's a bit of work putting them in rows of 3:
Putting that together gives a nice solid base plate, covering the entire designated space:
While doing this I learned that #LEGO_Group 3x6 "BRICK 4/3, 16X16 W/ 4.85 HOLE" (element ID 6302092) matches the size of an #IKEANederland KALLAX cabinet (https://t.co/erKDPgpjLT) perfectly:
Open kast, KALLAX, zwartbruin, 77x42 cm

Bestel Open kast, KALLAX, zwartbruin, 77x42 cm bij IKEA · 365 dagen ruilen · Thuisbezorgd of ophalen vanaf € 3.99. IKEA, Een wereld aan ideeën.

IKEA
It took me a bit of timing, and cable patching, to get all cables through the cable management holes. The #Kubernetes cluster never went down as it was shifting workloads between nodes as the cables were patched:
The result is pretty decent
Internal cable management still needs some work 🤣
Table of contents for the blog series of this project incoming in a week or two: https://twitter.com/WyriHaximus/status/1580295782783016960
Cees-Jan Kiewiet (@wyri@haxim.us) on X

Started writing the first blog post of this Twitter thread: https://t.co/iuUdBOHixy

X (formerly Twitter)

Ok the ToC is up a bit earlier: https://blog.wyrihaximus.net/2022/10/building-a-kubernetes-homelab-with-raspberry-pies-and-lego-table-of-contents/

Partly because it was quick and easy to write. Onto a post with more insights

Building a kubernetes homelab with Raspberry Pi and Lego: Table of contents

For years I've been using Raspberry Pi's to do in home automation. One of the major constraints was maintenance, if one goes down I have to look at it while things are down. This made running Home Assistant less than ideal. After working with Kubernetes for a few years I decided to bring it into my home permanently. But with a challenge, by using Lego. During the Pandemic we got back into building Lego and this is a way for me to bring my Lego skills to the next level. The post is probably the most boring one as it is the table of contents. However, it will be updated every time a new post is published. Also, posts won't be written in a logical order but more in order of the things that are already done. As such the "Home Assistant" post will come before the "Node Software set up" post because the former can be done again without changes or data loss due to the "Terraform" and "Storage" posts.

Cees-Jan Kiewiet's blog
Building a kubernetes homelab with Raspberry Pi and Lego: Persistent Data Storage for PVC's

While most apps are stateless, the often do need to store state somewhere. In Kubernetes you can use a Persistent Volume Claim. That claims a piece of storage for the pod for now and in the future.


Cees-Jan Kiewiet's blog
The #lego parts for the RJ45 plug holders came in today. Here is one of them I build to make sure the parts and idea fully worked. But since we put the parts in a personal advent calendar it's going to take up to christmas before all of them are assembled and on their spot.
My little junior OPS mentee is really excited about his role managing the #home #lego #kubernetes #raspberrypi #cluster, down to the sniffing
3/6 RJ45 holders pick up from the advent calendar, with 3 to go and 4 days left it should be straight forward getting the last 3 as well before I can start hooking them up at the rear of this MOC
Meet #time, the new node that will trial https://www.talos.dev/
Talos Linux

Talos Linux The Kubernetes Operating System What is Talos Linux? Talos Linux is Linux designed for Kubernetes – secure, immutable, and minimal.

TALOS LINUX
#SSD and the #USB to #SATA adapter are coming later this week and early next week. If all goes well with https://www.talos.dev/ it will replace k3os. This is also the first time in 9 months I got my hands on a #raspberrypi 4 8GB, thanks to #kiwielectro
Talos Linux

Talos Linux The Kubernetes Operating System What is Talos Linux? Talos Linux is Linux designed for Kubernetes – secure, immutable, and minimal.

TALOS LINUX
#kiwielectro Put the #RJ45 blocks in place, it's going to make managing cable a lot easier now. In the end, each node will have matching cables because both sides of the row are on the other side cables 🤣.
Cables are still somewhat messy but this is a good step in the right direction. Already have some ideas for the next steps, including a nice exit hole for the power cable
Had another experiment yesterday to be able to slide the #raspberrypi #kubernetes node enclosure in and out of the #lego MOC. The bottom is pretty solid. But the higher I got the worse it got. Sliding in and out is great, needs some tweaks but it will work. The network and #USB
cables I wanted to plug in behind it. But that would mean getting deeper and under the roof (the "roof" shown in the photos for sure won't make it into the final version). So considering making plugs in the side to plug the node into MOC.