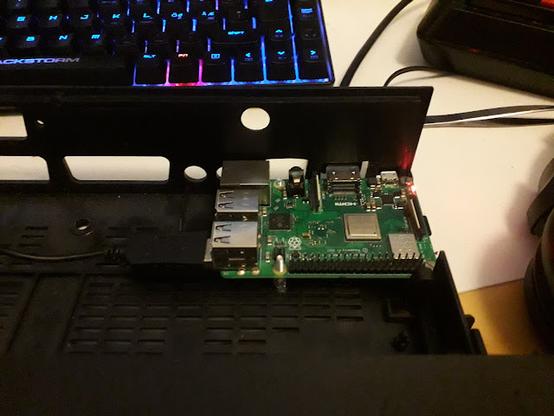
Let's have a look at the Amibian Amiga emulator on Raspberry Pi 3.
First I used Etcher to write the .img to the Micro SD card.
First time boot, exit the emulator config screen ("Quit"), use raspiconfig and find the option for extending the SD card filesystem. (It might not be on the first page of menu items). Then Finish and prepare to reboot.
It takes a few seconds to get to the config screen. F12 switches between the config and the emulation.
It's also possible to again Quit to the linux command line and examine the folders and change the various settings. There you can update the system, too. The command line parts have simple assistive menus so I'd think less advanced users might find what they want.
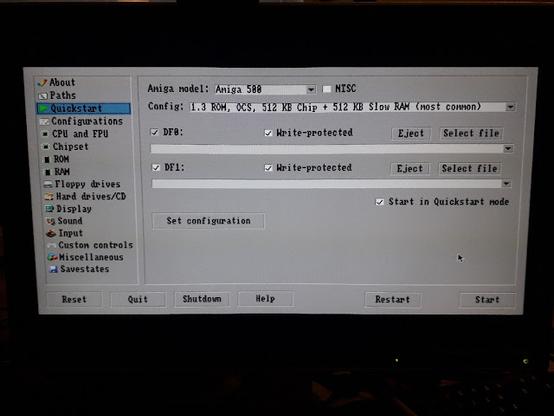
In the graphical config menu again, if the Amiga files are on a separate USB stick, navigate to /media/usb0 to get there.
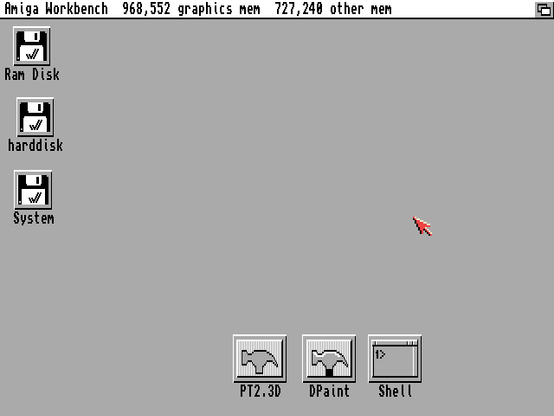
You can select ROMs (e.g. kick13.rom) from anywhere, but at amibian/amiga_files/kickstarts they will be convenient.
To get your system to boot as directly as possible to the Amiga Kickstart, quit the config, use "Emulators setup", "emulator config" and "uaeconf1" to select for example config 1 as the one that starts automatically. You can also use the uaeconf1 directly without resorting to the menus. From the graphic config untick "show GUI on startup" at Miscellaneous tab.
To change or creatively remove the Amibian logo from boot, change the contents at amibian/boot_pictures/
As the linux shell background has been set as blue, it will flash in sight during the boot sequence. This was mildly annoying.
This can be changed by editing the file called .profile (e.g. nano .profile) at the home directory (the one you land at after Quitting the config). Change the "background blue" into "background black", so the boot process looks less aggressive. In theory you could set the font to black too but this isn't very practical as the shell is needed!
Composite video
I was curious about how well the Amibian would show composite video.
This is not an entirely minor point as many modern computer monitors won't do 50hz, but the 1084S does and it's also a period-authentic display.
Using the Raspberry Pi video splitter cable, the tiny audio/video connector can be divided into RCA Composite video and stereo audio.
Changing the config.txt on the Raspberry partition enables composite video output.
sdtv=2 gives interlace and sdtv=18 enables progressive scan.
There's an option that enforces HDMI even if no HDMI cable is connected, so this has to be commented out too.
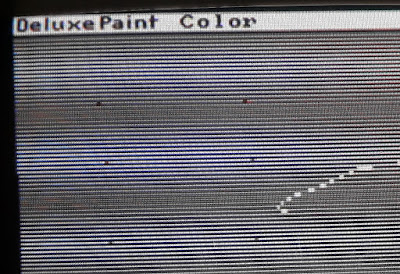
I have to say Amibian appears not to be as sophisticated with video options as the recent BMC64. I will easily get pattern artefacts at least with 1084S. Adjusting the overscan settings in config.txt did not help.
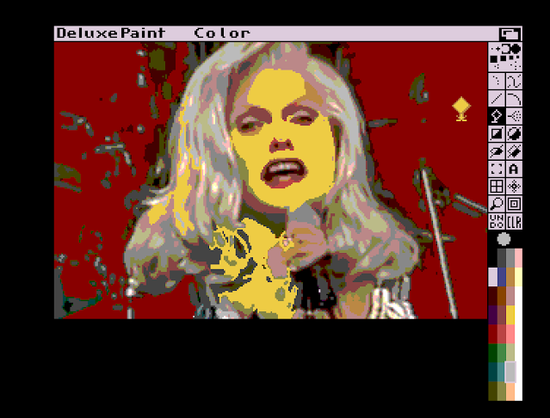
This may not be a big deal in many games, but it is obvious when making horizontal lines in Deluxe Paint.
How about screen refresh? Trying some games ( Battle Squadron , Rodland, Giana Sisters ) the screen sync was fine, but the demo Enigma by Phenomena started revealing hiccups in the screen update and there were some graphics glitches too.
This has nothing to do with the composite, as HDMI showed the same effects. But the glitches might also result from incorrect Amiga settings rather than the Amibian as such.
It's also possible the Raspberry just can't emulate it all fast enough when it comes to more Amiga-specific bitmap and screen handling.
But, arguably the refresh rate was generally more stable than the 50 adapted to 60 on UAE on my Linux+computer monitor. The demo didn't have the glitches on Linux emulation so the adf is unlikely to be corrupt.
HDMI
Less of a purist can go with HDMI and it might be easier on the eyes.
You can't get audio from the composite/audio connector while the HDMI is connected, so you need to depend on your HDMI to deliver that, too. I had a HDMI->VGA/Audio splitter which separated the audio output to a mixer as my display doesn't have speakers (or HDMI for that matter).
A television does better than a computer display, as it is more likely to do 50hz and playback the audio through the HDMI.
My poor ears could not notice any particular audio problems. Of course with headphones the Amiga stereo separation can be unbearable, but as I had the sound go through a mixer anyway I could adjust the situation.
Other considerations
Trying Frontier: Elite II with an anomalous setting of an A500 with "Fastest" speed (I guess the maximum) the game plays quite smoothly. It can still choke on very high detail. The speed can be changed on the fly, and making an eyeball judgment here the "fastest" speed looks like at least twice as fast as the 25mhz setting and the launch from Ross 154 with high detail is quite smooth.
So from this I'd judge there is enough raw power in the Raspberry 3 to run an Amiga, it's just that there are some features it can't pull off that easily, and these can be more apparent in scenedemos. I didn't test a lot of software though.
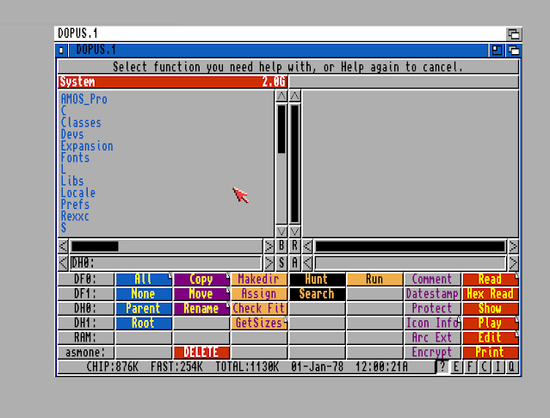
I experienced keyboard problems when typing, but this meant I had to remove the keyboard from the joystick emulation. After that the keyboard worked ok for AMOS Professional :)
The Logitech Gamepad F310 was recognized easily and worked fine. The config menus can be operated with the gamepad. Putting "Enter GUI" to the start button enabled me to reach the config from the joypad, however the function actually went to the left shoulder button. So a lot can be done without a keyboard if you have set things up cleverly enough.
I would have liked to connect a real Amiga keyboard to the GPIO or at least a joystick. The keyboard would probably require far more work than the Commodore 64 solution.
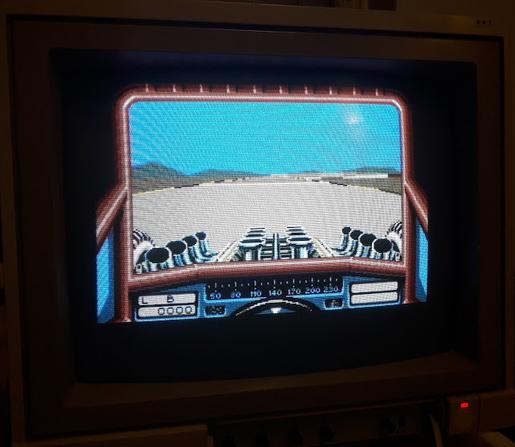
Edit: I could use the USB wanna-be Competition Pro joystick that came with THE C64 to give some more "authenticity". With Stunt Car Racer it felt better than a modern gamepad.
When connected to HDMI, it's hard to see an advantage or difference compared to having UAE on your main computer, for example running on a second screen. It's of course nice to see the Raspberry is so capable.
With composite video, the nostalgia factor is higher but the video options couldn't get rid of the horizontal line artefacts and it's possible a proper Amiga screen just can't be achieved in all situations.
The best use situation is with a HDMI 50hz television.
Amibian from here: