49 Followers
79 Following
183 Posts
As a kid I liked taking things apart. Ever since I'm learning how to put them back together again.
PronounsHe/Him
Call Sign4Z5ZF

Printed the first "Benchy" with the SV08. It came out nice, with just a bit of stringing. The details are showing very well. For comparison, the Creality K2, I got for the company lab, had a more coarse result, with the bottom and the roof looking rougher.

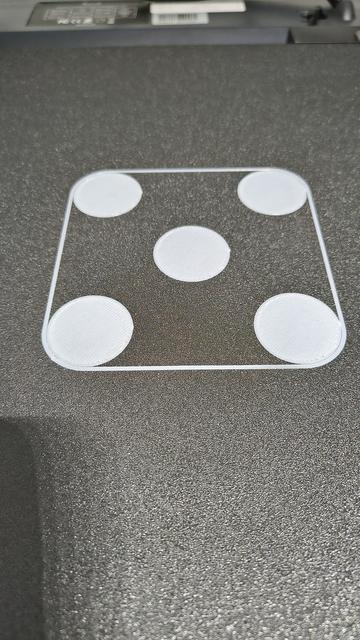
More of a concern is the bed warping. Did a height map after 20min. of hot soak and I see a 0.541mm of height range which seems a lot.

#3dprinting #sovol #sv08 #benchy

Done assembling this little beast. Overall it was a breeze, took me only an hour and a half. The assembly instructions were clear though they could be better. First leveling test print after calibration came out very good.
I filmed the whole assembly process, wondering if I should edit and upload it somewhere.

#3dprinting #sovol #sv08

The 3D printer arrived yesterday. Hopefully will find some time over the weekend to put it together. First thought, I have sit with my kids on some History and Mathematics.
Funny how I'm already thinking of the upgrades I would like to do, even before putting it together.

#3dprinting #sovol #sv08 #voron

Here's to a new beginning. Hopefully, doing something truly good this time.

Happy Hanuka!
Frohe Weihnachten!
Marry Christmas!

חג שמח!

It was a "prepare the roof for winter" weekend. Luckily there were no air-raid alarms, as I doubt I could have made it off the roof in time. We have a cornice all around the roof that started to peel at the top. Cleaned and re-applied some new and expensive sealant to the whole thing. Hopefully it will last longer in the unforgiving sun than the previous sealant. Also did some other preemptive small fixes. Always better to fix before the rain gets in.
This Quansheng UV-K6 radio is a neat little thing. Especially with the custom egzumer firmware and all the functionality it adds. Really makes the case for open source radio HAM radio devices. (Even if that is not what the manufacturer intended.)
Here are directional coupler measured results for both 'Forward' and 'Reflected' coupling. In both cases I get about -60dB attenuation. The Rigol probes I used are -20dB each, so need to add 40dB for the real world number. I get -20dB which is what I was aiming for. Still not clear about the "bump" at ~4.5MHz and the drop before it. As the tuner will be for +8MHz frequencies, I'm not too worried about it.
So finally got around to measuring the directional coupler. A few lessons first:
1. BNC to banana jack adapters are only good for DC. Thought those could be good for lower bands RF. They're not.
2. Oscilloscope probes do work fine for HF RF. For 10:1 probes, take the attenuation into account.
3. Having trouble with nanoVNA? Getting crashes on nanoVNA-saver? Upgrade the firmware. I didn't upgrade mine since I bought it (in 2019).
For an auto antenna tuner I'm building, made a directional coupler. It should provide -20dB on forward and reflected outputs. Made a base PCB in #kicad. Primaries, 1 turn, are 0.65mm wire and secondaries are 10 turns 0.38mm. Next to test it out with the nanoVNA and see how close to spec. it is.