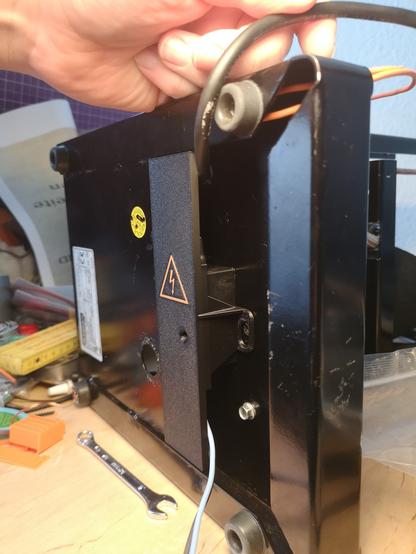
Okay, it's a while since the last post in the thread about the rebuild of a #Rancilio Miss #Silvia #Espresso machine.

If you haven't seen it yet it's over there
https://meow.social/@Kuraiko/110864976633377176

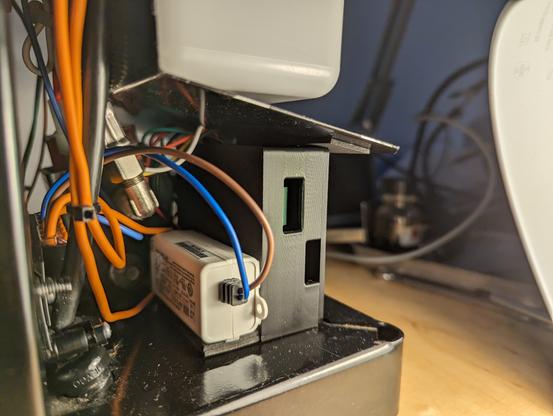
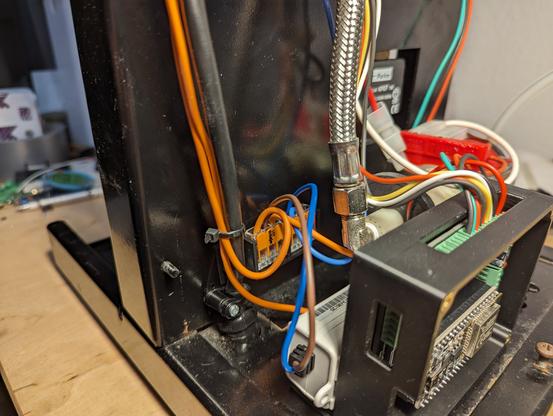
In the meanwhile I was busy collecting parts & building a prototype board for a existing project we'll want to use as a base for our modification: #CleverCoffee https://github.com/rancilio-pid/clevercoffee

Had it running for 6h and it holded the temperature perfectly (+- 0.5°C)

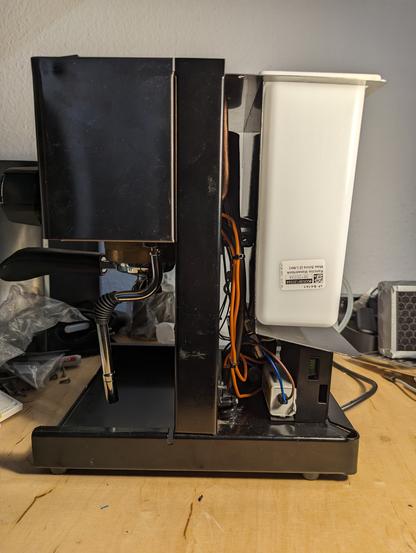
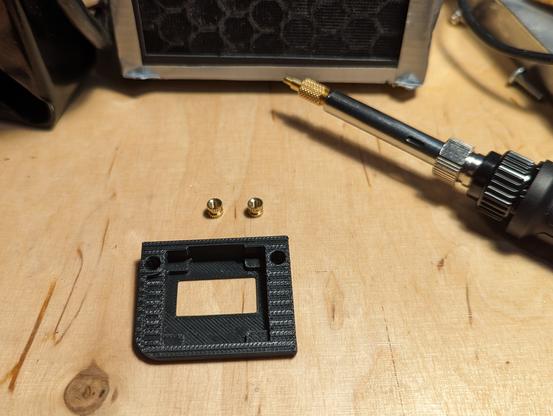
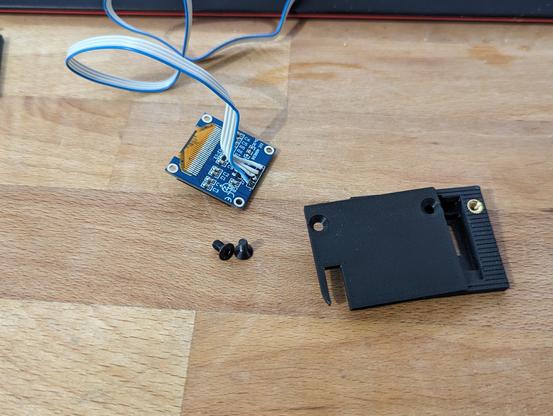
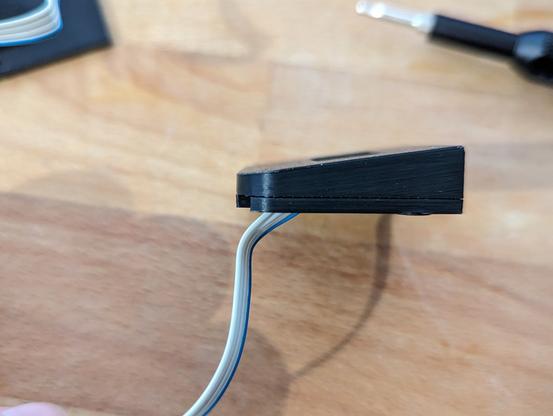
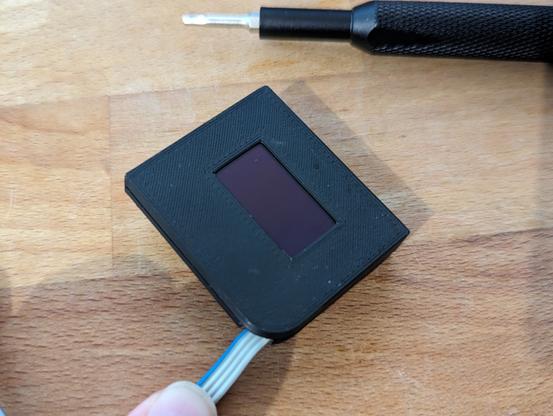
Also printed a basic case for the prototype to install it beside @ghostbear2k's machine.

Kuraiko (@[email protected])

Guess I bought a Porta filter #Espresso machine... I mean that doesn't sound weird on it's own, right? But actually I don't drink any coffee at all :blobfoxlaughsweat: Just bought it for prototyping the modification of @ghostbear2k's espresso machine. :blobfoxlaugh: :blobcatheart:

meow.social - the meowstodon instance for creatures fluffy, scaly and otherwise

Also designed a bracket for the SSR we're using to mount it under the machine because this is probably the coolest spot so we can use the steel frame as a cooler even if the SSR should be able to handle the load od the heater without any cooler up to 40°C ambient temperature.

Used SSR is from Panasonic.

#Espresso #coffee #3dprint #electronics

@ghostbear2k

Installation is pretty easy if you only want PID temperature control and let everything else as it is. (which we won't. This is only the first milestone)

Just remove the old brew thermostat (it should be the left one if you look on the boiler from the front - the one with the red dot) connect the cables from the SSR on both connectors which were on the thermostat and install the new digital temperature sensor. (installation is a bit... Provisional even if it's the 'official' way from CleverCoffee. Wanna try to find a better way for the final installation)

#Espresso #coffee #electronics

@ghostbear2k

New PCB, new #3Dprinted parts... More wires and cable management...

Bottom View:
Self designed bracket with integrated cable holders which is screwed in the electronic box so that it can be easily removed without damage.

Back view:
self designed electronic box with the #CleverCoffee PCB installed and wired for PID only. Also, visible in the background, a modified #Wago holder.

Top view open: wiring of the machine with the additional cables for the PID and display.

Top view: Top cover installed with the new display holder. I've modified it pretty much... added a bottom plate which is screwed on the top part (original) with an integrated magnet to hold it in place. The original was only the top frame and should be glued on the cover with double faced tape...

@ghostbear2k

#Espresso #Rancilio #ranciliosilvia

Some more detail shots of the installation... and it's a pretty snug fit... but since the water tank doesn't touch the 'deflector' plate it shouldn't be a big problem... added a piece of cellular rubber so it doesn't rattle, though.

@ghostbear2k

And now... tear it down and remove everything shown... pack it for the weekend.

Because @ghostbear2k bought himself the machine's big sister a #Rancilio Silvia Pro X everything shown today is only to properly install the PID in his machine for selling. This was just installed to cut the wires to the correct length, design the 3D printed parts and check if everything works...

This journey probably ends here...

Here are some detail shots of the display holder:

Top part is:
https://www.thingiverse.com/thing:6334937
bottom part is self designed.

@ghostbear2k

Thingiverse - Digital Designs for Physical Objects

Download files and build them with your 3D printer, laser cutter, or CNC.

Thingiverse
Rancilio Silvia Screen Mount for OLED SSD1306 with Magnet by Kuraiko

Remix of FunnyGermanGuy's remix of Laurmans Rancilio Silvia Screen Mount. I added a bottom plate with an integrated magnet which is screwed on the top part because I didn't want to glue it on. Top part is mostly original, just closed the opening for the cable and added two holes for heat inserts (M3 4mm x 5mm) To insert the magnet (10x2mm) you have to stop the print at layer 16, insert the magnet and continue the print. Note: It usually fits perfectly into the corner, the corner on this machine is just deformed (damage during shipping) The original part is flat with the top edge of the rim, this one is a few millimeters higher because of the magnetic bottom plate.

Thingiverse
Printables