#mittelpunkt #center #myphoto #iphonephotography #copper #windings #variac Im mittelpunkt #FotoVorschlag
Bright Lightbulb Saves Old Radios
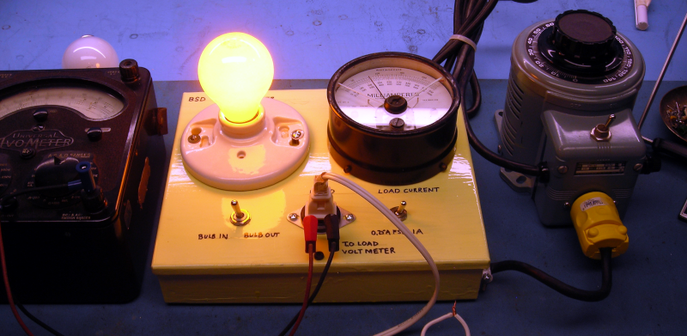
If you work on old equipment, you know that there's always that tense moment when you first plug it in and turn it on. No matter how careful you have been, there's some chance your garage sale find is going to go up in smoke. [BasinStreetDesign] built a little box that can help. On one side is a variac and the device you want to test goes into the other side.
In the middle? A lightbulb, a few switches, and a meter to monitor the current. The magic happens because the lightbulb will stay relatively cool and only light dimly if the device under test is drawing an appropriate amount of current. You match the bulb wattage with the approximate watts you expect the load to draw. If the device's power is shorted to ground, though, the bulb will light brightly and this causes the lightbulb's resistance to increase, thus helping to protect the device.
Of course, this is an old idea but we liked the construction method and the inclusion of a variac. The ammeter is great, and there is a connection for an external voltmeter that has some short-circuit protection. We might have opted for a second built-in voltmeter. The analog meters add to the old-school ambiance, but digital meters could be interesting and are easy to find these days.
Be sure you match the lightbulb wattage to your load. If the bulb is too small, it will light anyway. Think of it as a voltage divider. If the bulb is too small, it will have a higher resistance than the radio and get most of the voltage across it, leaving very little for the test device. If it is a higher-wattage bulb, it will have a lower resistance and the radio will take most of the voltage. In either case, the current through will depend on both resistors. If the radio is shorted, or nearly so, its resistance will be close to zero and that's why the bulb will light brightly.
If you want a more classic build along with suggested test procedures and tips, there's a good article over on antiqueradio.org. If you do decide to go with digital displays, consider a steam punk aesthetic like [Christine's] radio project. Or, you could overengineer the variable transformer.
#radiohacks #repairhacks #dimbulb #dimbulbtester #lightbulb #variac #vintage
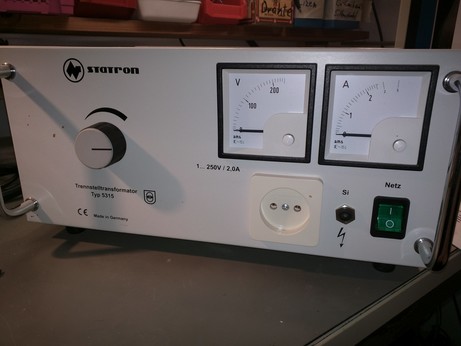
Custom Isolated Variac is Truly One of a Kind
It's no surprise that many hardware hackers avoid working with AC, and frankly, we can't blame them. The potential consequences of making a mistake when working with mains voltages are far greater than anything that can happen when you're fiddling with a 3.3 V circuit. But if you do ever find yourself leaning towards the sparky side, you'd be wise to outfit your bench with the appropriate equipment.
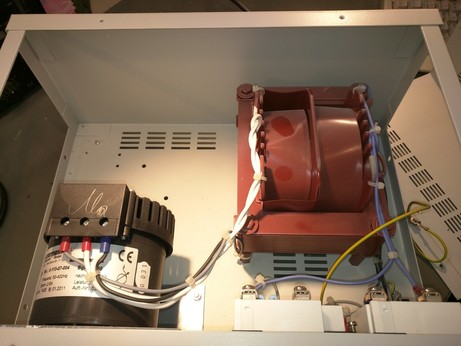
Take for example this absolutely gorgeous variable isolation transformer built by [Lajt]. It might look like a high-end piece of professional test equipment, but as the extensive write-up and build photographs can attest, this is a completely custom job. The downside is that this particular machine will probably never be duplicated, especially given the fact its isolation transformer was built on commission by a local company, but at least we can look at it and dream.
This device combines two functions which are particularly useful when repairing or testing AC hardware. As a variable transformer, often referred to as a variac, it lets [Lajt] select how much voltage is passed through to the output side. There's a school of thought that says slowly ramping up the voltage when testing an older or potentially damaged device is better than simply plugging it into the wall and hoping for the best. Or if you're like Eddie Van Halen, you can use it to control the volume of your over-sized Marshall amplifiers when playing in bars.
Secondly, the unit isolates the output side. That way if you manage to cross the wrong wire, you're not going to pop a breaker and plunge your workshop into darkness. It also prevents you from accidentally blowing up any AC powered test equipment you might employ while poking around, such as that expensive oscilloscope, since the devices won't share a common ground.
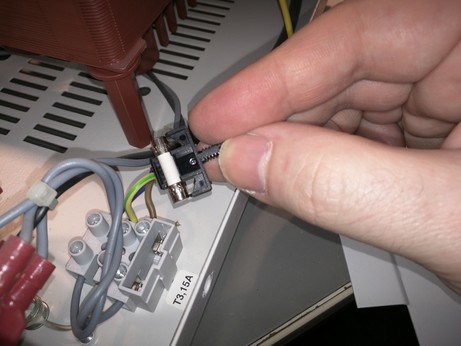
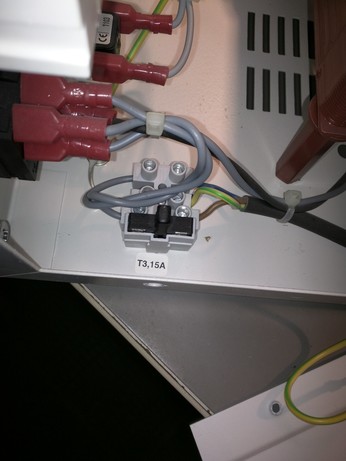
Additional safety features have been implemented using an Arduino Uno R3 clone, a current sensor, and several relays. The system will automatically cut off power to the device under test should the current hit a predetermined threshold, and will refuse to re-enable the main relay until the issue has been resolved. The code has been written in such a way that whenever the user makes a configuration change, power will be cut and must be reestablished manually; giving the user ample time to decide if its really what they want to do.
[Lajt] makes it clear that the write-up isn't meant as a tutorial for building your own, but that shouldn't stop you from reading through it and getting some ideas. Whether you're in the market for custom variac tips or just want to get inspired by an impeccably well engineered piece of equipment, this project is a high-water mark for sure.
#toolhacks #arduinouno #currentsensor #isolationtransformer #relay #testequipment #transformer #variac