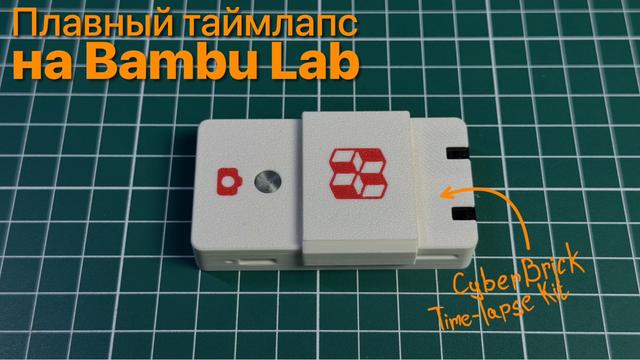
CyberBrick Time-lapse Kit: как снять плавный таймлапс с 3D-принтерами от Bambu Lab
В 3D-принтерах Bambu Lab есть встроенная камера для удалённого мониторинга печати. Помимо всего прочего она может и записывать таймлапсы, но качество таких видео оставляет желать лучшего: в кадре постоянно перемещается головка принтера, нельзя выставить нужный кадр, разрешение видео слишком маленькое, а на монтаже мало контроля над финальным результатом. Решение проблемы — CyberBrick Time-lapse Kit : набор из двух плат, которые подключаются к внешней камере и позволяют 3D-принтеру делать снимок после печати каждого слоя. Полученную серию фотографий можно превратить в полноценный таймлапс практически в любой программе монтажа.
https://habr.com/ru/articles/1017402/
#bambu_lab #CyberBrick #CyberBrick_Timelapse_Kit #3dпечать #3dпринтеры #таймлапс #видео #diy #съёмка #гаджеты

 🐰
🐰
