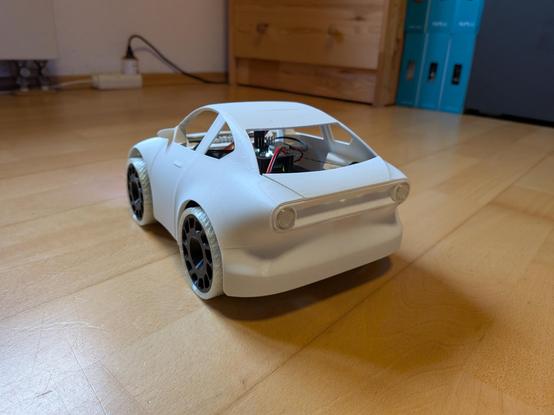
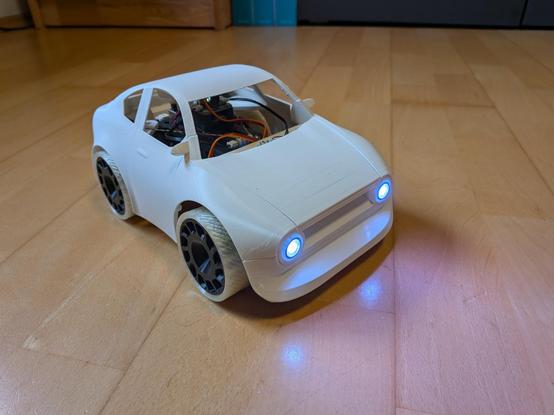
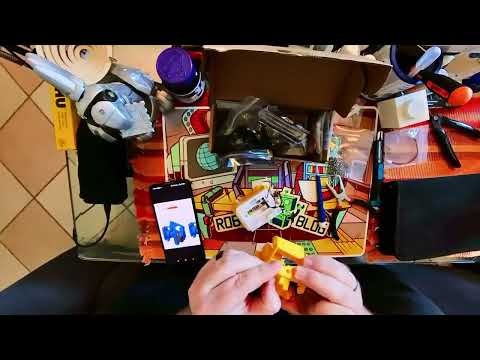
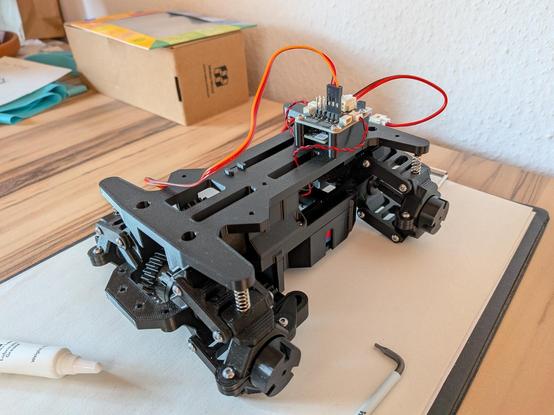
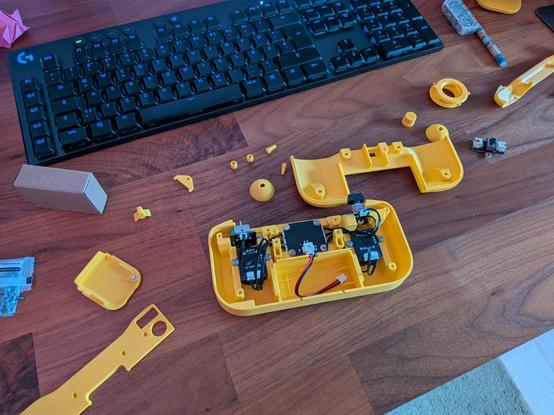
Hab ich das ferngesteuerte #cyberbrick Auto fertig gestellt.

Es hat unheimlich viel Spaß gemacht und hat mich und meinen Drucker mehrere Stunden beschäftigt. Bin sehr zufrieden mit dem Ergebnis und freue mich, dass es auch fährt 😃

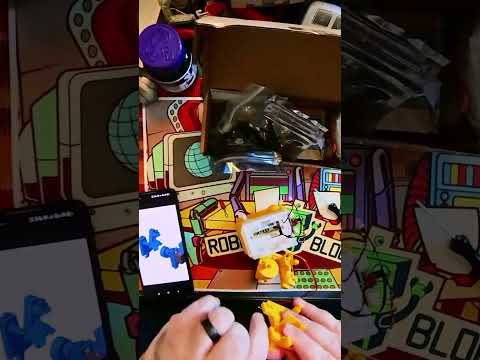
Einzig die kleinem Schrauben haben manchmal überdreht mit ihren winzigem Innensechskant.

Die LED Lichter zusammen bauen war auch ne Wissenschaft 🫣

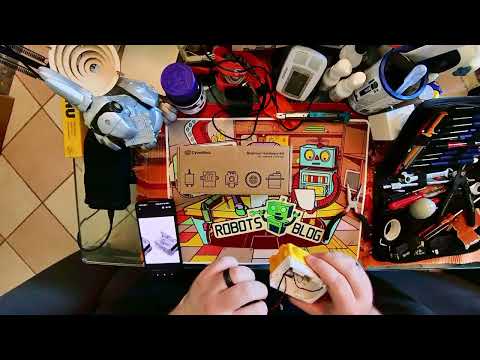
Sonst aufspielen der Firmware über die App: dauert zwar ~10 Minuten, hat aber sonst problemlos geklappt.

CyberBrick SoccerBot Realtime Build #cyberbrick #bambulab #robot #soccerbot #3dprint

YouTube
CyberBrick SoccerBot Timelapse Build #cyberbrick #bambulab #robot #soccerbot #3dprint #robots

YouTube
CyberBrick SoccerBot Timelapse Build #cyberbrick #bambulab #robot #soccerbot #3dprint

YouTube

Status zum #Cyberbrick: Das Fahrgestell ist fertig. Akku, Antrieb und Lenkung sind auch schon drin.

Ist alles super durchdacht von der Konstruktion her. In der Anleitung ist es an ein paar wenigen Stellen rätselhaft welches Teil genau gemeint ist, aber man kommt drauf wenn man probiert.

Nun drucke ich die Tage noch Karrosseri und hab transparentes PLA für die Scheinwerfer bestellt.

Die Module müssen auch noch "programmiert" werden. Dann kommt der Funktionstest 😇

CyberBrick Time-lapse Kit: как снять плавный таймлапс с 3D-принтерами от Bambu Lab

В 3D-принтерах Bambu Lab есть встроенная камера для удалённого мониторинга печати. Помимо всего прочего она может и записывать таймлапсы, но качество таких видео оставляет желать лучшего: в кадре постоянно перемещается головка принтера, нельзя выставить нужный кадр, разрешение видео слишком маленькое, а на монтаже мало контроля над финальным результатом. Решение проблемы — CyberBrick Time-lapse Kit : набор из двух плат, которые подключаются к внешней камере и позволяют 3D-принтеру делать снимок после печати каждого слоя. Полученную серию фотографий можно превратить в полноценный таймлапс практически в любой программе монтажа.

https://habr.com/ru/articles/1017402/

#bambu_lab #CyberBrick #CyberBrick_Timelapse_Kit #3dпечать #3dпринтеры #таймлапс #видео #diy #съёмка #гаджеты

CyberBrick Time-lapse Kit: как снять плавный таймлапс с 3D-принтерами от Bambu Lab

В 3D-принтерах Bambu Lab есть встроенная камера для удалённого мониторинга печати. Помимо всего прочего она может и записывать таймлапсы, но качество таких видео оставляет желать лучшего: в кадре...

Хабр

Ich habe mich von #Mpox inspirieren lassen und mir ein #Cyberbrick Set zugelegt um das ferngesteuerte Auto zu basteln: https://youtu.be/haND18lduJ4?is=uHDxKOOfraNRSiQv

Und ja man kann das Zubehör auch mit Druckern anderer Marken drucken 😃

Die Fernbedienung ist fast fertig ☺️ #3dprinting

Bambu Lab Cyber Brick – vytiskli jsme spoustu kitů a všechno vyzkoušeli

https://vhsky.cz/w/sRsnrwAL8wrP8cXfQ7nuNd

Bambu Lab Cyber Brick – vytiskli jsme spoustu kitů a všechno vyzkoušeli

PeerTube

I've published another customisable 3D model made with OpenSCAD!

This time a replacement servo motor arm for the CyberBrick project.

https://makerworld.com/en/models/1914382-cyberbrick-servo-motor-arm-replacement

#3DPrinting #CyberBrick #3DModel #OpenSCAD

CyberBrick servo motor arm replacement by Rikudou MakerWorld: Download Free 3D Models

While building the CyberBrick truck, I ran into a step that required cutting the servo motor arm — something I wasn’t too keen on since it’s kinda irreversible.So I opened OpenSCAD, grabbed my caliper, and designed a printable replacement instead! The result is a fully configurable servo arm that fits the original CyberBrick design but can be easily tweaked for your own tolerances. With the MakerWorld customizer, you can fine-tune every dimension — or even go beyond the original and make the arm shorter or longer to fit your build perfectly.Printing TipsSupports are recommended due to the floating bottom section. If you skip them, the underside will look rough but still work fine — I printed mine that way and just cleaned it up with a knife. A standard 0.2 mm layer height works well (or 0.1 mm if you’re using a 0.2 mm nozzle).CustomizationThe tiny guiding holes are extremely small and tricky to print — they don’t come out clean with a 0.4 mm nozzle and are barely visible even at 0.2 mm. To fix that, the model lets you:Toggle the guiding holes on or offChoose exactly how many holes to include before cuttingAdjust all key dimensions and tolerances Default configuration: Customized version (cut at hole #3, higher tolerance, holes disabled): 

My daughter and I 3D printed and built a little robot ^_^
#robot #cyberbrick