I just put in an order for some replacement parts I messed up on my RV-10 elevator as well as the sealant kit they recommend. So I think I'm getting ye olde motivation to go finish those elevators.
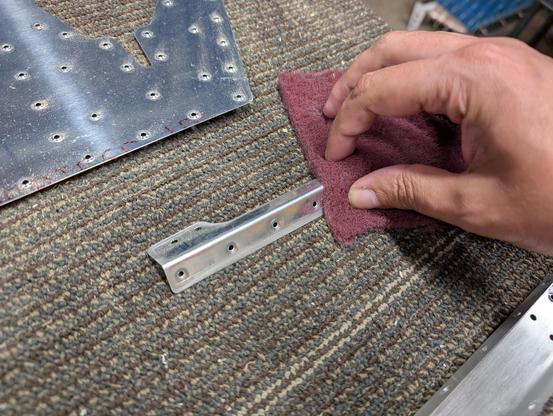
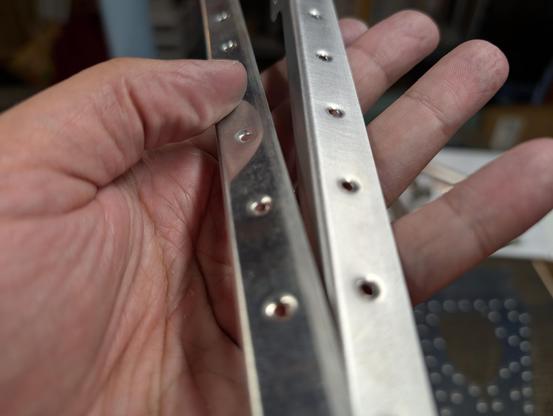
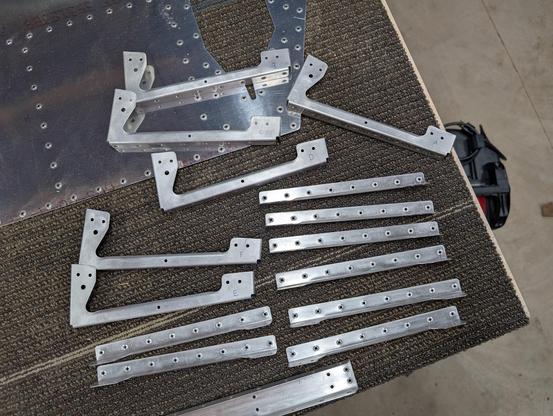
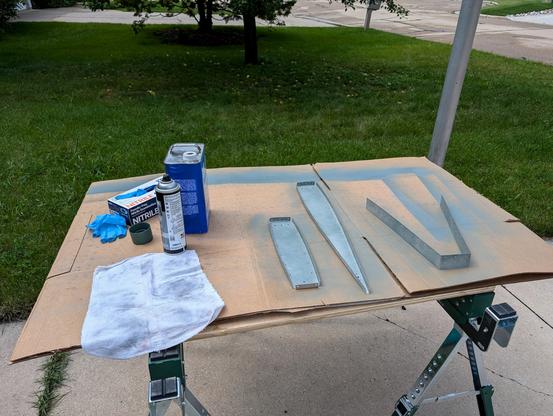
Remember that RV-10 I was building? It's still there. Now that I've recovered from my burnout I started working on the elevator again. I was starting to prepare the ribs and other interior parts for primer by roughing up the surface. The ribs are made from two pieces and so I put on a twitch stream and just started working on parts. I got most of them done.
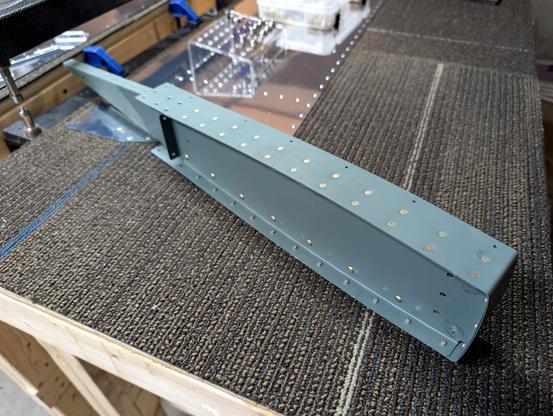
Next steps are to finish the ribs, rough up the interior of the skins, prime everything (except where the foam ribs get bonded), bond the foam ribs, then riveting. Once this elevator is done I get the pleasure of doing it all again.
The Impossible Airplane is nearly ready to fly.
🚨 Every donation is doubled thanks to a $10K match: 👉 https://zurl.co/yZJp0
#TheImpossibleAirplane #RV10 #ExperimentalAircraft #WomenInAviation #DisabilityInclusion #FlyWithPurpose


Check it out! We updated #TheImpossibleAirplane website with photos of the build progress. Special thanks to Jeff at EAA Chapter 898 for taking so many pictures!
https://zurl.co/b5exa
#aviation #rv10 #vansaircraft #eaa #experimentalaviation
https://zurl.co/b5exa
#aviation #rv10 #vansaircraft #eaa #experimentalaviation
One nice thing about not making blog posts for a while is that when I do it gives a better overall view of the work. You don't have to remember what the last blog post was because I hadn't made one for four months 
I made a blog post that is from April through today with the work being doing on my elevators.
https://blog.sideslip.social/ups-and-downs-with-elevators/
#avgeek #aviation #kitplane #homebuilt #blog #rv10 #airplane

Ups and Downs with Elevators
Hello everyone, and welcome to mid-August. I have been helping with my EAA chapter's build of a Murphy Rebel, we had a fly in at Brennand Airport (79C), there have been some young eagles rallies I've flown for, I went to Texas for work, Airventure 2024 happened in Oshkosh, my
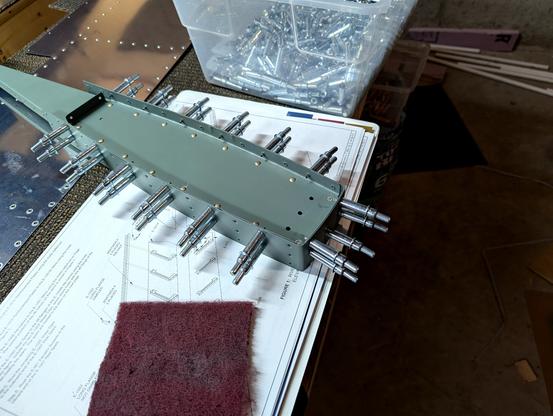
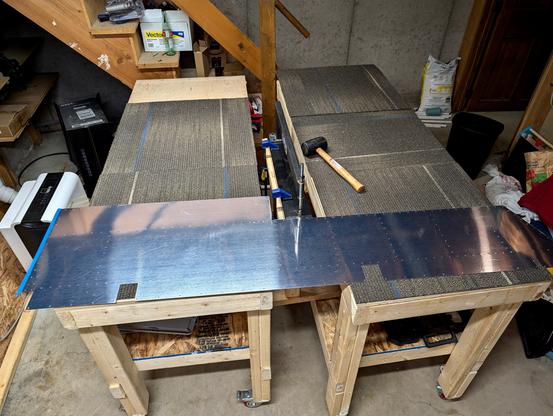
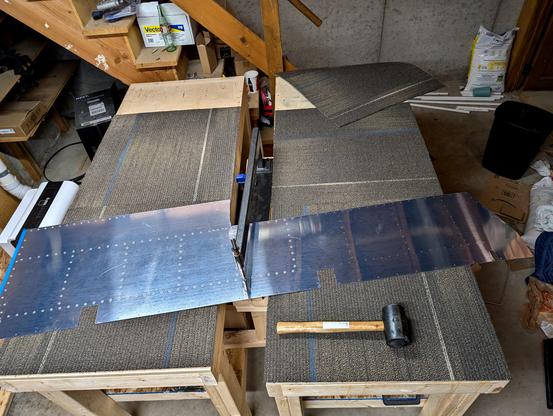
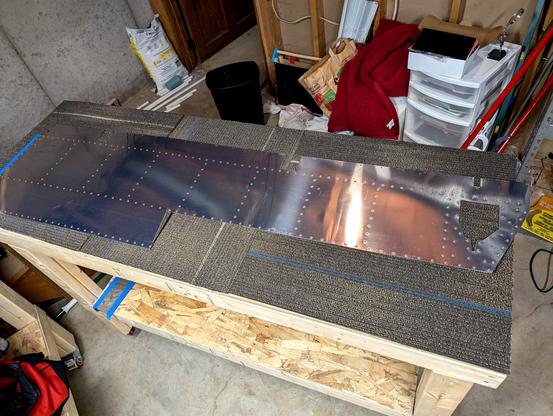
Airplane Build: Started some riveting on the elevator tip rib. Decided to get the tip ribs scuffed, cleaned, and then riveted together. My yoke didn't fit over both flanges so I had to use the rivet gun on the web of the ribs. I realized that I primed the outside of the skin, which I haven't been doing because I was going to do that when I paint the plane. oops; guess it'll be primed for now. The skin was very tight and was slow to rivet
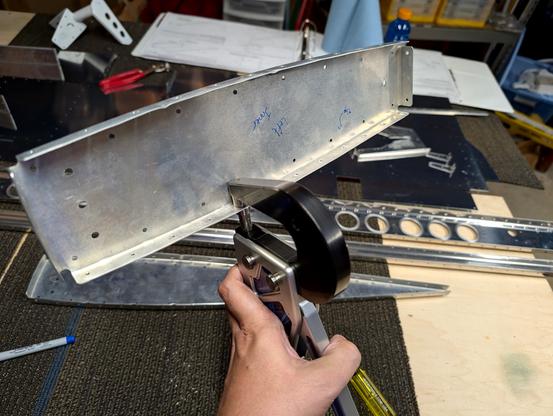
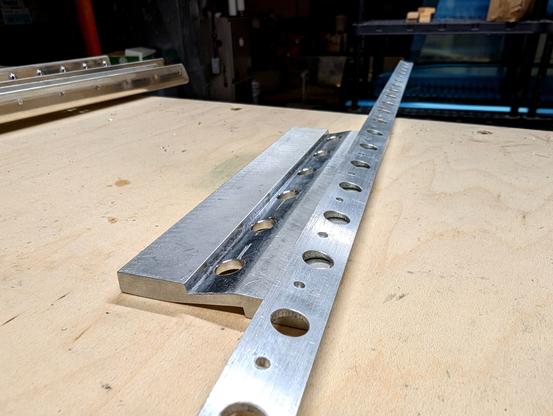
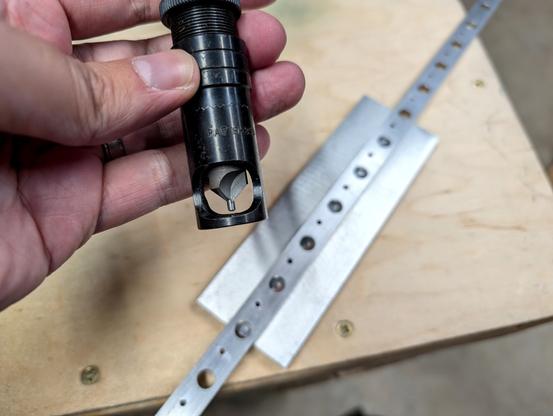
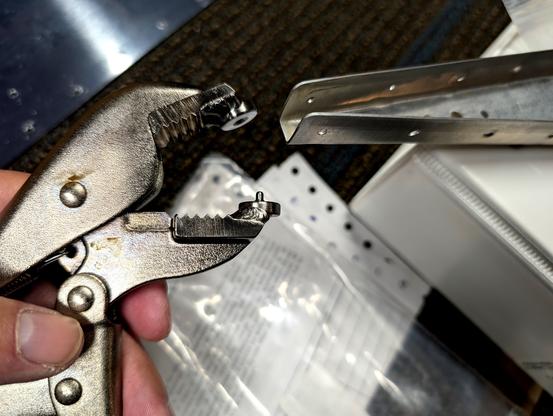
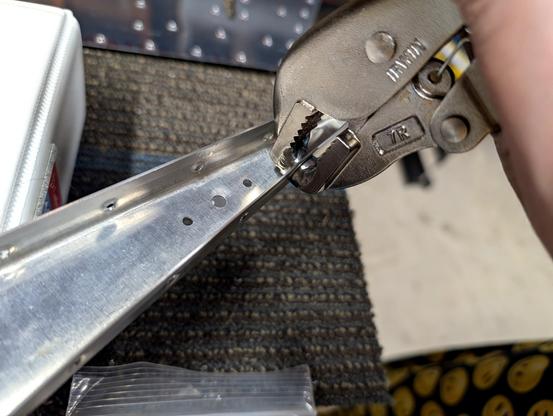
Airplane build update: I had ~30 minutes to do a little airplane work and a special tool had just arrived. The end of the elevator outer rib is super tight (and I've read elsewhere that Van's used to dimple this for you) but mine was not. So I ordered pliers with a dimple die welded to it allowing access to that area and dimple it. No idea how I'm going to buck that rivet. I thought I had time to debur and dimple a skin.... nope
(Continued...)
On Friday I took advantage of my EAA chapter having a bandsaw and decided to make the foam ribs for the trailing edge of my elevator. Van's provides some nice templates and once I verified the scale I cut them out and spray glued them to the foam blocks. Then it was pretty easy to cut them out with a band saw and finish shaping them with a belt sander.
(Continued...)
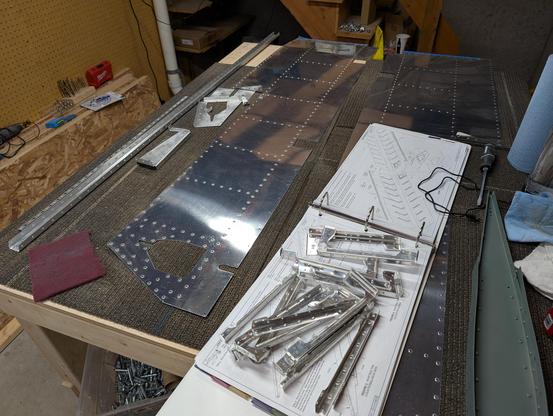
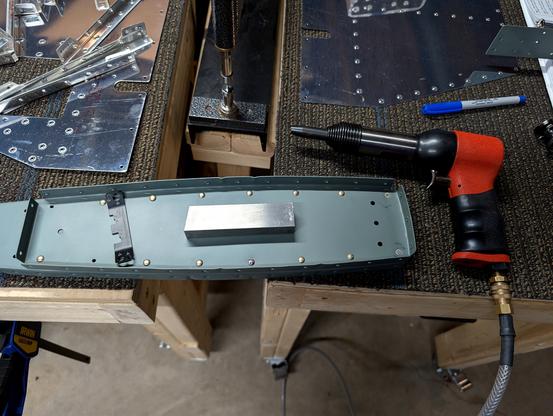
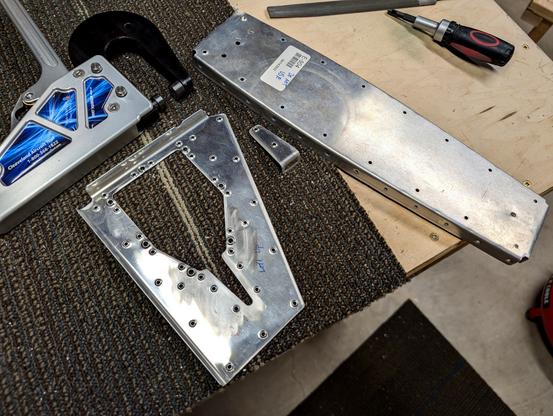
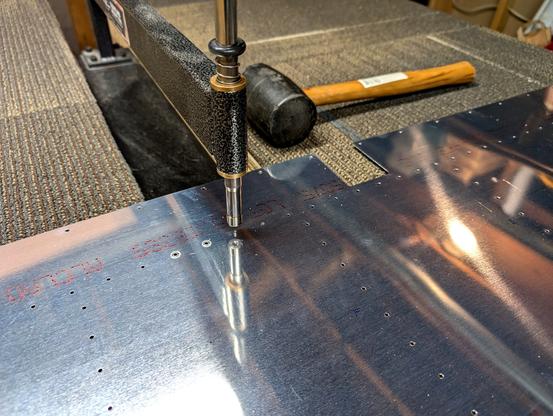
Tonight's work session involved a lot of dimples so that rivets sit flush on my elevators. This is the left elevator I'm working on and I started by dimpling the trim inspection plate doubler (seen below in a before and after), a clip needed dimples, the very end of that rib in picture two needed dimples so the counterweights can sit nice. I dimpled the flange of the rear spar for the elevator, then a lot of dimpling of the bottom skin.

I had to travel to Austin TX last week for work and this week is Air Venture (which I live close by) but to keep progress going on my build I continued dimpling the counterweight ribs for the elevator, the skins for those (not pictured), and I got to use my trailing edge jig to cut countersink into the edge wedge to accept the skin dimples. One nice thing about countersink cuts is you don't have to debur the holes first