Starting a new adventure!
I bought an LDO-Kit for a Voron Trident. This will be a great update from my trusty, yet old Ender-3. Looking forward to the challenge.
Starting a new adventure!
I bought an LDO-Kit for a Voron Trident. This will be a great update from my trusty, yet old Ender-3. Looking forward to the challenge.
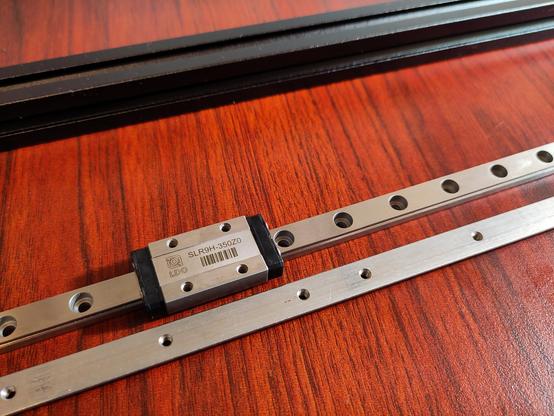
Yay, it's already time for some linear rails!
You may now bet on how many of the carriages I will be dropping...
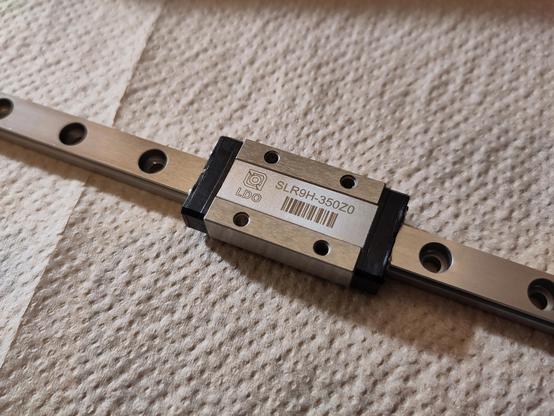
I just learned, that LDO included mounting bars for the linear rails, which seem to be much better than the default roll-in nuts.
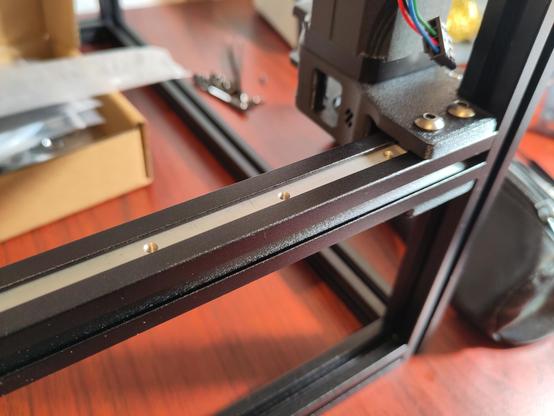
However, in contrast to the roll-in nuts, the mounting bars have to be installed _before_ mounting the extrusions. Unfortunately, this is not documented in the LDO notes for the kit.
Well, since "practice" means doing something over and over again...
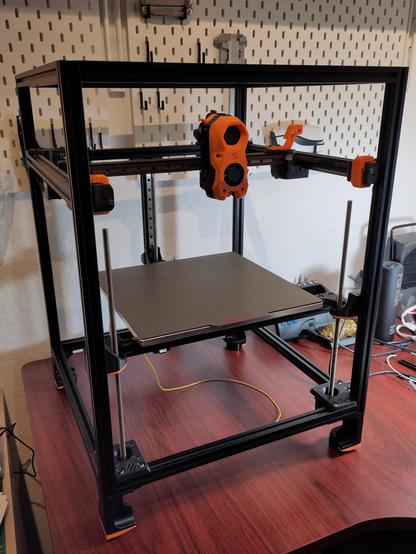
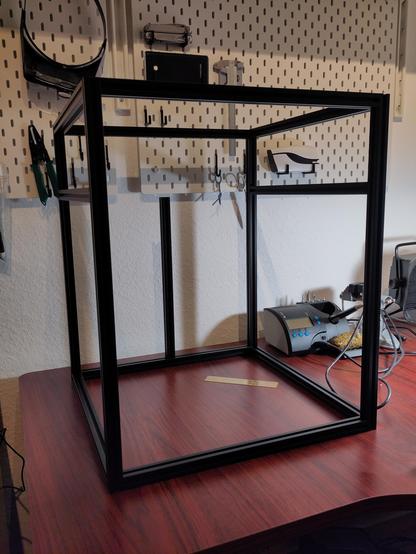
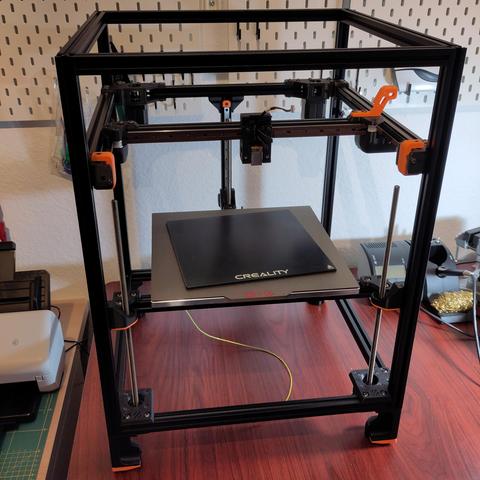
Update on the #voron build: Linear rails installed, motors in place, frame stands on rubber feet.
Next up: Installing the belts...

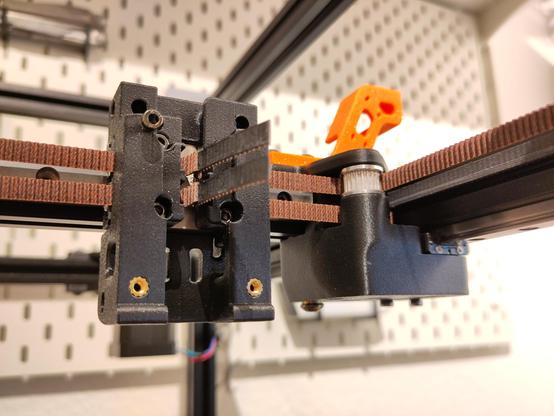
Belts!
CoreXY is surprisingly weird... for those who want to know more:
I installed the print bed at my #voron trident. This thing is massive!
This 10 mm thick aluminium piece measures 300 mm x 300 mm and weighs 3,1 kg.
I added a glass surface from my #Ender3 for comparison...
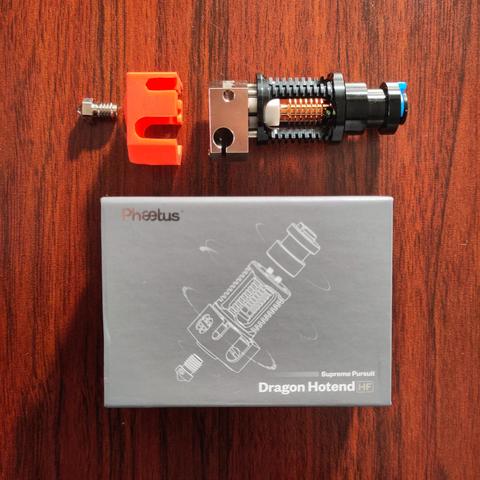
Now for a more relaxing task: Inserting heat set inserts for the Stealthburner + Clockwork toolhead...
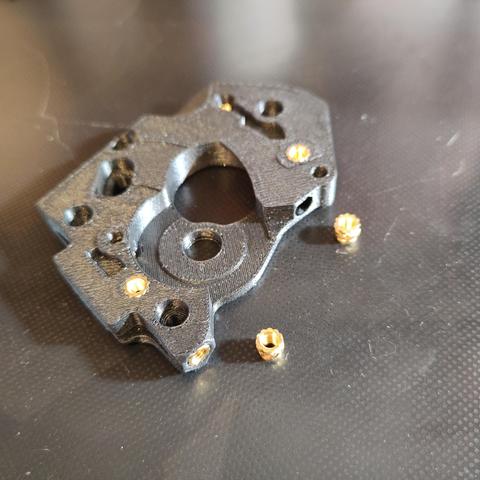
The manual says to remove the cover of the 5015 radial fan and "clip off and file down the stock mounting ears".
How barbaric... however, it's done!

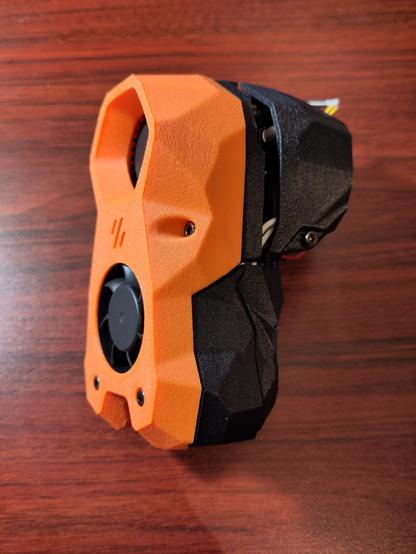
I completed the assembly of the StealthBurner toolhead - isn't it beautiful?
I'm impressed by the engineering that went into this toolhead, it was fun to assemble!
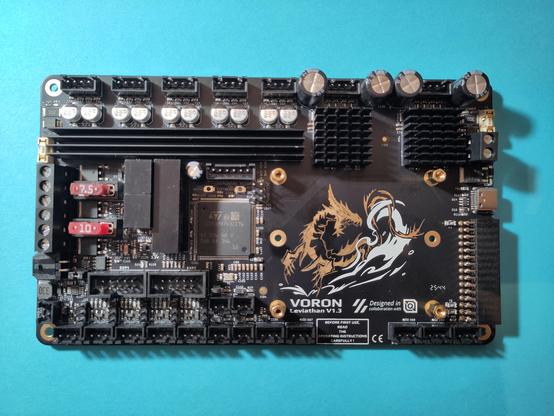
Preparing the Leviathan control board for my Voron Trident built.
I like the artwork, unfortunately it will soon be covered by a #RaspberryPi and hidden in the electronics bay...
Clean slate - working on the electronics bay of my #voron trident!
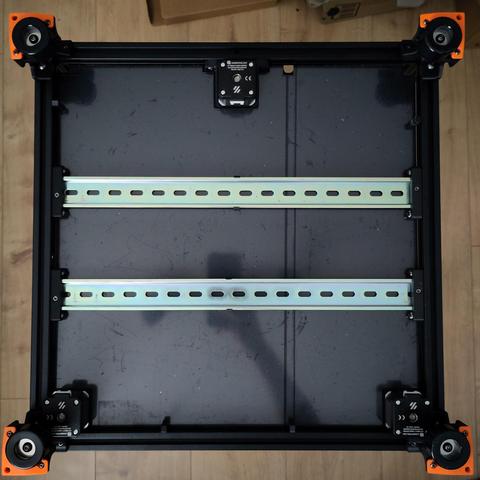
Layouting of the electronics bay is done! The leviathan control board and the power supply are already mounted on DIN rails, where cable trays are prepared for the wiring.
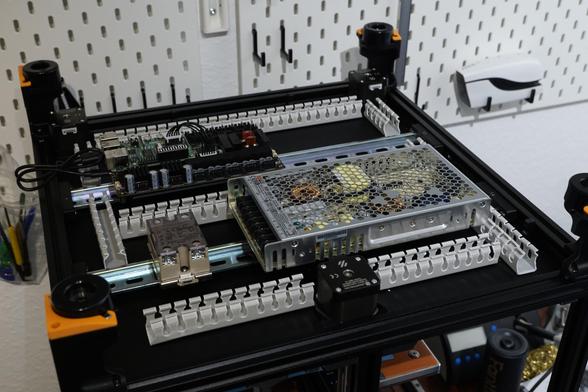
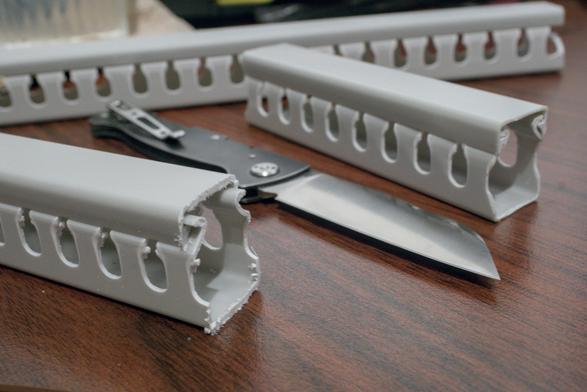
The last step took a lot longer than anticipated (or justified), but I wanted to deburr the cable trays and have them look smooth and nice.
This is a hobby project after all, and I want to enjoy the end product...
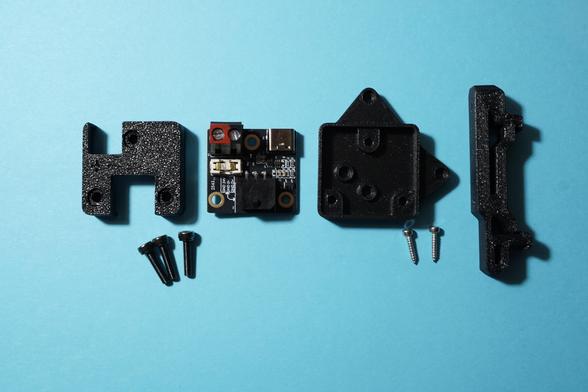
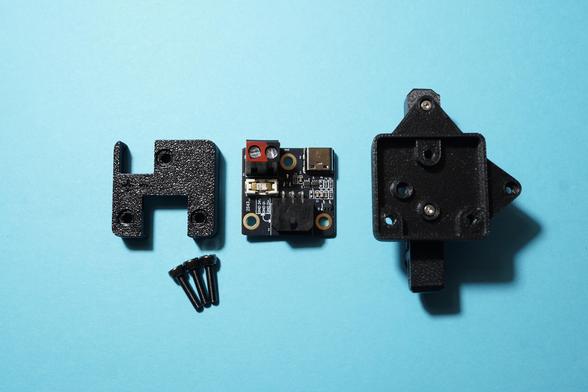
Suddenly, a wild LDO Nitehawk USB adapter appears in the LDO wiring guide. However, the preparation of this part doesn't seem to be documented.
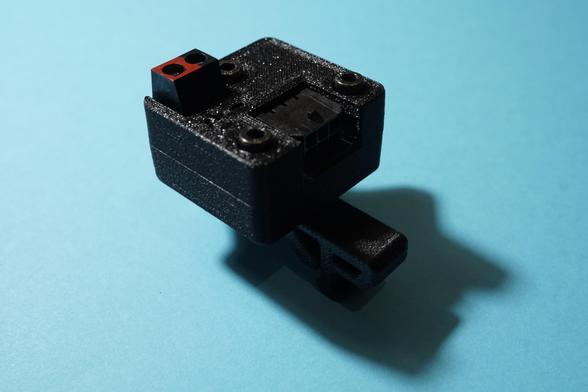
Here are the parts I used for assembly:
- 3 x M3x12 SHCS
- 2 x M2x10 self tapping screw
- https://github.com/MotorDynamicsLab/Nitehawk-SB/blob/master/STLs/usb_adapter_mount.stl
- https://github.com/VoronDesign/Voron-Trident/blob/main/STLs/ElectronicsBay/pcb_din_clip_x3.stl
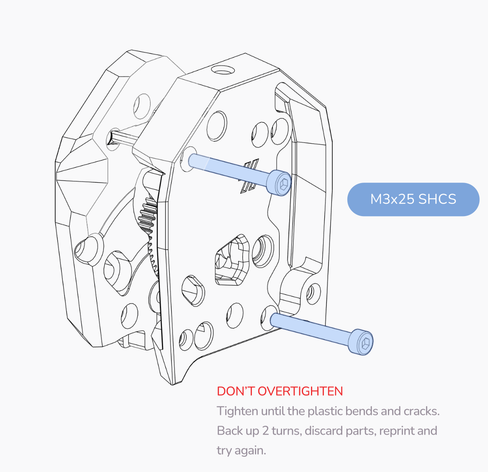
As always, don't overtighten!