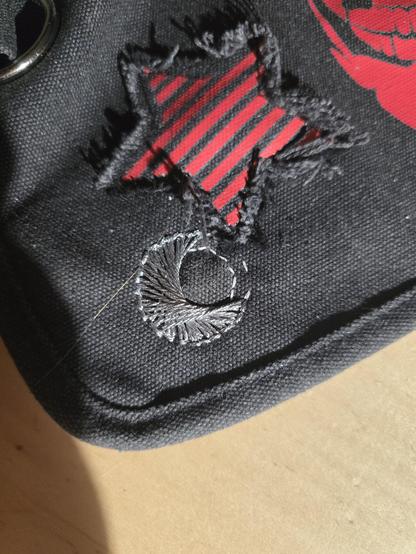
Repair time!

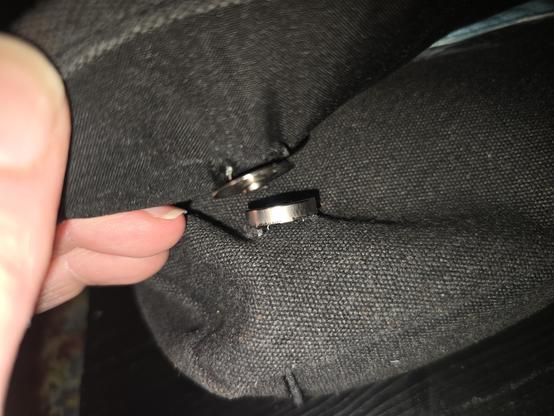
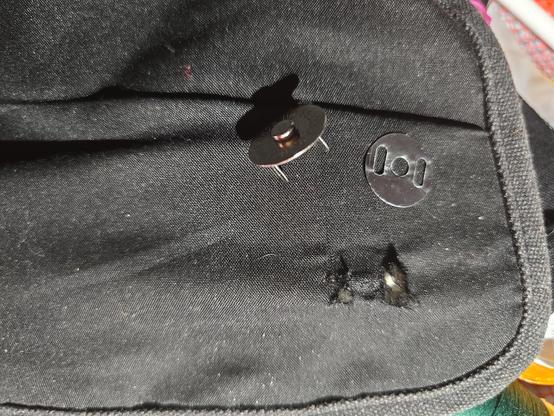
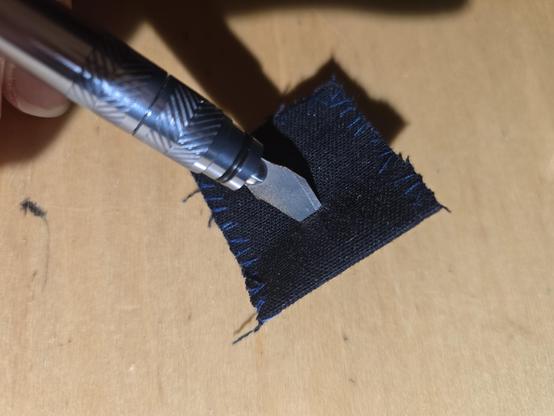
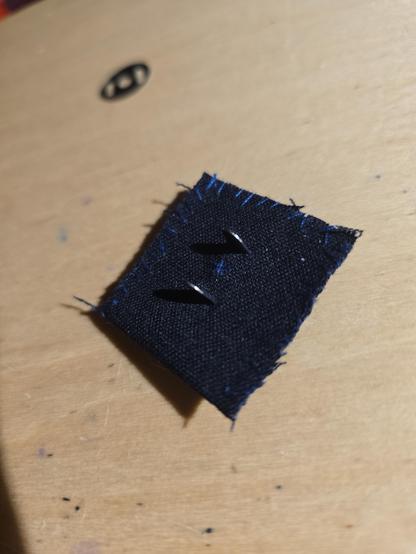
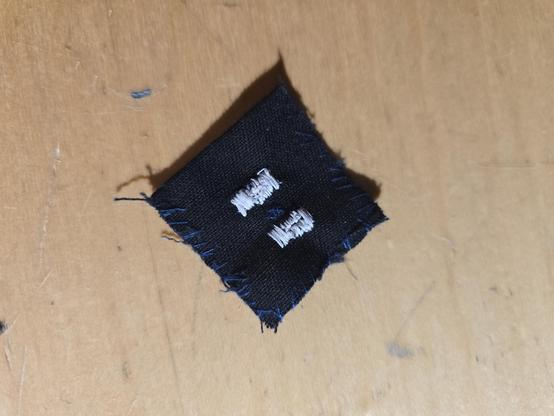
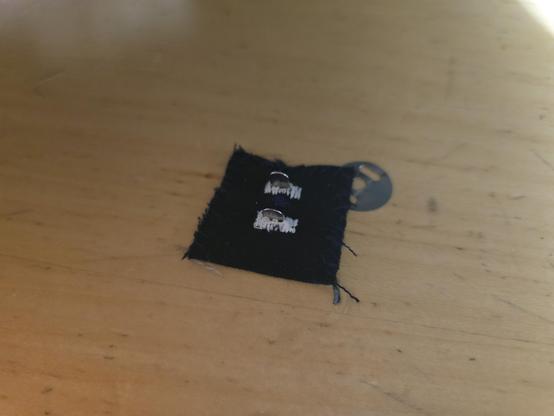
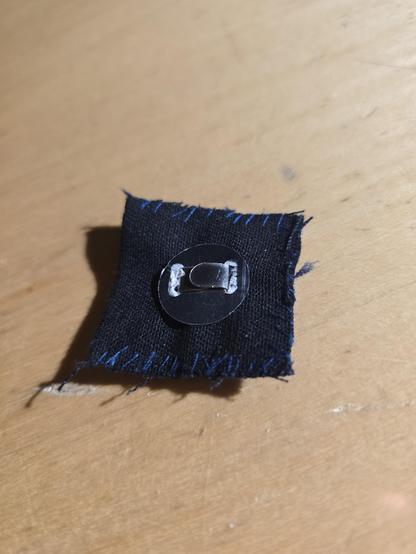
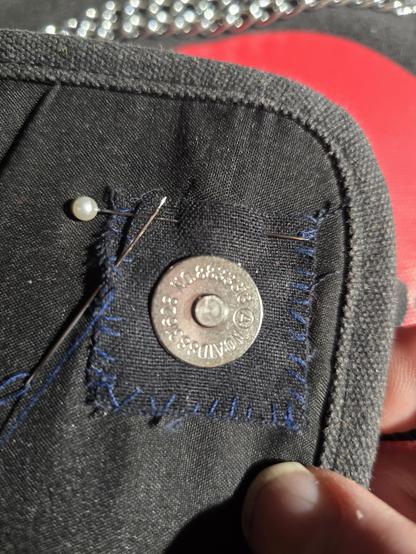
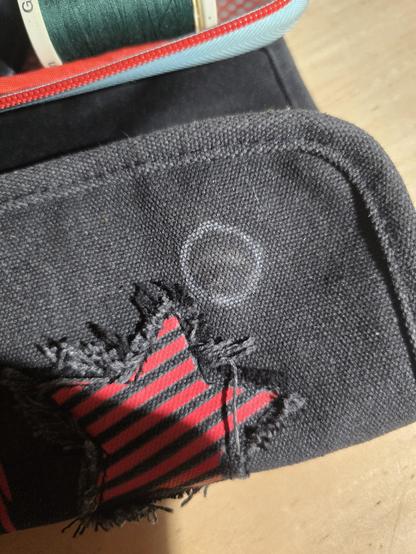
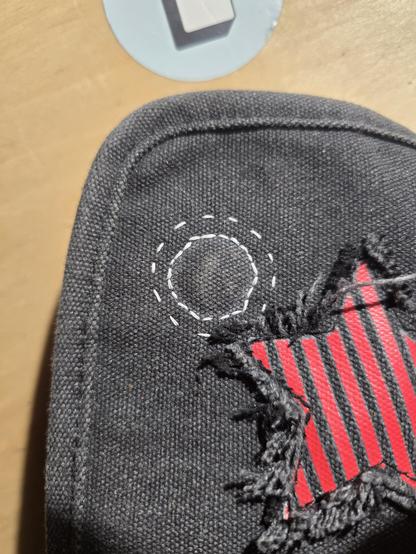
The magnetic clasp on my daughter's bag started to tear through, because it was only anchored on one side to a _very_ thin layer of fabric, so it's time for some embarrassingly over-sewed mending!

#diy #visiblemending #mend #sewing #handsewing

1/🧵

First thing to do was to get the clasp off the bag, it's sort of like a big staple, and straightening the tabs was a pain in the neck.

It's pretty easy to see why it ripped so quickly, there was a metal bit securing it, but it was really thin and bent easily, so it was free to move around and wear the fabric.

Speaking of the fabric it was anchored on, you can see how thin it was with the clasp removed. Taking the clasp off did make the tears worse, but not by a lot.

2/🧵

I wanted this to be strong, because getting the clasp off was a pain in the neck, and I'd prefer to not do this again.

I'd salvaged some black upholstery fabric a while back, and it seemed like a good choice for this - and I had some scraps that were already the right width.

I eyeballed a square that gave about a half-inch of extra space around the clasp, and cut on a fold to get a double layer.

3/🧵

The one thing about the upholstery fabric i'm using for this mend that I _don't_ like is that it frays like my nerves.

Aside from the lost fabric, it makes a mess that I Do Not Like, so unfortunately the first thing to do once it was cut was to whip stitch around the edges to put a stop to that nonsense.

4/🧵

Now that the fabric was prepared, it's time to start the actual mending, by cutting two holes to let the tabs through.

I used my craft knife, mostly because it was close to hand, but also because it would have been awkward to make such a small hole with scissors through two layers of relatively tough fabric.

I had to increase the cut length a bit to make sure the tabs fit, but better that than make them too big.

A tight fit will make sure movement doesn't wear out the mend.

5/🧵

No picture for this one, because I forgot to take it 🤦‍♀️

I used a white colored pencil and the circular disk with the holes through it to mark the cuts for the last step, but I ran out of characters on that post and also forgot to take a picture.

I didn't want to pretend like I free-handed it though, so if you were wondering, that's how I knew where to cut 😅

6/🧵

This step is a bit hand-wavy because I don't feel qualified to explain how to hand-sew a buttonhole, but that's what I did to reinforce the holes.

This did two things:

1. It prevents the fabric from fraying, which it _really_ likes to do.

2. It adds a bunch of stuff to both snug up the fit and to wear out instead of the fabric.

So, yeah, pretty much what buttonhole stitches are designed to do.

Go check out Bernadette Banner, she's got actually good instructions on how to do this.

7/🧵

Now all that needs done to get the patch ready is to push the tabs through, place the metal circle with the holes on top, and bend over the tabs.

At this point the patch is ready, and all that's left is to attach the patch back onto the bag.

8/🧵

To get it back on the bag, the first step was to whip stitch around the edges, through the thin fabric that originally held the clasp.

This is already better than the original attachment, because there are more points of contact, but nowhere near good enough for my quality metric - "how soon am I going to have to mend this again?"

As a bonus, this step reduces the chance the edges of the patch will catch on something and get ripped off.

9/🧵

To make sure it didn't go anywhere, I did a running stitch three times around the clasp.

I marked the location by feeling through the fabric for the clasp, and it's close enough for this mend.

The first two rounds were inline with each other, so they kind of look like a backstitch. The last round was a bit out, and should help distribute any pressure across the full size of the patch.

10/🧵

Finally, it's time to decorate the patch, because I'm nothing if not a bit extra 😅

In this case, because the bag already had a star, I stitched a crescent moon in some silver thread I had lying around from a different project.

And that's a wrap!

11/11 🧵