I've got a #philips PCD-103 like this one (photo by the Internet) that has been in storage for over a decade and now I'd like to restore it.

#retrocomputing #dos #intel8088
I startes taking it apart to see how's the inside.
And, #horror ! Can you see it?

#retrocomputing #dos #intel8088
It's #batterybombed 😱
A spicy #varta still inside!
A better #motherboard view before removing the battery

#retrocomputing #dos #intel8088
Uuuuh some interesting #bodgewire !
It reminds me of some old #Commodore...
I think they are from the factory. I found a photo on an auction of a board with the sane wires and components attached...
I removed the battery and trying to clean the PCB with alcohol vinegar

...GROSS! 🀒
Cleaned all the traces the better I could, it doesn't seem the acid eaten them all the way down... so I tried to follow them and test them for continuity. They seem all to be still connected πŸ™‚

#retrocomputing #dos #intel8088
I like to test the #powersupply before connecting the motherboard, but this one doesn't seem to start. It starts for a split second and it stops immediately...
No, wait! It needs some load on the 5v rail, like a lot of the switching PSU of the era!
And, sure enough, al voltages are spot on! 5,12v and 11.99v!
Let's try to start it.
Unfortunately I don't have a CGA or MDA screen here, but what I've got is an ISA VGA card that can be set to 8 bit mode!
Let's try...

We are ready!!! Ignition?
NO. WAY.
I've got a video output and it's clearly running! It's counting memory!
It has 640k, as usual

#retrocomputing #dos #intel8088
I'm not sure if the floppy drive is 720 or 1.44, but for food measure I popped in a 720k floppy from the #amstrad ppc-640 luggable pc.
...and it reads it correctly! It's booting DOS!!!
Let's find a compatible keyboard and play something!

#retrocomputing #dos #intel8088
UH-OH.

Every time I press a key, either it doesn't do anything or it prints a bunch of unrelated characters. It also beeps a lot of times, like if the keyboard's buffer was full, but it still prints characters πŸ€·β€β™‚οΈ
I never debugged a keyboard problem and, honestly, have no idea how an #AT #keyboard works...

#retrocomputing #dos #intel8088
@penguin86 is it really AT keyboard..?
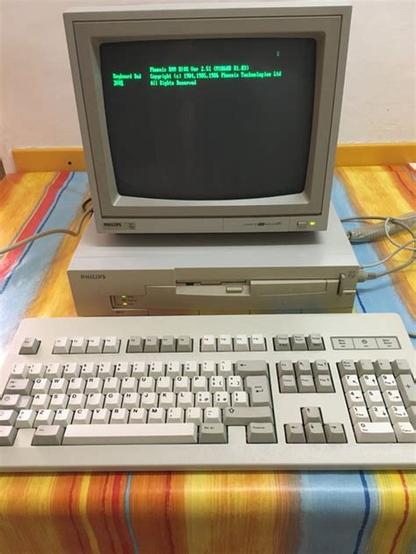
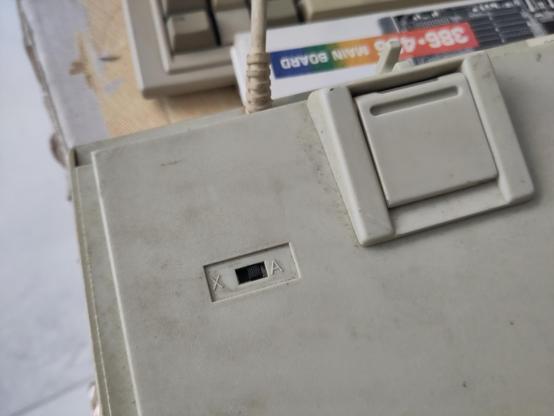
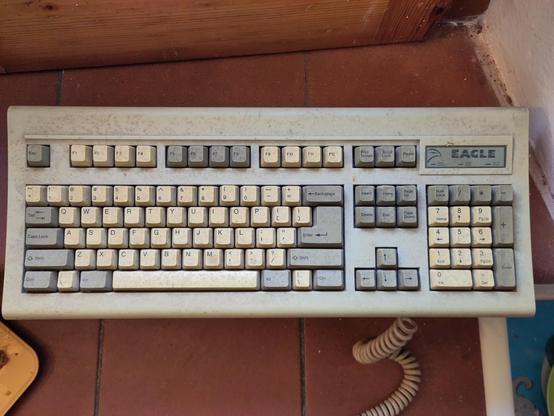
@root42 @scruss Good point! No idea, I couldn't find a lot of documentation about this PC unfortunately...I had experience only with AT and PS/2 keyboards, so I didn't consider there was another standard with the "big" DIN connector...
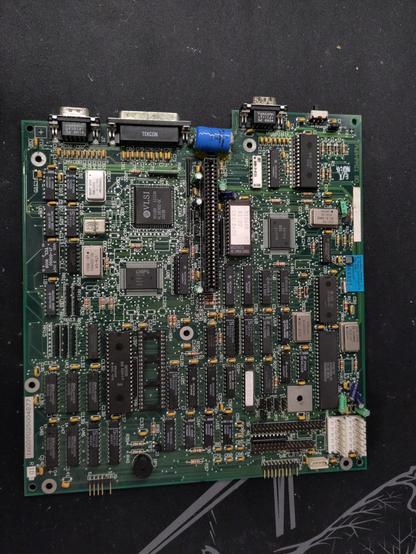
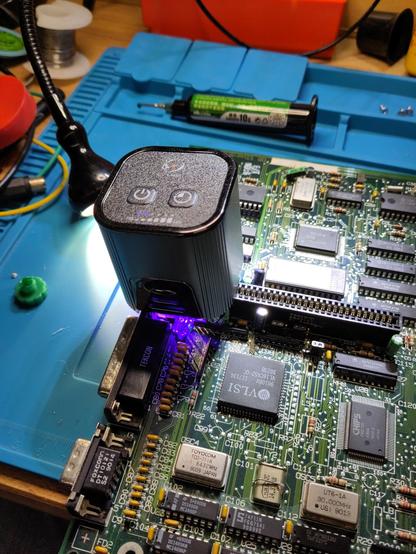
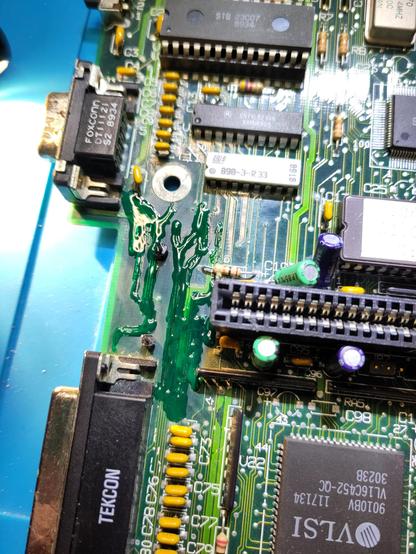
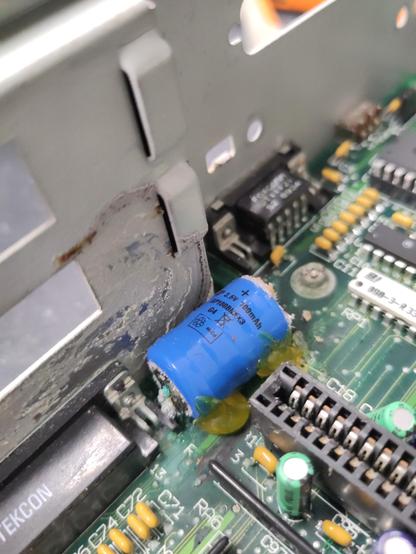
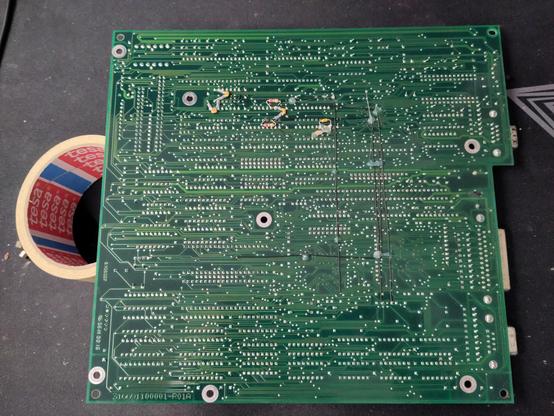
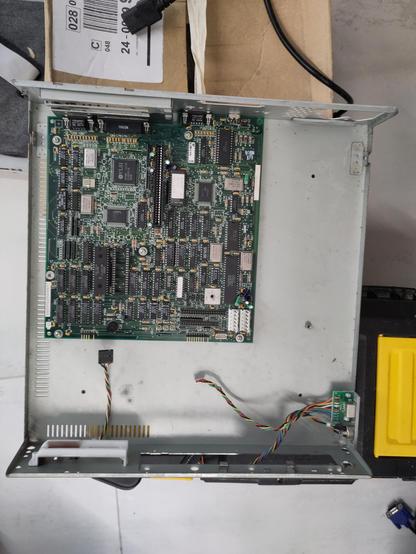
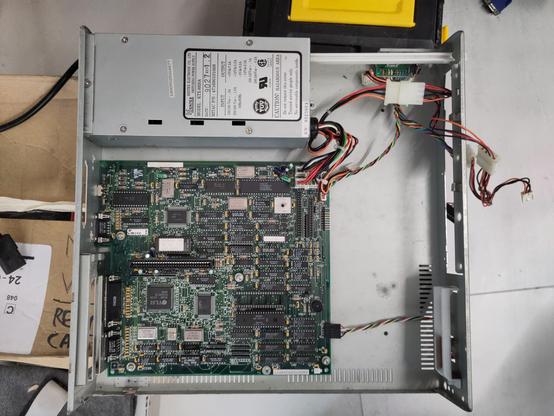
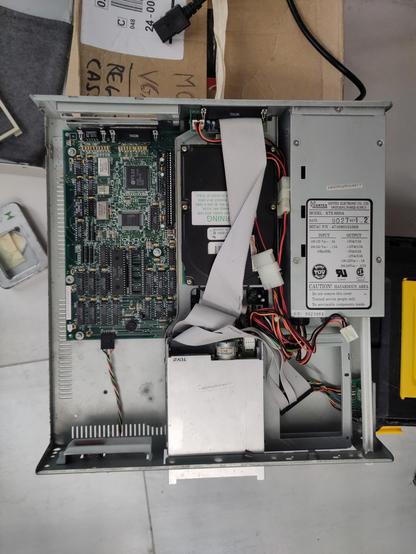
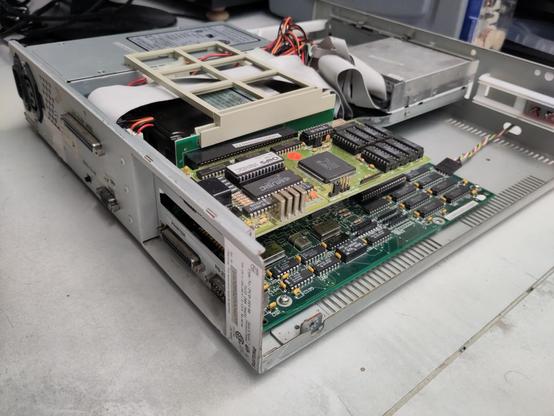
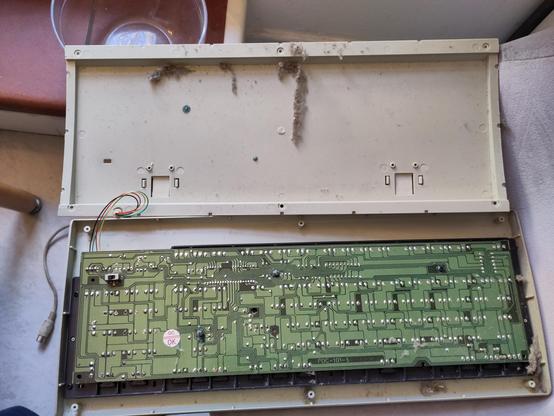
I should try to follow the traces on the PCB and see if they go to some decoder IC.
How is it usually implemented? Should I search for an ad hoc IC or it's only some logic chips?
@penguin86 XT uses the same connector but different scan codes.
@root42 @penguin86 Yeah I came here to say this. It's almost certainly designed for an XT keyboard, not AT.
@spacehobo @root42
Thank you guys! Unfortunately I don't own an XT keyboard, but I can try some converter/emulators.
I.e. something like this: https://github.com/luporl/at2xtkbd
If it works, I'll find a better solution... Tomorrow I'll try!
GitHub - luporl/at2xtkbd: Simple Arduino based AT to XT keyboard converter

Simple Arduino based AT to XT keyboard converter. Contribute to luporl/at2xtkbd development by creating an account on GitHub.

GitHub
@penguin86 the older AT keyboards had switches hidden on the bottom to select AT vs XT.
@root42 @penguin86 And sometimes if there isn’t a switch on the bottom, there’d be a jumper (or pads for one) inside on the keyboard controller.
@eschaton @root42 cool, let's see. The one I'm using right now is a pretty recent one, it has the Windows meta key, but I should have an older one, untested, in a box somewere...
@eschaton @root42 OH YEAH

I've got this flithy Eagle that seems pretty old and, sure enough... it has the switch!
I'll flip it and try it! 🀞
@eschaton @root42 OH YEAH!!! It works perfectly! Thank you guys!!!
@penguin86 congrats. Clean up the Eagle and you are good to go!
Had a little time at the lab tonight, so I'm trying to complete this work. I applied some solder paste to cover the exposed copper (under the battery corroded area) and I'm curing it with UV.
The result is very poor: the solder mask is gooey and I'm not sure how should I apply it (how to obtain a thin and even layer).
It's ugly but it will do. I added a couple of headers should I need to connect an external CMOS battery. I was thinking something like 3x AAA Ni-mh batteries...
The case has some corrosion as well, I'll remove the power supply and dip it in vinegar for the night to neutralize the battery acid and, I hope, stop the corrosion...
It seems it's already working!
I applied some thick oil to protect the parts exposed to corrosion due to the missing paint
In goes the #motherboard
...and then the #powersupply
I set in place the disks and at last, the #VGA card. I'm going to use it for the moment, as my two #MDA / #Hercules screens are broken and I'm too scared of the #crt 's high voltages to try to repair them.
I reassembled it and can finally remove the #batterybombed sticker!
Now, let's take apart the Eagle XT #keyboard
I removed the #keys one by one and placed them in warm soapy water