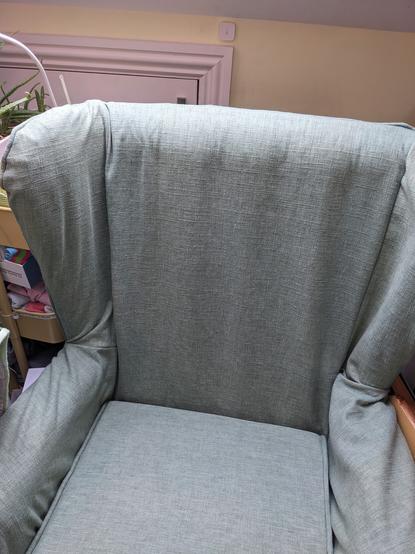
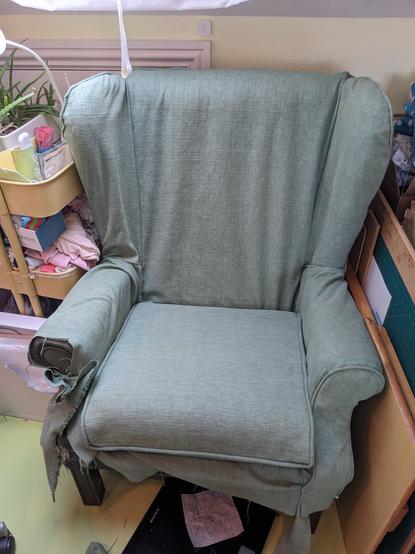
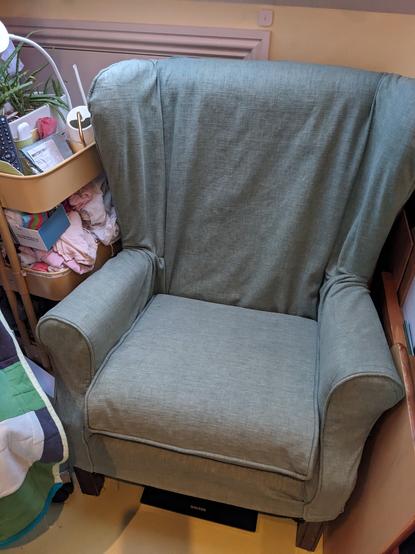
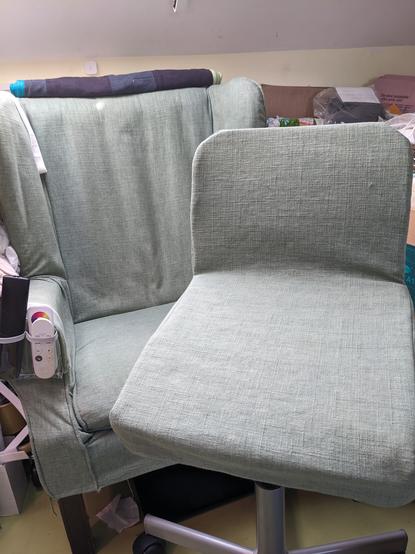
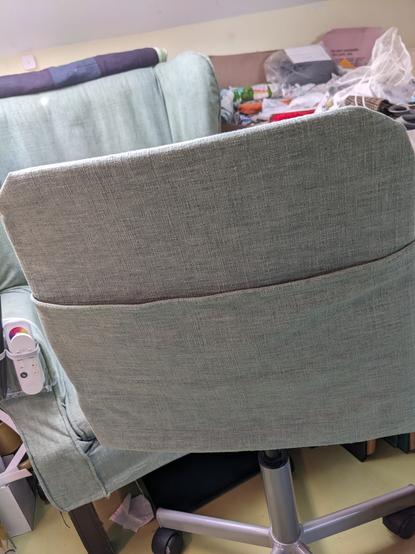
I've fitted one wing. I'll match the other to it tomorrow, and then start finalising the arms. It is INCREDIBLY hard to get the colour in photos. The camera just leaches all the colour away. It's a greyish-green but it's GREEN, definitely. Augh. #Sewing
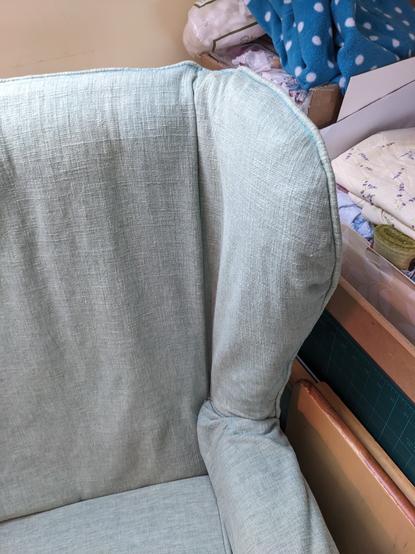
Matching the second ear was so easy! I've also updated the pattern for those pieces so that if I have to do this again I'm starting from a better place.
Next I'll join the arms to the wings in that wrinkly corner, then put the piping and fronts on the arms. And then it's hemming. #Sewing
I've put the front on one arm. I haven't trimmed ANY of the seams yet and I'll have to because it's on a lumpy cushion of four layers of its own heavy fabric at the moment, but it's on and the second one will be a million times easier. #Sewing
The world is 86% pins
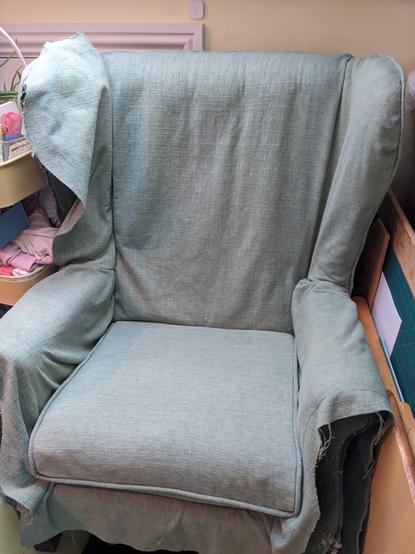
And this thing I'm sewing is technically a "loose" cover but I've just done up its zips and tugged it into place and it's not loose. It's form-fitting. It's a snug cover.
THAT'S IT
no more until September
I'm declaring Finishing Amnesty. The chair is covered, the ends are hemmed, I'm going to sit in it like this for at least two weeks before I take it off again. It's EXHAUSTING getting it on and off for fitting. #Sewing
So yesterday I darned a shirt and today I patched a top and sewed a bunch of stitch length samples. The chair cover was such a major project that I'm going to need to recover from the physical effort.
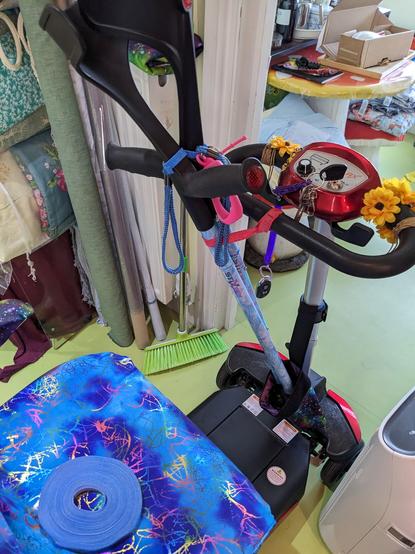
I'm hoping to make a crutches holster for my mobility scooter before I next go out. Having somewhere convenient to stash them makes a big difference.
Ok I have a to do list in order of importance:
Crutches caddy
Underwear
Dungarees
Only the dungarees, which are completely unnecessary, have any progress yet. #Sewing
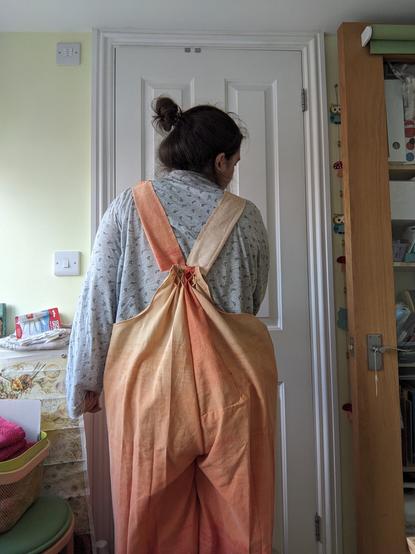
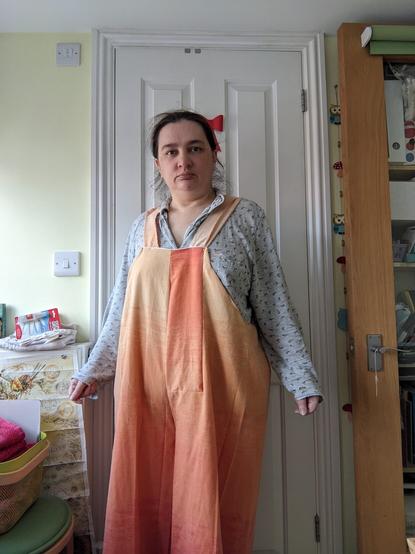
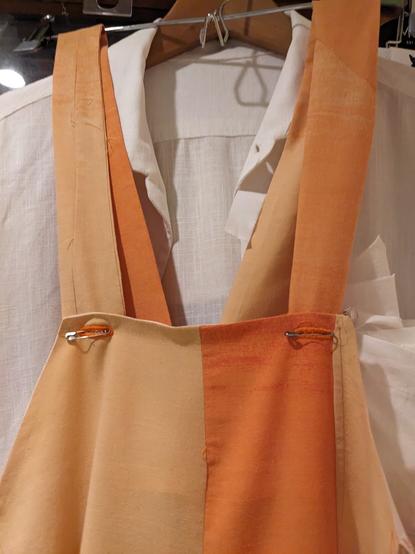
Me in my grey pyjamas trying on my HUGE ORANGE DUNGAREES over the top.
I think I need to do some ironing next to get to the point of attaching the straps. And I think I understand smocking.
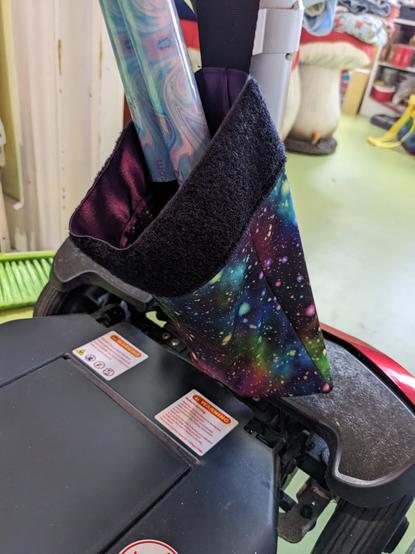
Finally made a thingy to stop my crutches jamming into the steering of my scooter when I'm out. And put little sleeves on the arms for amusement.
Underwear fabric and pattern are on the cutting board ready to make tomorrow. I can do this.
Cut out one set of underwear pieces. Need to find more fabric for another.
Today I've started ironing my dungarees. The legs are wider than my ironing board. They are vast and will contain multitudes. I'm taking lots of breaks from standing but ironing is one of those tasks which make a clear and visible difference so it's good for feeling like I'm achieving something. #sewing
I ironed, finished some of the piecing seams, added the straps, and put in buttonholes with my Greist buttonhole maker. Tomorrow I hope to tidy the stray threads, add buttons, and wear it. #Sewing
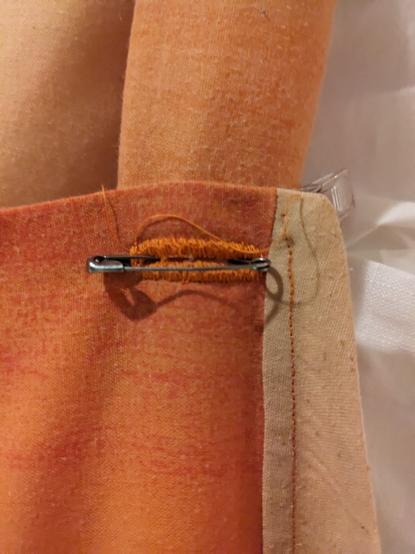
I think it wants appliqué.
FINISHED. I will probably do nicer seam finishes inside sometime, and it will probably grow appliqué over time, but I'll be wearing these now! #Sewing #dungarees (Yes, I can just about fit in one leg)


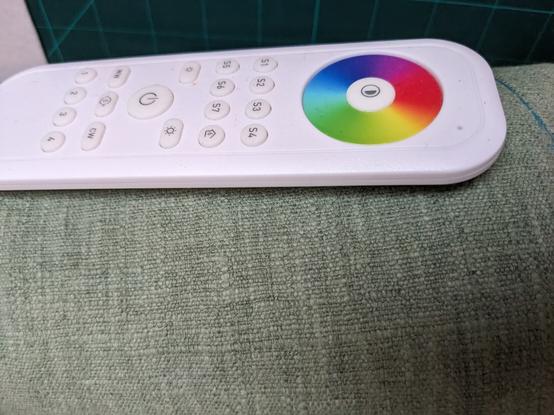
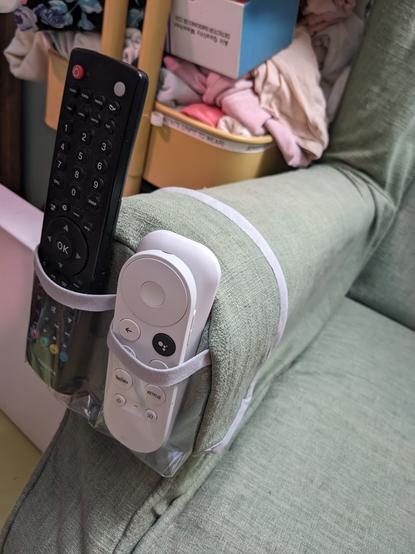
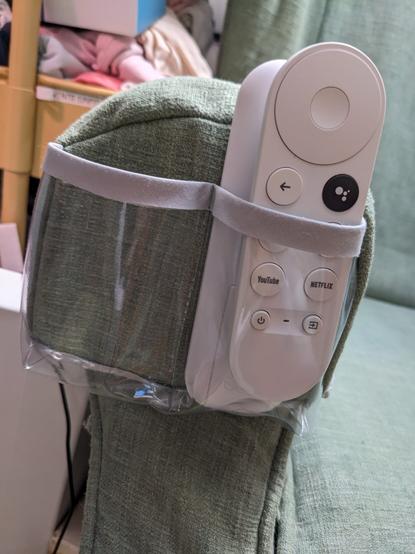
I got so bored I made a remote control holder for my freshly-covered armchair. #Sewing
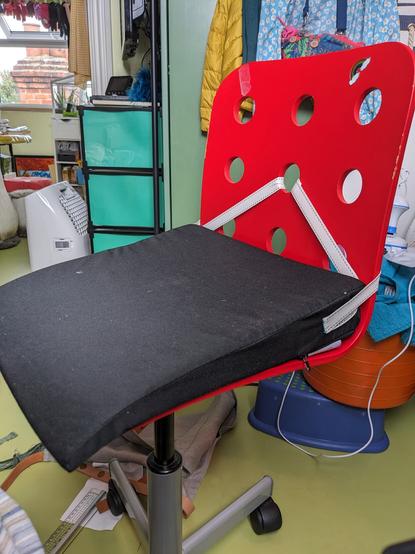
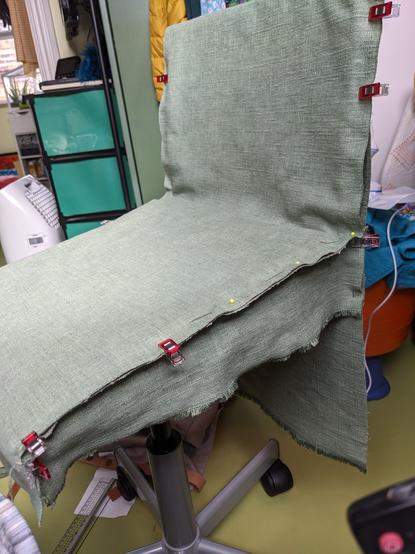
To go with my armchair cover, a desk-chair cover. The red was ok but clashy, and adding the black just made it miserable to look at. So I'm using the last few inches from the roll to make it a matching cover. First pin/clip to get an idea of what shape I'm going to need, then I'll baste, then decide on hems and sew it on the machine. #Sewing
Finished! I don't know why I put in a little pocket, other than that it saved me from having to cut and hem the selvedge? #Sewing
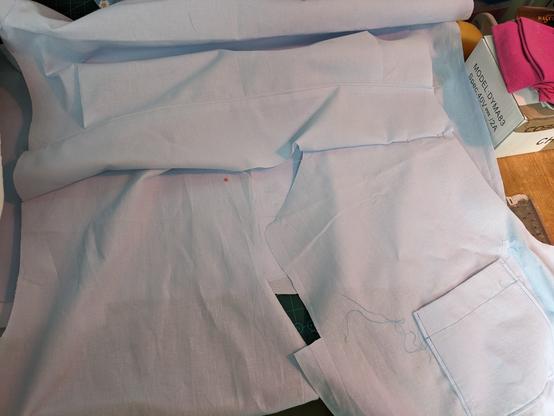
Today's #sewing was ironing. Three metres of cotton shirting in preparation for making another from my McCall's pattern. This one will be longer and have sleeves, but will be of a reasonably civilised fabric, so that's exciting. The first one was made of extreeeeeeeemely slippery linen and was like sewing a teflon-coated octopus.
Today I'm lengthening the shirt pattern - starting with two inches front and back and on each sleeve, and I'll see how that suits my victim.
Cut out the fronts, back, and sleeves. Smaller bits tomorrow. Tired now.
The blue I'm using for this shirt is School Uniform or possibly Nurses Scrubs. But the pleats are in the back and the yoke is on. Attaching the fronts to the shoulders now. #Sewing
I've topstitched the yoke facing into place and it involved more ironing. Next is more basting, then putting away the body of the shirt and starting on the sleeves.
I have read the instructions for the continuous lap next to the cuffs and I strongly suspect them of being very "now draw the rest of the owl."
I'm sewing this at 15 stitches an inch, as a compromise between easy to undo errors and small enough to look ok. I can see myself doing the next one at 20, with 30 for topstitching, if none of this one needs unpicking. #Sewing
Last time I made a shirt, the collar confused me until I had finished it. This time, the sleeve end and cuff are extremely confusing so I hope they'll also become obvious as I plough through.
But I am afraid of the continuous lap. #Sewing
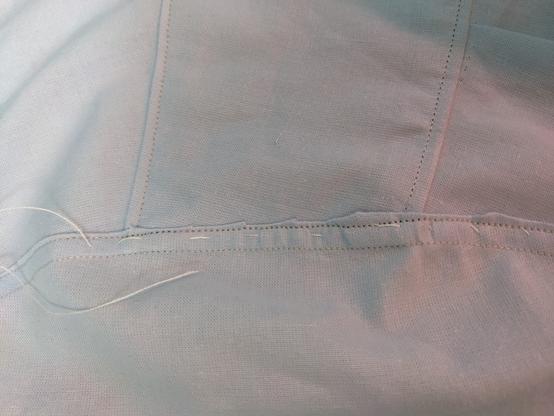
I think I have sewn the continuous lap but I don't understand how it's supposed to look. There's no mitre at the top of the split or anything.
Ohhhh, I *see*!
Today I'm attempting to attach sleeves. I used fabric clips to match notches, then pins to get the pieces lying flat together, then machine-basted, then unpicked puckered bits and rebasted them, and now I'm having a rest before I change the stitch length and nail them on for good. #Sewing
I was sufficiently tired to double double check and *anyway* attach one sleeve inside out. So I'm glad I only basted. I'll unpick today.
Today I have unpicked and rebasted one sleeve, fully stitched both sleeves, and unpicked both sets of basting.
Next is trimming half one side's seam allowance, ironing in the other side's, and stitching all THAT. So I'm not congratulating myself on my lack of puckering just yet.
The only downside to my beautiful sewing machine (see link below) is that using one hand to crank it means I only have one hand to guide the fabric. I'm considering my options. #Sewing https://mastodon.art/@artbyailbhe/110780146951341100

Ailbhe (@[email protected])
Attached: 4 images The case of my 1940 Singer 201K handcranked sewing machine. The way the storage and case works is so, so simple and clever. #SewingMachine #Sewing
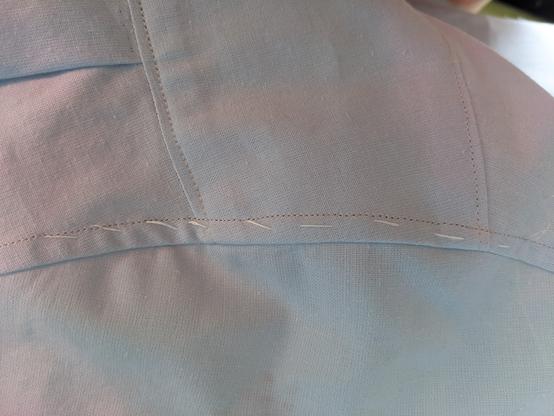
Trimmed seam, ironed seam, folded seam, pinned seam, ironed seam, basted seam, ironed seam, stitched seam (swearing elided for brevity).
The inside isn't great but the outside is fine. #Sewing
Today I finished the seams up the sides and along the sleeves. Is there an easy way to handle sewing the seam flat along the arms? I tried two different ways of scrunching the tube up and sewing kind of inside a tunnel/bucket but neither was satisfactory. And wouldn't be possible with a slimmer sleeve, like on one of my own garments. #Sewing
@artbyailbhe Were you closing that seam before or after attaching the armscye?
@elfkin the instructions said attach yoke to back, attach fronts to yoke, attach sleeves, finish armscye seam, sew up sides and arms, finish those seams.
@elfkin https://blog.fabrics-store.com/2021/02/11/sewing-glossary-how-to-sew-flat-felled-seams-on-sleeve/
A reply to this says it's a bit easier if you turn the sleeve right side out first, which makes sense to me

Sewing Glossary: How To Sew Flat-Felled Seams on Sleeve - the thread
Don’t you just love it when your garment looks as good on the inside as the outside? There are many terrific sewing techniques that can provide a neat and clean finish to your projects and the flat-felled seams are one of them. A flat-felled seam finish gives sturdy seams and a clean look. Just like
@artbyailbhe I strongly agree with that advice.
Also, so far as I know, the scrunch-a-bunch method is your only option once the sleeve is attached. It’s possible to close the sleeve’s side seam and then attach it after closing the bodice’s side seam, which makes for far less scrunching. However, felling the armscye seam after closing the bodice side seam is its own circle of hell.
@elfkin I wonder if a small embroidery hoop would help my fingertips a bit.
@artbyailbhe Maybe? Can’t hurt to try.