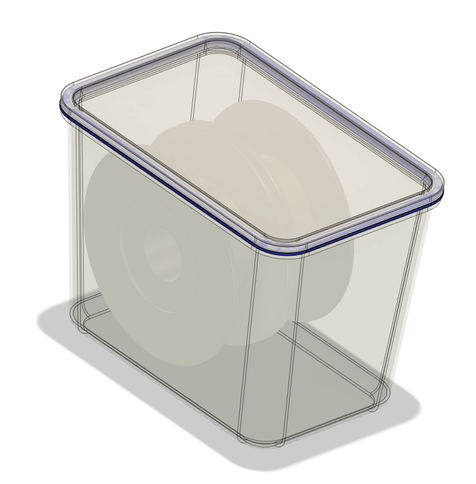
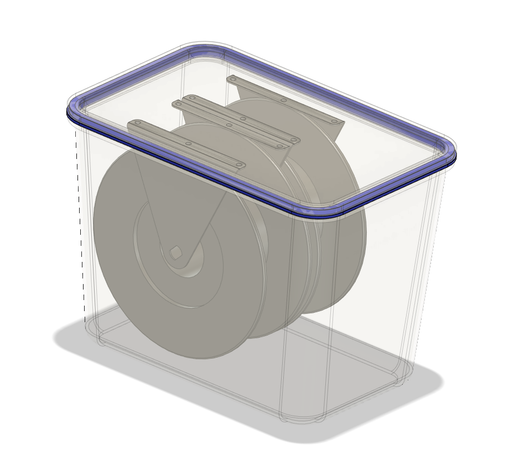
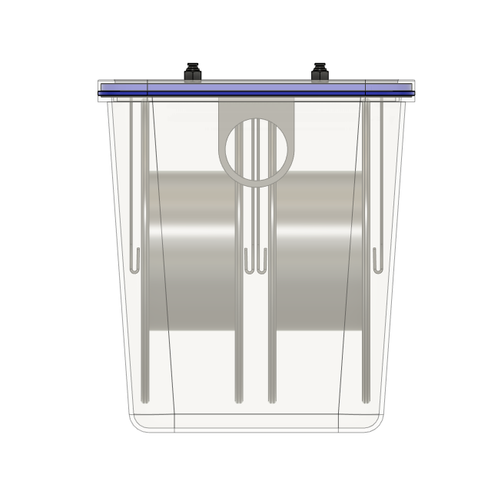
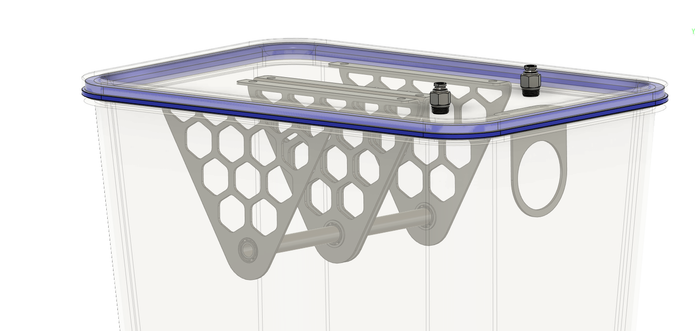
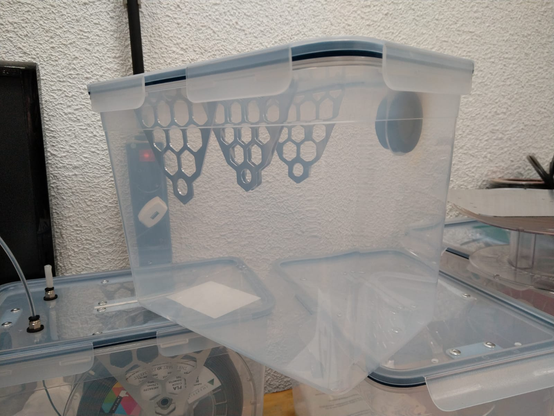
Alright, found a 3D model of the Ikea 365+ 10.6L container that everyone uses as filament box. However, it did not have a modeled lid, wich was exactly what I wanted.

My measurements are close, BUT not super precise, so don't complaint when I share the model, when reality is you should NEVER design something tightfitting for plastic containers like this, without a real life reference.

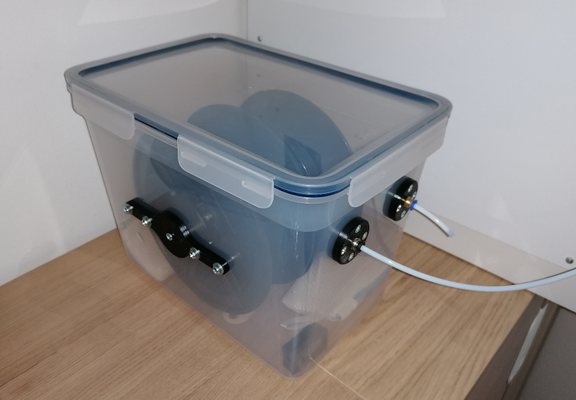
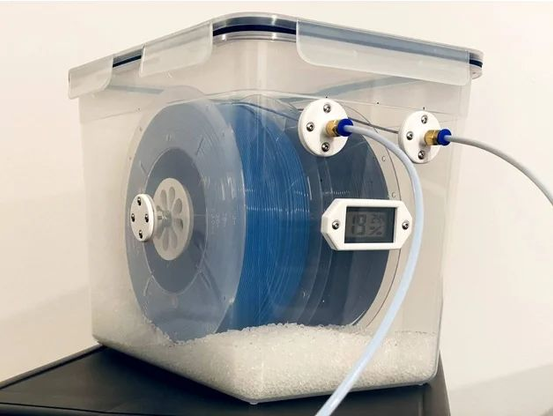
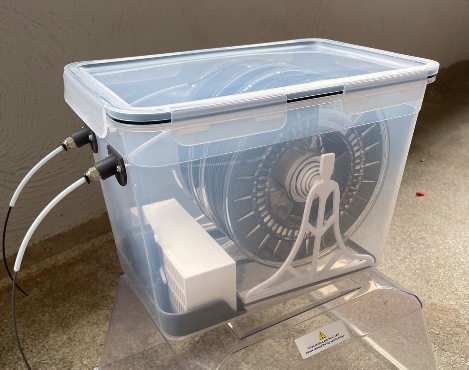
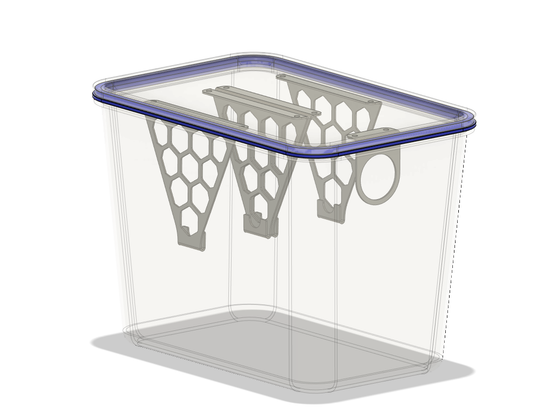
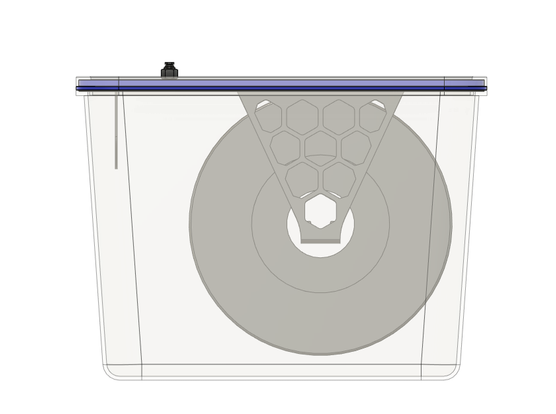
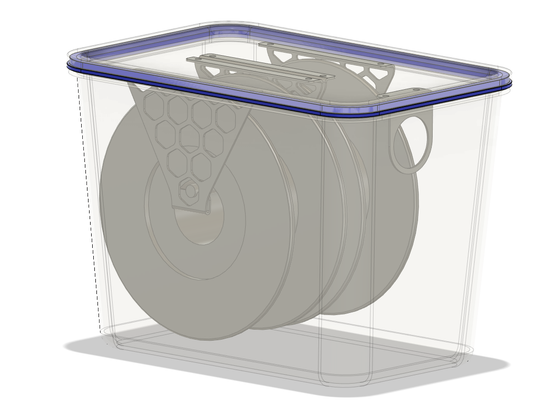
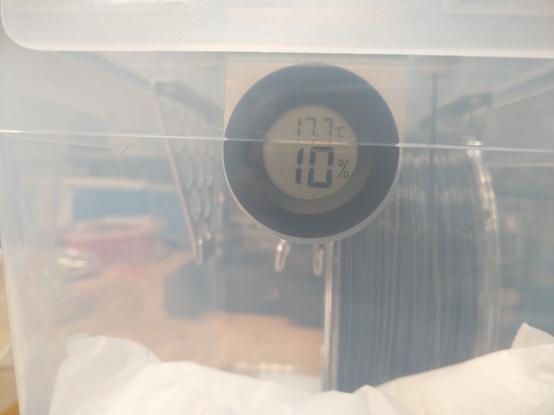
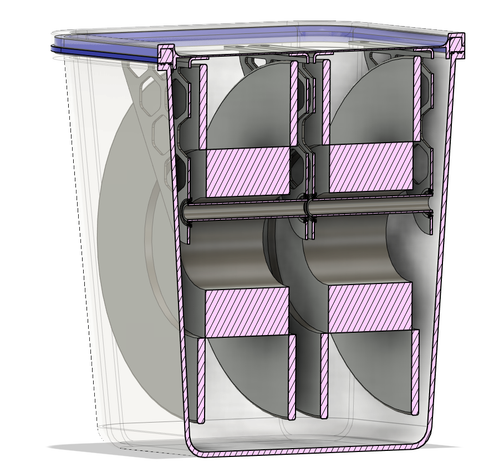
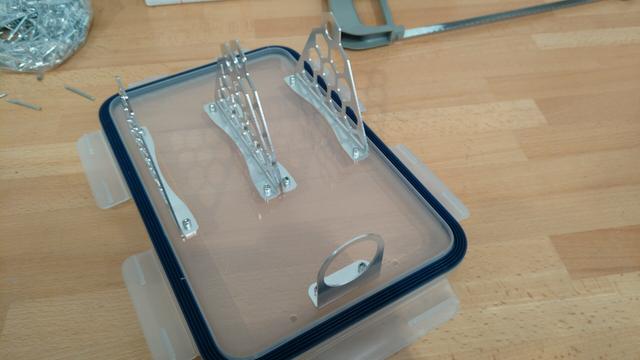
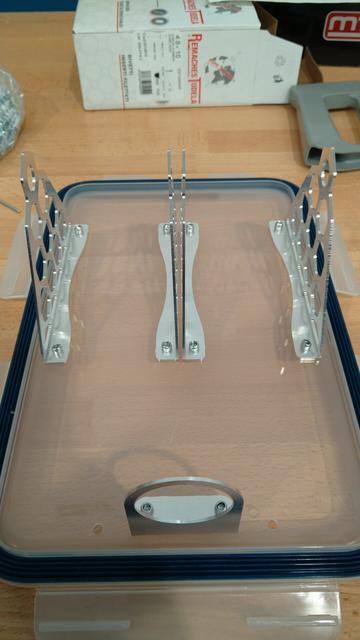
Now that I have the lid, I can model what I want to do to turn this into a rael filament box.

Alright, modeled a pair of 1Kg spools from my go-to filament brand and set them up inside the container, as high as possible (so there is space for the dessecant at the bottom) and to the rear, so the filament can have a softer path to go to the outlet (wherever I put it, still undecided).

Things I know I DON'T want:

Drilling on the container body. Ever tried drilling those things? The plastic will shatter like crazy and drills will grab and pull like a velociraptor, and that's made even worse because the sides are at an angle, and drilling both the same is a pain in the ass.

#3DPrinting

Loose things inside the box (apart from the dissecant).

Roller carriers that are just sitting inside and can move and wobble around are just a no-no for me. It's just a matter of personal preference, nothing particularly wrong with it per se.

Plan is as follows.

Attach everything to the lid. It's way cheaper than the container, AND it's flat, so much easier to hold and drill, win-win.

Will make aluminium holders for each spool, and attach them (with screws or rivets, unsure about it) and use the springiness to hold the guide bars.

The guide bars have flats to keep them steady (and let the bearings to the work) and are staggered (same piece with the top bent one side or the other) so they can't actually conflict when putting new ones in (the steps should NOT be thicker than the alu anyways, but just in case...
Alright, after assembling a test cover, the latching mechanism for the spools that was so awesome in my head, is pretty crap (the cover just gives way too easily, so the springiness is inconsistent. So I'm going to mod the pieces to have a U shape for the axles to catch and hold well.
Proper fancy, because reasons.
Looking slick, imo.
Pretty happy with it, now onto designing the actual roller-axles whatever, to fit in there.

Done!

Will cut the pieces tomorrow and assemble on the weekend-ish.

I wonder if it will hold to riveting (with the large rivet face to the plastic)

Finally!

Kinda bodged the actual support axle, because now I want to do a different way of holding it, one rhat does ot require a 180° bend, and ot's much more reliable.

Humidity after 10 minutes. Not bad looking, not sure how low will it drop.
Now I need to make a simple holder for the incoming bowden into the runout sensor, so it rests more square with it. Not sure if there is a 3D model of the sensor around. (hey, I'm lazy today about taking measurements, okay?)
Could not find the model, so I took some measurements while it was printing some test, and did my best.

Of course, I made the noob move of forgetting to remove one diameter from the two screw measurement, so the end hole was 3mm farther than it should. 🤣

Now waiting for the corrected one to print.

Btw, I have to say, the dry filament prints so much better. I should do some more tuning later on.

Aha!

Flanged bearings pressed (or glued) onto 10mm OD stainless tubing, and held in place with the springiness of the holders. That'll be smooth and secure for normal operation.

Will have to wait until monday to cut more tests, tho.

There, now I don't have to worry about the incoming bowden giving trouble.

Also, the cheapo hygrometer has not gone below 10%. I do not know if it's because it can't, or because the dissecan't can't dry further. In any case, it's better than having the filament at 50-60%

A cross section so you can better understand what is going on on the spoolholder.

It's actually pretty simple and sturdy.

The spools will ride on the axles that rotate on ball bearings, so no matter how the spool is shaped, it will run smooth. I may use some silicone tube over the stainless if I feel it's noisy, but seriously doubt it will (not at least over the noise of the printer)

Ah, the hygrometer range is actually from 10 to 99%, that's why it's not measuring lower. 🤣
@Nixie the Winter Low here is 50% RH outdoors <.<' summer high can be 'saturated' (100%)

Wich is better?
/irony/

Definitely an awesome upgrade for the printer, besides the actual benefit of permanently dry filament.

I also went full bananas on the design of the spoolholders (previously it had a round bottom, but looked low effort, so I applied the hexagon motif to it too.

Well, not everyday you nail first try the settings for the supports, so they release easily but also leave an acceptable surface finish in a roof.

I am now printing something with holes in it to see how it behaves.

Nothing like doing things calmly, especially using the marking jig and perforating slowly with an apropriate tool (spotting drill 2*5mm, spots easy, makes perfect rivet sized holes, will NOT wander on you.

I'll make 2 more with what I have left, and around this month, 2 extra, for a lot of 5 boxes, and 10 spools capacity.

So, I received this pair of spools that arrived damaged (bags are really fancy hermetic resealable type).

Support reply:

"we have determined that this happened during transport and since humidity is a long term problem, you can use them as normal, test them and get back to us if trouble arises".

No, mf'r, I built fucken fancy dry boxes to hold all my spools, and I am paying for quality and assurance that the dryness optimal conditions are met.

Now take them back, and I'm switching sellers.

And here it is on the box.

I ordered 20 new bearings, and got spare 10mm stainless tube for the axles, will finish them once those arrive.

@Nixie why you add a circular saw arm to your printer?
@Workshopshed 3D printer wars are coming, better make mine be able to defend itself.
@Nixie are you going to use flat washers on your rivets? Just a thought.
@kingwookie the bottom is aluminium, should hold, but I want to try washerless on the plastic, out curiosity, first.
@kingwookie tested the riveting, I don't feel there is a need for washers on the plastic side, as long as it's the rivet head against it.

@Nixie

This idea is dead sexy.

For the troubling holes (I hear you, with the drilling), I can think of 2 reasonable options:

1. Soldering iron - melt the hole, directly on the Sharpie marks you've made on the side for precise location.
2. Dremel grinding bit that's pointy on the end. Same story as the soldering iron, it'll burrow in using mostly heat, probably.

Hope I'm being helpful/useful.

@kelvin0mql

I'll just avoid working on the container altogether. If I break something, it'll be lids, wich are much cheaper than the bodies.

But thanks for the advice ^^

@Nixie drilling a pilot hole helped me a ton. For more complicated holes I've even stepped up incrementally through bit diameters. Also I skipped the brackets for the pnuematic tubes and just screwed them directly into the wall of the container.
@OrdinaryWonder Ye, stepped drills do the trick and don't grab, but I want to avoid working on the body at all costs, so I'm doing everything on the lid. XD
@Nixie cheap soldering iron is your friend :)

@Rajiv I got expensive soldering irons for that. XD

Jokes apart, I'll just leave the container as is, and do all the work on the lids, as they are much cheaper than the bodies, and flat.

@Nixie I built this one, but modified the frame to fit a 24l very useful box. For drilling the 4 holes that fitted the larger box I clamped wood either side of the wall so it was well supported while drilling.

Drybox (Low Vitamin)
https://www.thingiverse.com/thing:3347698

Drybox (Low Vitamin) by buildchimp

I wanted to see if I could create a drybox that used as few vitamins (purchased parts) as possible. Along the way, I realized that my current drybox, which used 608zz bearings, spun WAY too freely, resulting in filament binding on the spool. This drybox is based around a file box from Office Depot (Item #840427): https://www.officedepot.com/a/products/840427/Super-Stacker-Storage-Box-19-Liters/ Additionally, I used foam backer rod (SKU #803064): https://www.homedepot.com/p/M-D-Building-Products-5-8-in-x-20-ft-Gray-Caulk-Backer-Rod-for-Gaps-and-Joints-71506/100165680 And finally, some run-of-the-mill 4mm PTFE tubing like you see in bowdens everywhere. Oh, and a bit of hot glue to put it all together. You'll have to drill a few 9-10mm holes in the side of the box for the filament ports, but otherwise there are no cuts or holes, and no bolts. The spindles are intended to be easy to replace without reprinting the arms that suspend them, and designed to be self-centering (there's a small taper toward the center)...though I'm not sure yet if that part works as planned. If you modify the OpenSCAD model, you'll need the threads.scad library from here: https://www.thingiverse.com/thing:27183