Again, don't do this with bare skin (use safety equipment and appropriate precautions)

#WoodAshCement

July 17, 2018, PrimitiveTechnology

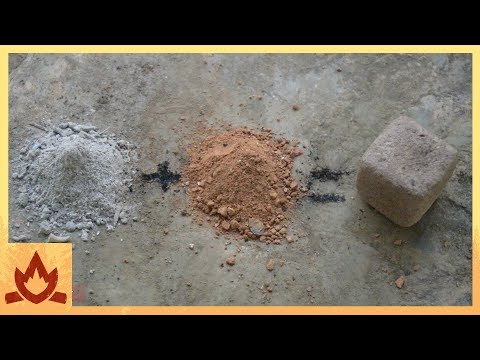
"I developed an experimental cement from made only from re-fired #WoodAsh as its #cementitious material. It was mixed with crushed #terracotta as an aggregate and formed into a cube. The cement set hard after 3 days and did not dissolve in water after this period.

"Process: First I burnt bark and leaves in a kiln at high temperatures to produce well burnt, mostly white wood ash. The ash was then mixed into water and stirred well. The excess water was poured off and the resulting paste was made into pellets and allowed to dry. A pellet was then re-heated in the #forge until it glowed about orange hot. This was then taken out, cooled and dropped in a pot of water. The pellet dissolved and boiled due to a chemical reaction with the water. The paste was stirred and crushed terracotta (old tiles from previous projects) was added and mixed to form a mouldable #mortar. This was formed into a cube and allowed to set for three days (in the video, a cube made exactly the same way 3 days previously was used due to time constraints). The resultant cube was strong and made a slight ringing sound when tapped with a finger nail. It was placed in water for 24 hours to simulate a very heavy rain event and did not dissolve or release residues into the water.

"My current theory: The main component of wood ash consists of #calcium in some form (e.g. #CalciumCarbonate, #CalciumOxide). This can be up to 45% from my research. Calcium is in higher concentration in the #bark and #leaves of a tree. When the ash is mixed with water, the soluble component of wood ash (10% pot ash) dissolves into the water. But seeing that it does nothing for the cementing process, it is drained off leaving the insoluble calcium (and other components) in the paste. Doing this probably raises the relative percentage of calcium in the paste to about 50% or more. Most of the other 50 % consists of silica and alumina which are #pozzolans, materials that chemically react with calcium hydroxide to increase the durability of the cement product. The paste was then made into a pellet and fired again to high temperature to convert all the calcium compounds to calcium oxide. It also reduces any charcoal in the pellet to ash if it hadn’t already been burnt the first time. This step seemed important as un-fired ash pellets only partially hardened and would fall apart in water, though retaining a weak undissolved 5mm thick crust. I can only surmise that re-firing the ash just gave a greater conversion of the calcium components to calcium oxide. The pellet is slaked in water converting the calcium oxide to calcium hydroxide. This cement was mixed with crushed terracotta which may also help in some way that I’m not aware of as I only did this one experiment and did not test other aggregates yet (e.g. sand, gravel etc.). Terracotta is porous and might hold together better than other materials. The mixture is allowed to set in air where carbon dioxide reacts with calcium hydroxide to form calcium carbonate cementing the aggregate together. After this, the cement will not dissolve in water.

"Use: I think this material might have a potential use as a mortar holding rocks or bricks together in wet environments where #limestone or #SnailShells are unavailable for making cement. Wood ash is a pretty ubiquitous material to most natural environments inhabited by people using biomass fuels. Wood ash cement turns a waste product into a valuable building material. From my research, wood ash is already being used as a partial replacement for cement in the building industry without decreases in strength of the final product. But I’ve only just started experimenting with it and don’t know its full capabilities and limitations. Calcium content of wood ash differs depending on the species of tree, the part of the tree burnt and the soil it’s grown on. Cautious experimentation is still required before committing to a hut built from this material."

Learn more:
https://primitivetechnology.wordpress.com/2018/07/17/wood-ash-cement/
#SolarPunkSunday #DIY #Cement #Woodashes #BuildingMaterials

Wood ash cement

I developed an experimental cement from made only from re-fired wood ash as its cementitious material. It was mixed with crushed terracotta as an aggregate and formed into a cube. The cement set ha…

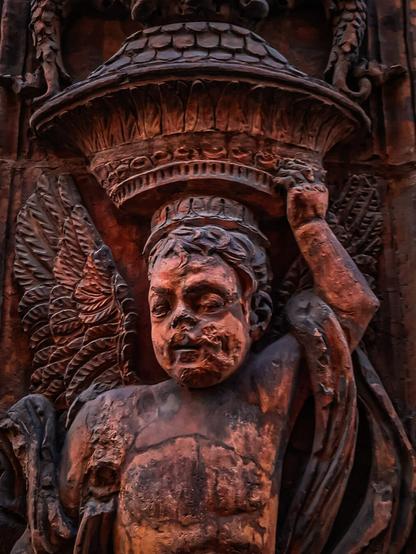
Spooky cherub 2 for #spookysaturday and/or #statuesaturday.

Or to borrow a stroke of genius from @[email protected] jay, a zombaby!
Terracotta statue at the entrance to the Monastero di Santa Caterina de Vigri, Bologna. Last week's was on the left of the entrance, this one's on the right.

#photography #amateurphotography #bologna #italy #statue #terracotta #streetphotography #cherub
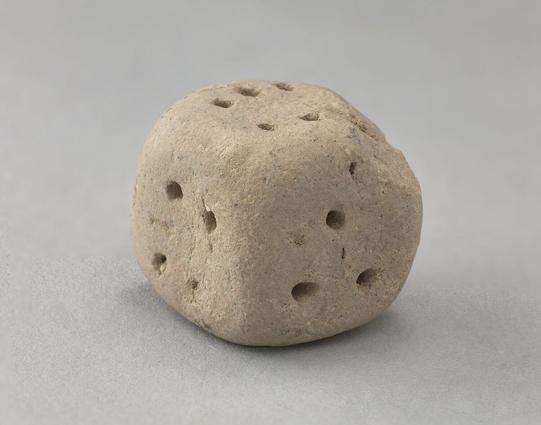
Terracotta gaming die, Iraq, ~2nd millennium BCE?

Homemade #BumblebeeNests: Making A Home For Bumblebees

By Darcy Larum
last updated 16 November 2022

" 'To make a prairie it takes a clover and one bee. One clover and a bee, and revery. The revery alone will do, if bees are few.' Emily Dickinson. Sadly, bee populations are declining. Bees are becoming few in numbers. The way things are heading, bees and prairies may someday just be things we see in our daydreams. However, like Emily Dickinson’s one bee, each one person who takes steps to help our pollinators is also helping our prairies and the future of our planets. Honeybee decline has made many headlines in the past few years, but bumblebee populations are declining too. Continue reading to learn how you can help by making a home for bumblebees.

Bumblebee Shelter Info

It may surprise you to learn that there are over 250 species of bumblebees, which mostly live in the Northern Hemisphere, though some are found throughout South America, too. Bumblebees are social creatures and live in colonies, like honeybees. However, depending on species, a bumblebee colony only has 50-400 bees, much smaller than honeybee colonies. In Europe, North America and Asia, bumblebees are very important in the pollination of agricultural crops. Their decline and loss of safe habitats will have devastating effects on our future food sources. In spring, queen bumblebees come out of hibernation and begin searching for a nest site. Depending on species, there are above ground nesters, surface nesters or below ground nesters. Above ground nesting bumblebees usually make their nests in old bird boxes, crevices in trees or in any suitable site they can find several feet above the ground. Surface nesters select nest sites that are low to the ground, such as a pile of logs, cracks in house foundations or other out of the way locations. Below ground nesting bumblebees often nest in the abandoned tunnels of mice or voles.

How to Make a Bumblebee Nest

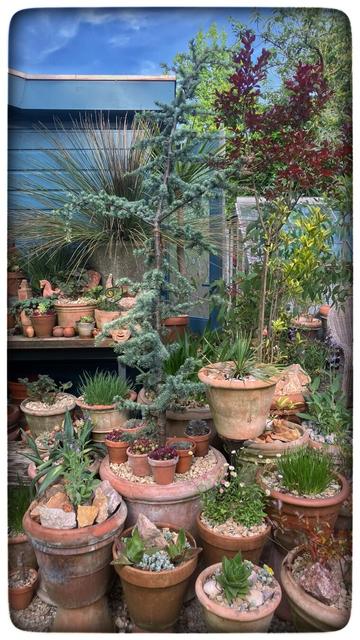
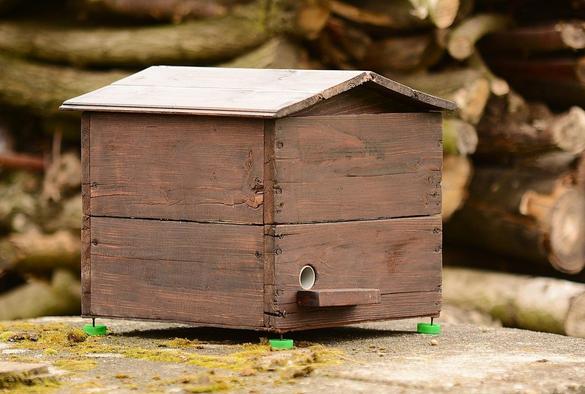
The bumblebee queen seeks out a nesting site that already has nesting materials, such as twigs, grasses, straw, moss and other garden debris in it. This is why abandoned nests of birds or small mammals are often selected as bumblebee nesting sites. Gardeners who are too tidy about garden debris may actually inadvertently deter bumblebees from nesting in their yards. Bumblebees also prefer a nesting site that is in a partially shaded or shaded location, which is not frequented by people or pets. The queen bumblebee needs to visit about 6,000 flowers to attain the nectar she will need to arrange her nest, lay her eggs and maintain the proper temperature in the nest, so a bumblebee nest needs to be located near plenty of flowers. An easy way to give bumblebees shelter is to leave old bird nest boxes or bird nests in place for bumblebees to move into. You can also make bumblebee nesting boxes with wood. A bumblebee nesting box is very similar in construction to a bird nesting box. Usually, a bumblebee box is 6 in. x 6 in. x 5 in. (15 cm. x 15 cm. x 8 cm.) and the entrance hole is only about ½ inch (1.27 cm.) in diameter or less. A bumblebee nesting box will also need to have at least two other smaller holes near the top for ventilation. These nest boxes can be hung, set at ground level, or a garden hose or tube can be fixed to the entrance hole as a faux tunnel and the nest box can be buried in the garden. Be sure to fill it with organic nesting material before putting it in position. You can also get creative when creating a bumblebee house. One brilliant idea I came across was using an old #TeaPot – the spout provides a tunnel/entrance hole and ceramic tea pot lids usually have vent holes. You can also create a bumblebee house from two #TerraCotta pots. Glue a piece of screen over the drain hole in the bottom of one terra cotta pot. Then attach a piece of hose or tubing to the other terra cotta pot’s drain hole to act as a tunnel for bumblebees. Put nesting material in the terra cotta pot with the screen, then glue the two pots together lip to lip. This nest can be buried or half buried in an out of the way garden spot with plenty of flowers. Additionally, you can also bury a section of hose in the soil so that the center of the hose is buried but with both open ends above the soil. Then place an upside down terra cotta pot over one side of the open hose end. Place a roof slate over the pot’s drainage hole to allow for ventilation but also keep rain out."

Source:
https://www.gardeningknowhow.com/garden-how-to/beneficial/making-homes-for-bumblebees.htm

#SolarPunkSunday #BumblebeeNests #BeeHouses #DIY #DIYBeeHouses
#Pollinators #BeeNesting #BeeHouses #BeeHousePlans

Homemade Bumblebee Nests: Making A Home For Bumblebees

Honeybee decline has made many headlines in the past few years, but bumblebee populations are declining too. Learn how you can help by making a home for bumblebees. Click on the following article for additional information.

Gardening Know How
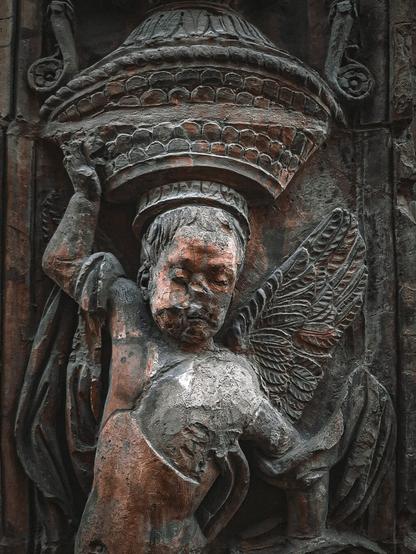
Spooky cherub for #spookysaturday and/or #statuesaturday.

Terracotta statue at the entrance to the Monastero di Santa Caterina de Vigri, Bologna.

#photography #amateurphotography #bologna #italy #statue #terracotta #streetphotography #cherub
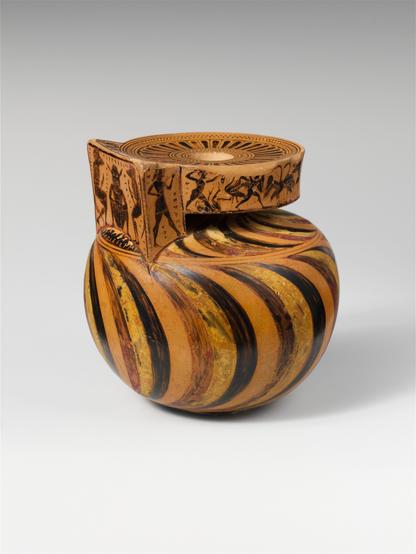
Terracotta oil flask, Greece, ~570 BCE