Studio Lighting Rental Mumbai by Accord Equips offers top-quality lighting equipment for photography, film, and video shoots. Choose from advanced lighting setups to achieve perfect visuals. With flexible rental options and expert support, they ensure professional results for every production in Mumbai. https://www.accordequips.com/rental_equipments/lights-equipments-on-rent
#StudioLightingRental #MumbaiStudios #FilmLighting #PhotographyLighting #LightingEquipment
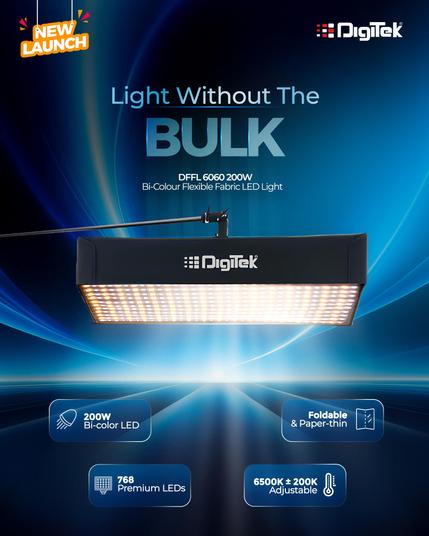
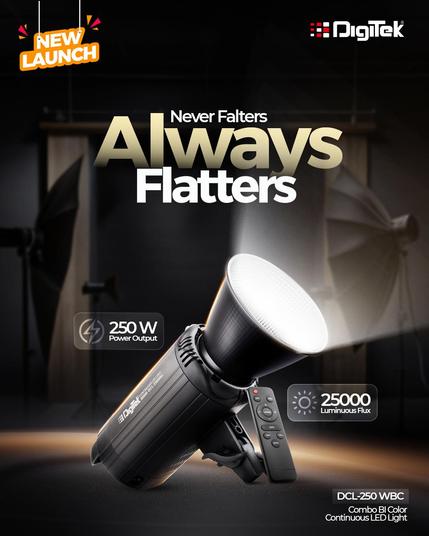
Lights
Accord Equips is one of Mumbai\\\\\\\\\\\\\\'s leading rental house of professional Photography and Movie lighting equipment to the motion picture industry. Quality sound, light, rigging and power equipment on hire for all budgets. Friendly and trained technicians in Mumbai, Pune & anywhere in India