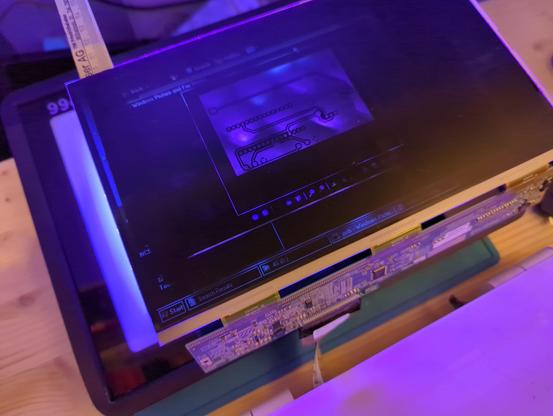
I love all the hacking taking place for e-ink readers https://github.com/iandchasse/de-link/tree/main
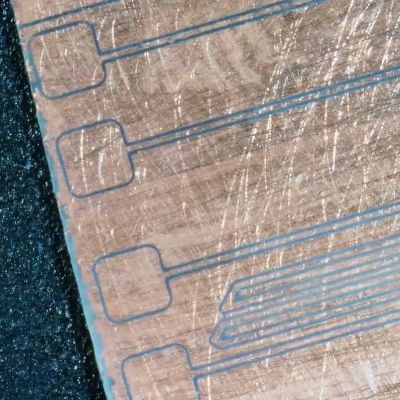
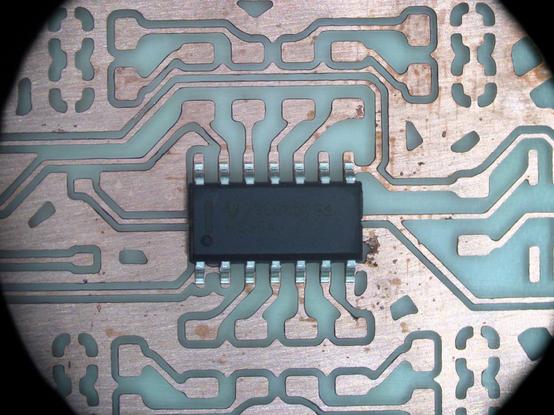
Using a Fiber Laser to Etch 0.1 mm PCB Traces
https://fed.brid.gy/r/https://hackaday.com/2026/03/24/using-a-fiber-laser-to-etch-0-1-mm-pcb-traces/
Using a Fiber Laser to Etch 0.1 mm PCB Traces https://hackaday.com/2026/03/24/using-a-fiber-laser-to-etch-0-1-mm-pcb-traces/
#LaserHacks #PCBHacks #Diypcb #Fiberlaser #Pcbmanufacturing
#LaserHacks #PCBHacks #Diypcb #Fiberlaser #Pcbmanufacturing
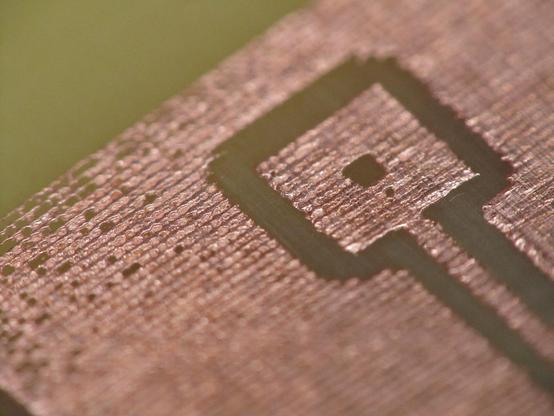
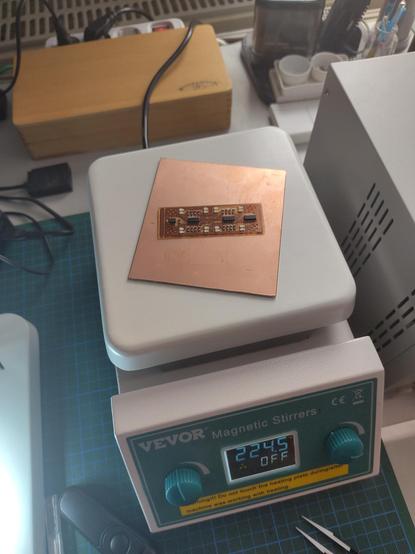
Update on my #diypcb fabrication using an upsycled laptop. The pixelated texture was mostly on the surface of fully hardened photoresist, but not everywhere. I guess I didn't exactly center the board, so the corners were underexposed and the texture was all the way through. There were literally holes in the mask, which lead to pixelated copper layer. Not good.
Not a big deal, actually, I'll just put the uv spotlight a little further, increase the exposure time and live with slightly thicker traces in one direction. Still perfectly fine for THT-based #pcb, that I'm going to make.
Not a big deal, actually, I'll just put the uv spotlight a little further, increase the exposure time and live with slightly thicker traces in one direction. Still perfectly fine for THT-based #pcb, that I'm going to make.
The setup I ended up with makes me incredibly happy. Noname 72W #UV spotlight for 20€ generates surprisingly collimated light. Too collimated even, the beam is about the correct size about half a meter away from the source (laptop shown for scale). If I want to use less space I need some diffuser, or I'll just rearrange the LED-assemblies more in a shape of LCD panel. But it's perfectly useable for #photolithography as is for now.
#diy_electronics #diypcb #uva
#diy_electronics #diypcb #uva

While making a DIY LCD-masked UV exposure device for photosensitized boards, I basically made every mistake, that was already made before me, during development of cheap consumer MSLA printers.
I took a regular color LCD panel from a laptop, replaced the backlight with UV LEDs, found out it blocks too much UV.
I built a bigger UV source and found out the panel blocks way more UV than I ever expected.
I bought a huge 150W panel and found that the thickness of the glass between the light blocking pixels and UV-sensitive layer of the board causes too much blur, when the light source is that wide.
I've made the light just a little more collimated with black 3d-printed honeycomb, lost about 80% of light intensity and finally made a proper etch-resistant mask.
#diy_electronics #diypcb

wheeeee!
just needed one little bodge because I forgot a pull down resistor on the switch input and a little piece of wire to bridge over where the button will go once I have it.
turns out, the button might not actually be needed though. I put it in so I could inject bits into the shift register, but one of the registers seems to reliably start up with all ones anyways. ahh well, I still need it to bridge to 5V over to the other part of the circuit.
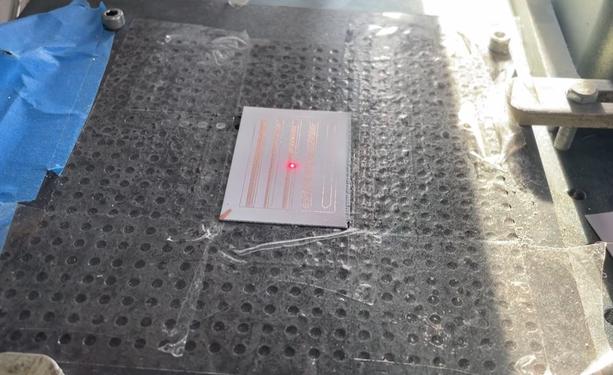
reflow time!
(yes, I completely forgot to buy 5mm tact switches. I was sure I had some…)
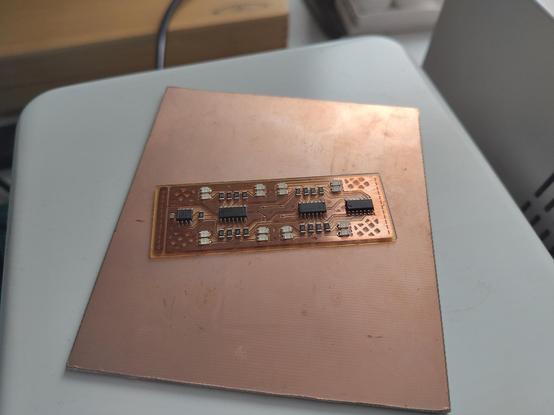
last but not least, a test fit with one of the chips. it fits! Wheeeeee!
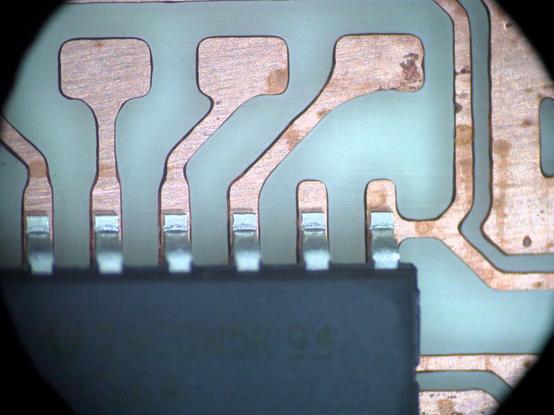
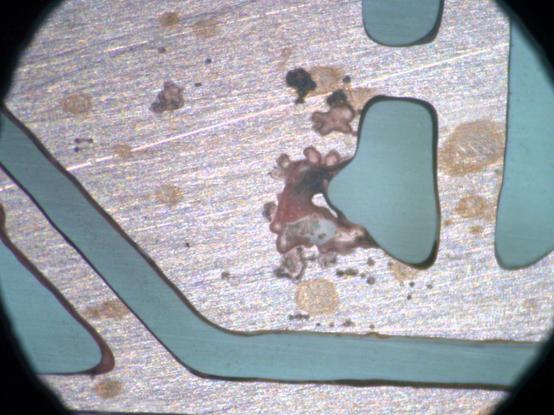
there are also a bunch of other small defects, probably caused by small bubbles or other defects in the photoresist. luckily only one of them seems to have led to a broken trace which I'll have to fix later.
oh yeah, also, all the brown stains all over the PCB? don't just dump dry NaOH into the resist stripper bath when it's starting to run out. getting it onto the PCB will fuck up the copper surface…