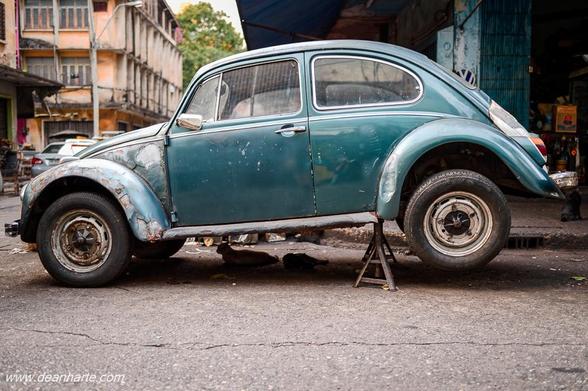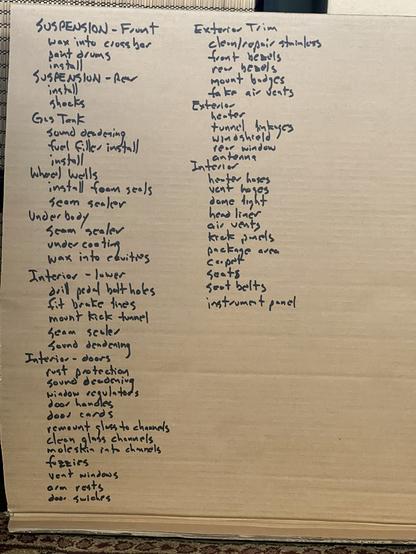
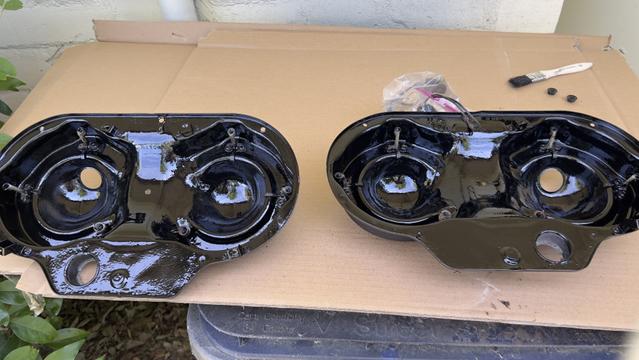
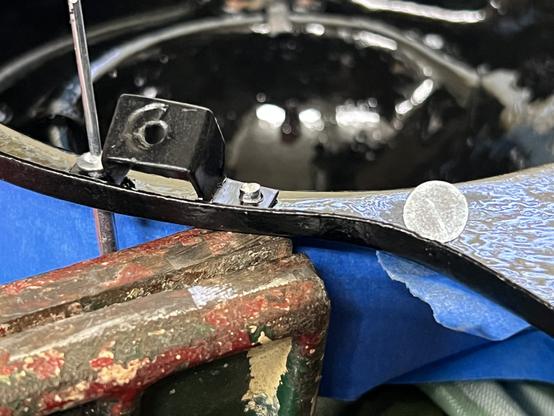
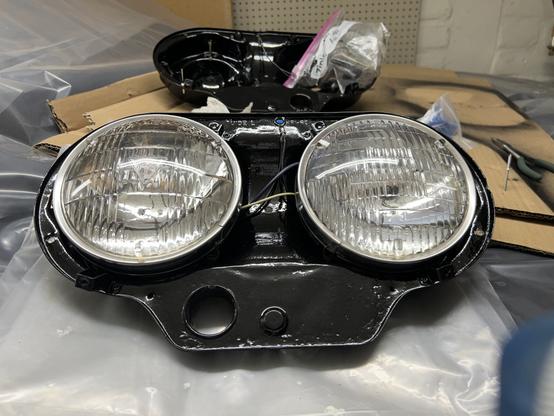
1964 #Corvair #AutoRestoration progress.
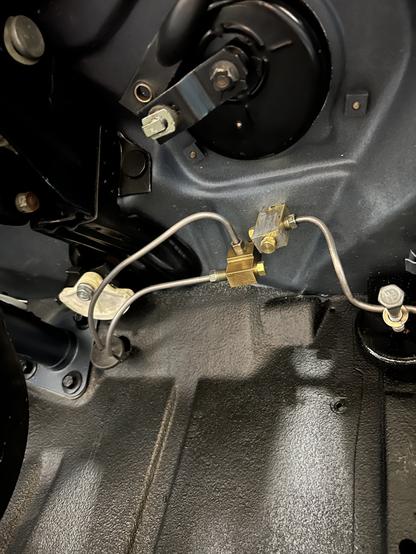
The steering box (minus lube) is back together and feels ok even though the teeth are slightly pitted.
Coincidentally, Clarks Corvair just sent their 2026 parts catalog which announces they will have affordable repro gears later this year, so I may be taking this back apart before the year is done.
The steering box (minus lube) is back together and feels ok even though the teeth are slightly pitted.
Coincidentally, Clarks Corvair just sent their 2026 parts catalog which announces they will have affordable repro gears later this year, so I may be taking this back apart before the year is done.