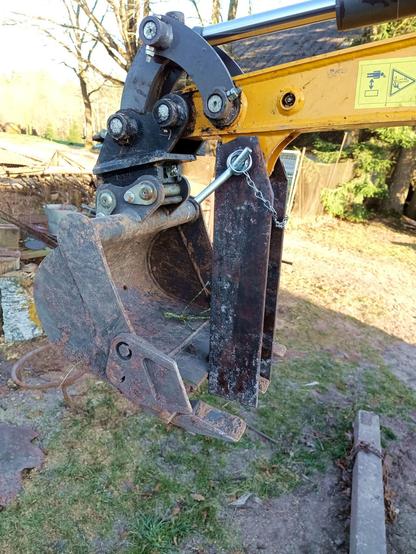
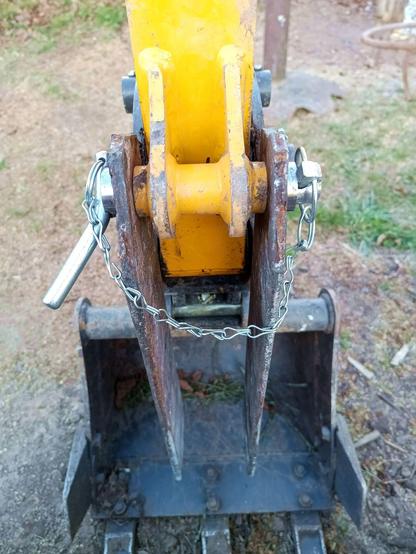
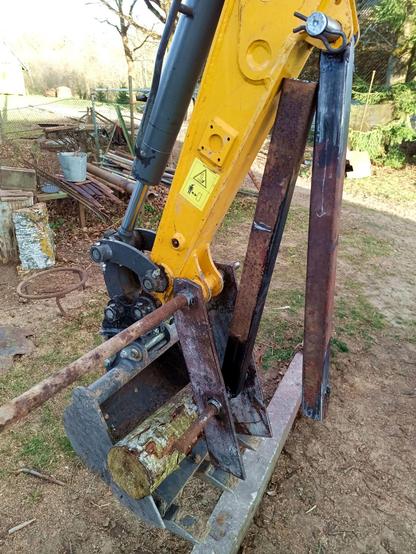
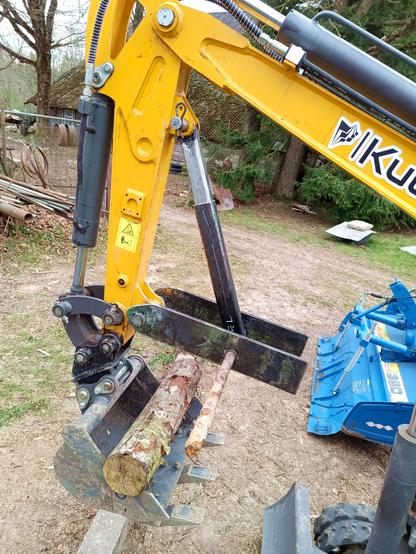
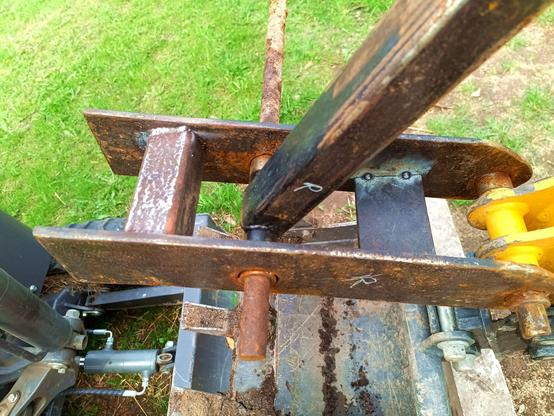
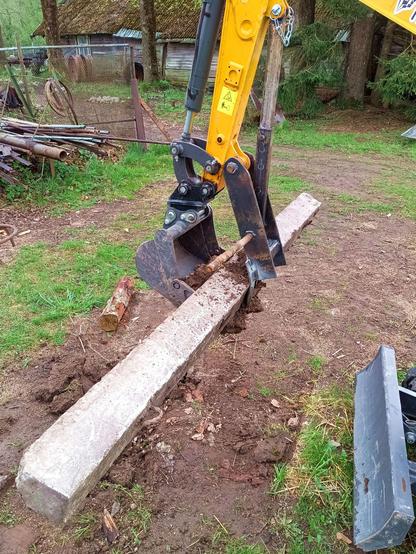
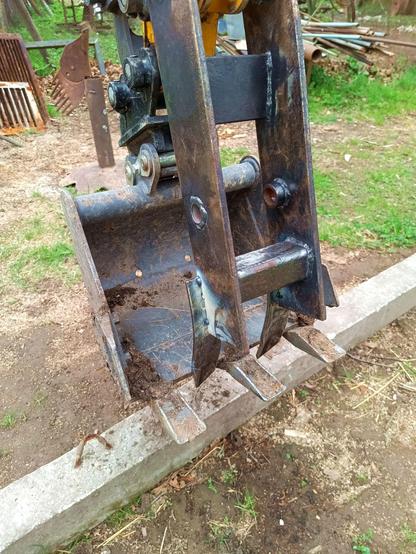
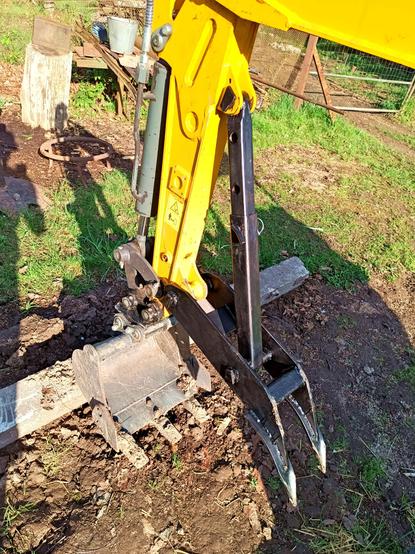
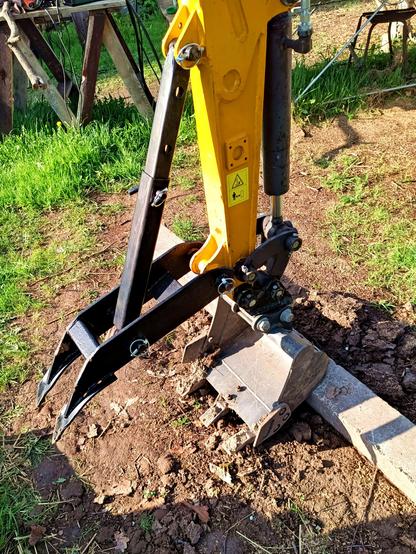
Next project: A thumb for the mini-excavator.

Because I've been kinda needing it for a while and now I do even more.

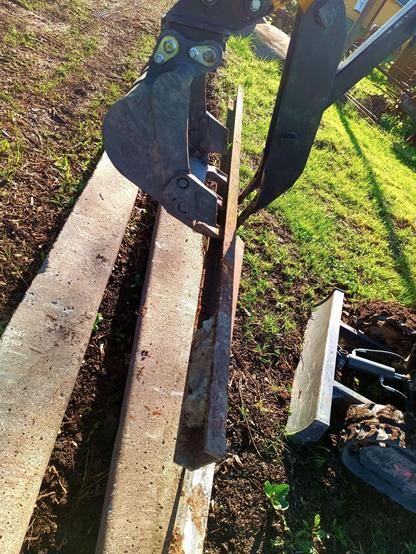
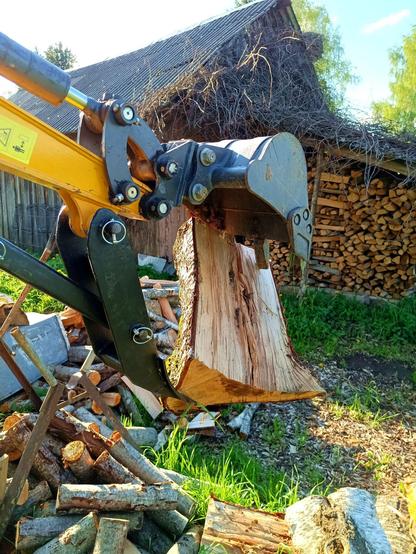
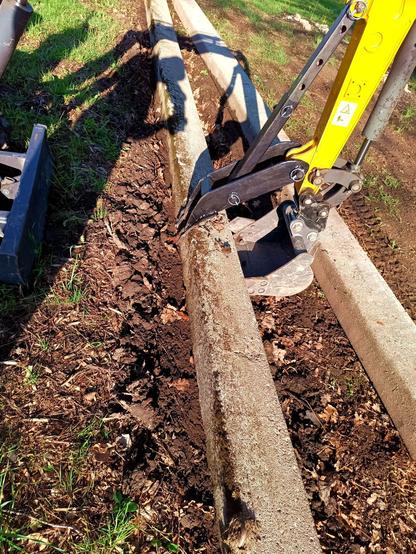
In case you don't know what it is, it's the same as yours - an opposable thumb for gripping things. Try lifting a pencil without using your thumb. Or a concrete beam or a log.

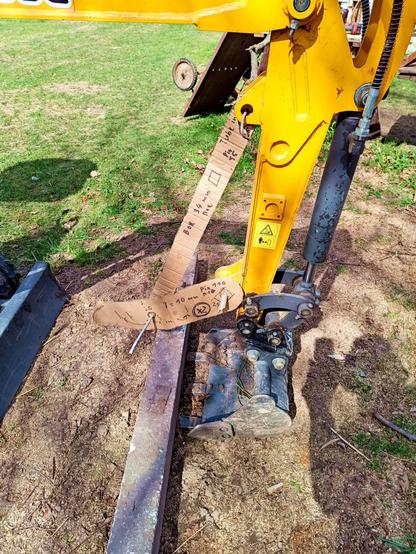
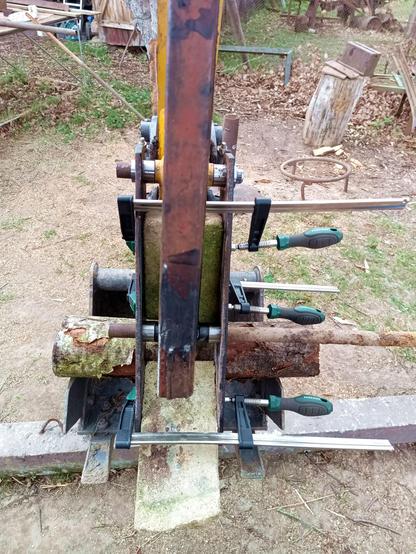
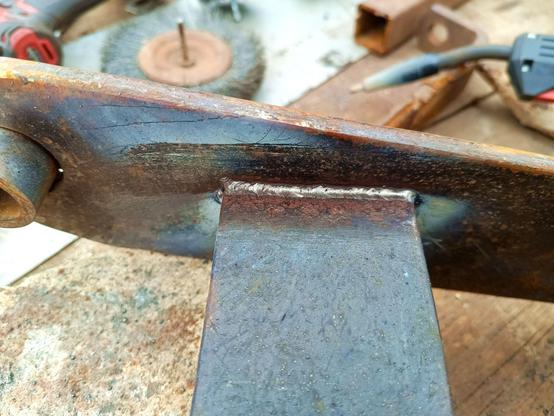
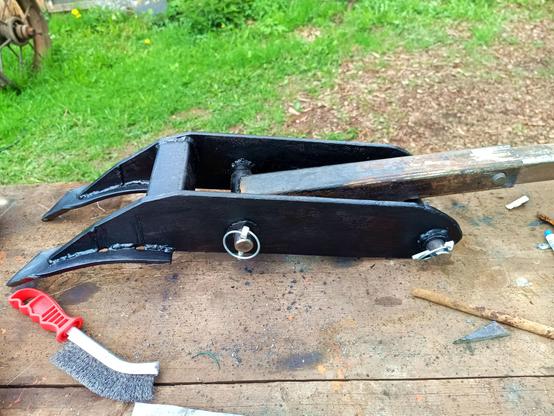
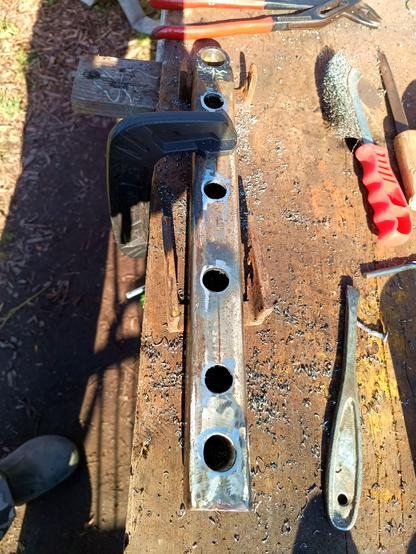
The cardboard mockup I made last year, but I wasn't really happy with it and with some more excavator experience under my belt I did think of several improvements, like making it adjustable.

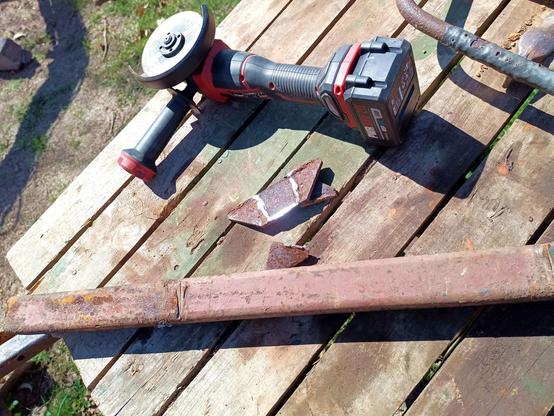
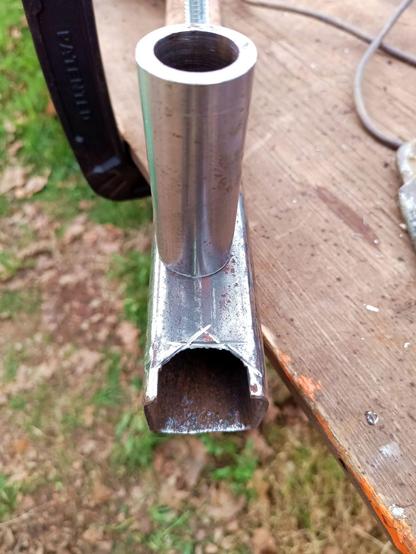
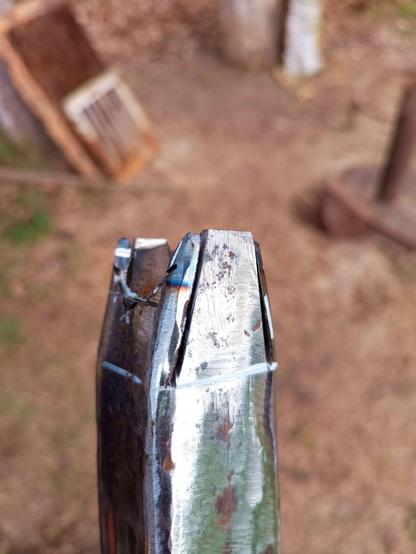
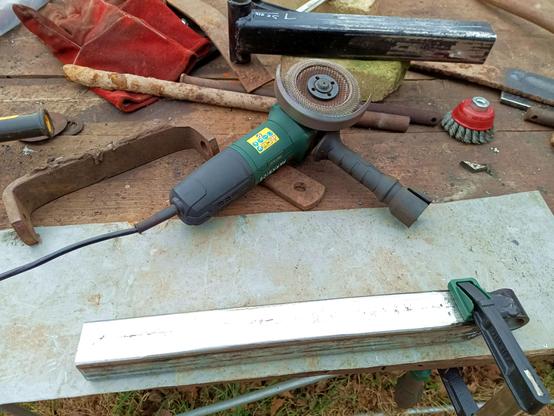
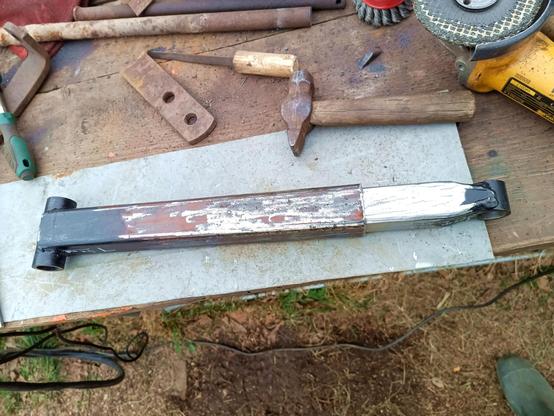
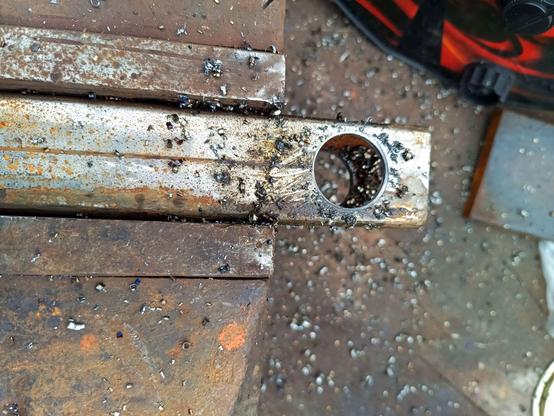
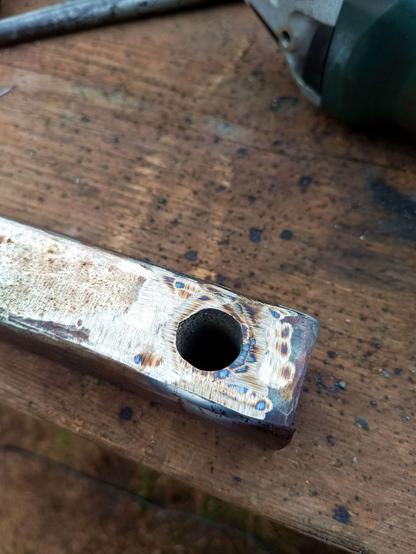
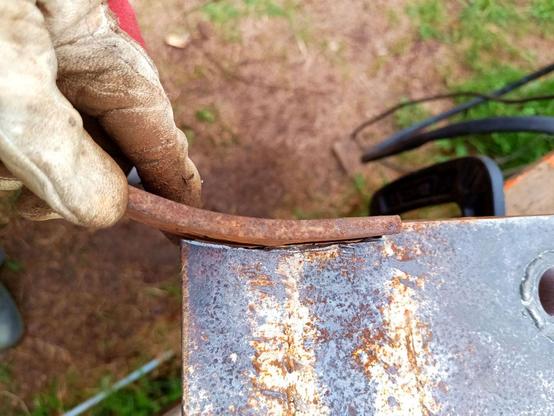
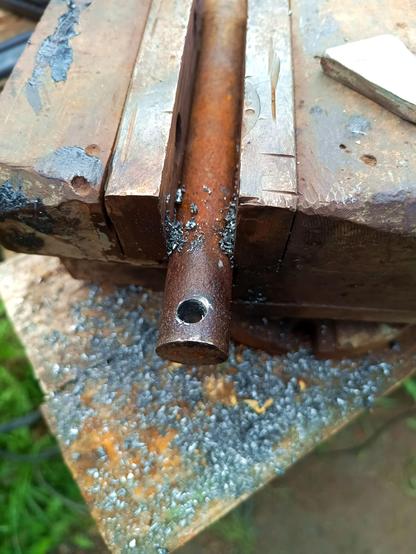
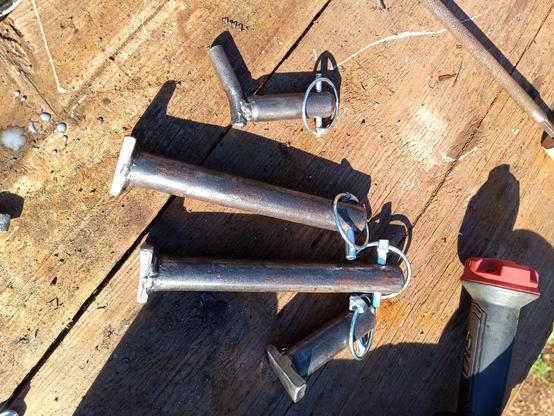
Sifted through my scrap metal and found some suitable steel.

#DIY #MiniExcavator #ExcavatorThumb #SalvagePunk #Homestead #Metalworking

Today's progress on the thumb:

A tube section and restored pin for the support. Since the pin is kinda long, I could make some more tube sections on the outside as well.

And two beefy pieces of thick plate with a hole in them for the thumb, plus two more tube sections for reinforcement. One with a groove to keep the quick-release pin from rotating and sticking out.

That's it. Recycling is slow work. Spent a lot of time running around looking for two pieces to fit inside of each other for the support.

#DIY #MiniExcavator #ExcavatorThumb
#SalvagePunk #Homestead #Metalworking

Thumb update:

Made the thumb wider so it fits better between the bucket teeth, which required cutting new reinforcements. Cut the ones for the support leg as well and decided where to attach it to the thumb.

Then worked on the adjustable support leg. A cylinder each welded to the end of a box section. The lower fitting was easy, just an approximate half-circle with three shallow cuts of the angle grinder and then bend it back and forth until it breaks out.

The upper fitting having the added challenge of being narrower than the box section, so it got tapered a bit by cutting some wedges out and banging on it with a hammer.

#DIY #MiniExcavator #ExcavatorThumb
#SalvagePunk #Homestead #Metalworking #Welding

#ExcavatorThumb progress:

Clamped and aligned the thumb sides with the help of two bricks that happened to be the right width, then tack welded the tubes on.

Next part was the adjustable support leg. Figuring out the length of both parts was easy, swing the thumb up and down, measure distance between pins and copy it to the two parts on the workbench.

Making the inner part slide smoothly into the outer took ages as I had to grind down the thickness of the entire outer surface, then polish it smooth.

Solved the problem of the outer tube having a seam weld inside by hammering on the inner one until it bowed inwards just enough to allow space for that seam.

Fits very nicely now and almost no play.

#DIY #MiniExcavator #ExcavatorThumb
#SalvagePunk #Homestead #Metalworking #Welding

Finally could resume work on the thumb after an unexpected shortage of welding wire. 😳

First job was to add in the connecting pieces between the two sides. A thick piece of flat bar at the top to leave space for the support leg when extended. And a box section to handle shear forces near the tips when grabbing an asymmetricl item such as a rock.

Wire brushed and finish welded the body of the thumb without distorting it too much.

Then I started on the adjustment holes for the sliding support leg. Welded in a reinforcement tube, which is a lot of work. It'll be a lot more holes to saw for the other adjustment points later. Perhaps I overdesigned it a little, but hopefully I'll get some use out of the adjustability.

#DIY #ExcavatorThumb #Welding #Metalworking #Homestead #SalvagePunk

Teeth! Got some spare teeth for a spring-tooth harrow. So in theory they should be pretty durable.

Special challenge: Cutting curves with an angle grinder 😆

My tack welds did not withstand hydraulic gripping power and the teeth flew off at the first test, so I welded them on properly to try picking up a small concrete beam.

Clearly when its done I will need some practice with this new thumb as I picked up way too much soil with the beam. The thumb works though 🥳

Bunch more detail work to do, make holes for the other adjustment points, finish the pins, cut excess material off the sides and weld reinforcement pieces for the fangs. Maybe some serrated "back teeth".

#DIY #ExcavatorThumb #Welding #Metalworking #Homestead #SalvagePunk

Thumb is getting there. Cut off the corners, flipped them around and welded them back on as reinforcements, now the whole thing looks more streamlined. I think it'll be strong enough without doubling up the thickness near the fangs.

If they break I'll do it :)

Also made two pins out of three. This is the dullest job in the world, drilling a 8mm hole through 25mm solid rod, but the pins I bought weren't long enough after some design tweaks. At least it's not stainless steel!

#DIY #ExcavatorThumb #Welding #Metalworking #Homestead #SalvagePunk #Drilling

Thumb ready. Finished making the pins and adjuster holes.

Didn't weld tubes inside the other holes. We'll see how they hold up. If they do oval out I can still do that, for the ones I use a lot.

I see now why nobody sells adjustable thumbs. This was a lot of extra work that would make it too expensive. Only DIYers get to have it :)

Only primer on there yet, still need to paint it but only have orange, blue and green available, none of which match well here.

#DIY #ExcavatorThumb #Welding
#Metalworking #Homestead #SalvagePunk #Maker

Thumb test drive.

Works great! Picks up logs and concrete beams and even delicate stuff such as steel beams. I'm well pleased with the result 😸

The huge concrete beam weighs somewhere beyond 8 tons and is too heavy for our little digger, but it can grip it and drag it around. The thumb and fangs easily withstand the full force of the bucket curl cylinder.

#DIY #ExcavatorThumb #Welding #Metalworking #Homestead #SalvagePunk #Drilling

Project costs:

€33 for the stock tube (didn't use all of it)
The usual consumables: welding wire, cutting/grinding wheel and some electricity.
And I'll get some paint.
The rest was scrap metal found laying around on (or under) the farm.
Total probably about €50.

The excavator dealers offer either a €200 fixed thumb (not adjustable) or a €300 hydraulic thumb. Both of these are flimsier than mine and IMHO too short and do not align well for the gripping jobs demonstrated here.

So I can adjust to the job needed without needing to hook up hoses.

That said, if you're buying a mini-excavator, just strike a deal for the thumb unless you like making an overly long custom job of it and have a yard full of scrap metal 😆

@yngmar not sure today's cost of steel, i think 1.50€ per kg. So even you do not have growing steel out of dirt - it won't cost a lot.

@mcSlibinas More like €3 if you just buy pieces. If you buy whole sheets and 3m lengths, you might get a better price but end up having a lot extra laying around the yard that you paid for and didn't use 😁

And nobody in Europe had the tube for the pins (OD35mm ID25mm), except one shop in Czechia and they wanted €50 in shipping. So I got that from China for €32 with free shipping. No lathe, so have to buy the right size :)

@yngmar i have found one metal shop, they doing a lot of different things, and they sell leftovers for good prices. Also they can cut, bend, form things too. For lathe jobs other shop can do things (but not cheap). Combining all those possibilities with redneck engineering can save few €
@yngmar Nice work! I think it looks pretty dapper in black, actually.
@yngmar Outstanding job! Looks like it came with the machine.
@GoatsLive Thanks. Maybe I'll use up the leftover orange paint from the pallet fork to make it clash 😆
@yngmar beautiful work 😍
It will be black or yellow?

@mcSlibinas Not sure! Contrast colour would be good so its easier to see the thumb versus the dark grey bucket, I think.

Oh, and thanks :)

@yngmar and stickers! Castrol wrc turbo 16v kompressor 👍