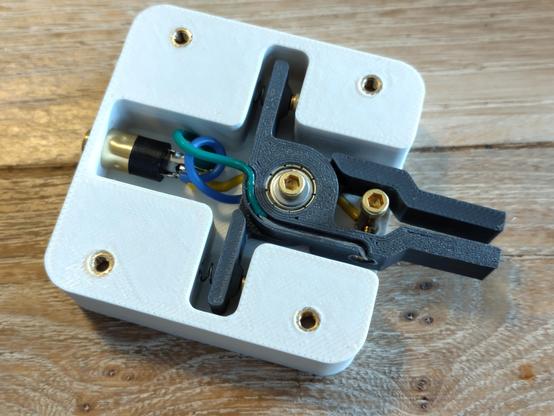
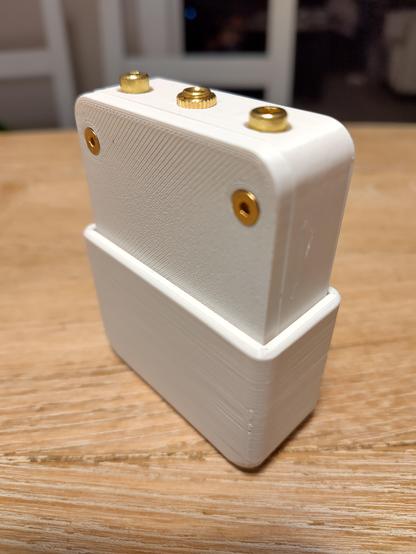
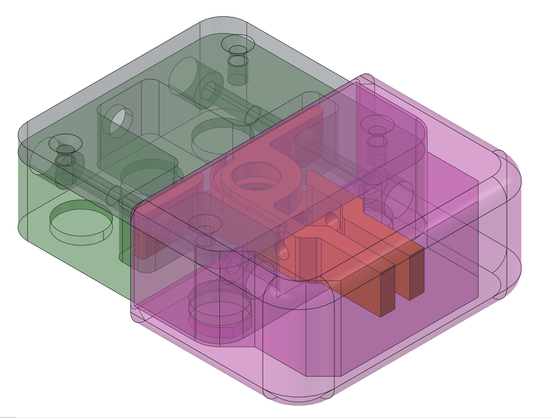
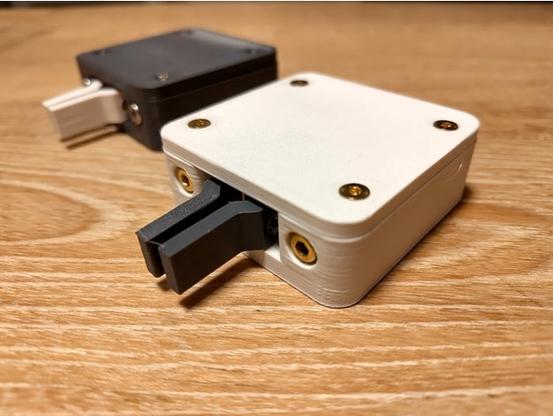
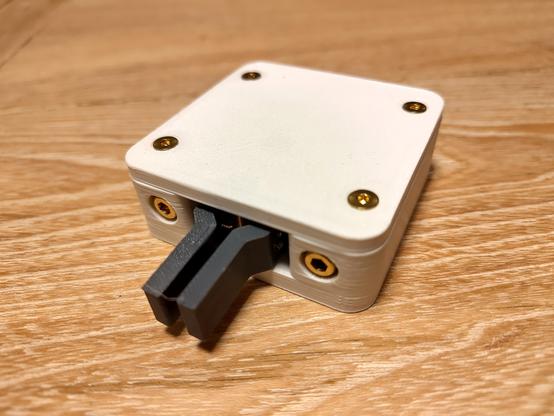
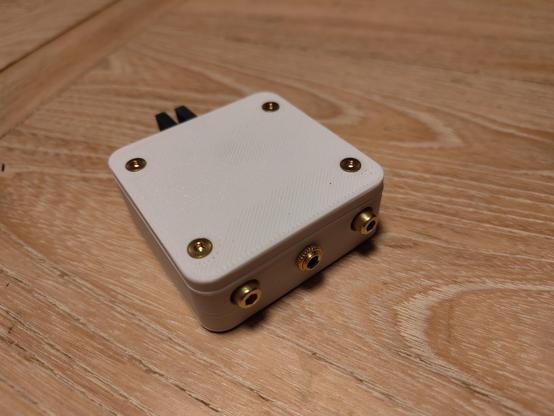
I'm chuffed to bits with my second try at making a 3d-printed CW paddle. One that is adjustable in all the right ways, that is smooth and that I can throw in a bag.

Files available here: https://www.thingiverse.com/thing:7045539
#HamRadio #cw

A Better Iambic Morse Paddle by dramaturg

This is better. Not better as in "better than everybody else's" but rather better than my first attempt at making a paddle before I even started learning CW. I quickly realized that one really wants to be able to fine-tune contact distance as well as the force required and this is what I came up with.The result is a bit of a mash-up of different ideas I've seen around the interwebs as well as in my local club.There is also an optional cap so the paddle can be thrown into a bag without worry.Hardware required:8x M3x4 heat set inserts. M3x3 would work just as well. Four to keep the lid on, two for the center contact and paddle pivot and two as contacts in the paddles.4x M4x20 cap head screws for adjustment (or similar)4x M3x6 countersunk screws for the lid.2x M3x16 screws for the center contact and paddle pivottwo pieces of 4mm brass pipe (3mm I.D.). I guess you could get away with using M4 instead but this worked nicely for me. The center pivot piece is about 9mm, the center contact piece is 12mm long2x bearings 604-2Z or 604-Z 4x12x4mm. Fix them to the paddle with super glue to ensure nothing wobbles.2x Springs 4x10mm (3mm would work too)2x M3 grub screw (M3x8 would work as well, I think) for Paddle contacts6x Magnets 12x2mm (8x if you also print the cap)1-2 M3 washers. One at the top of the bearing, another to fine-tune the paddle spacing if necessary1x 3.5mm audio socketWires. See picture on how I routed those but it should be pretty straightforward. Use a bit smaller gauge than I did to make it even easier on you. Fix them in place with super glue.
Thingiverse
@DA6SEB Nice work! What CAD software did you use?

@mcdanlj I'm using FreeCAD. Well... More like stumbling through it.

I get done what I want and it's gotten lots better since I started using it but I'd still be hesitant to actually recommend it - especially to newcomers in 3D printing. You can quite easily paint yourself into a corner such as when you want to go back and change an earlier step.

However it is free software and runs on my own computer without some SaaS web-service so I'm willing to put up with quite a bit of roughness.

@DA6SEB I build FreeCAD from git to play with new features before weekly builds, and occasionally to report bugs.

When I first used FreeCAD something like a decade ago, I was flummoxed, googled "OpenSCAD cheat sheet" and followed the first hit, and didn't touch FreeCAD again for a few years. But now I feel quite fluent designing in FreeCAD. I think that Darren Stone ("MangoJelly") has really enabled new users by his short, approachable tutorials that don't assume you have watched everything he's ever produced, in order...

These paddles feel like #FreeCADFriday material!

Have you thought about posting STEP or even FCStd files as well as the STLs?

@mcdanlj I started out with OpenSCAD as well when I first picked up 3D printing.
I then got started with FreeCAD following an older iteration of the German-language tutorials by Flowwies Corner (nowadays Stolz3D). Thanks for the pointer to Darren Stone - I might just check him out to level up my FreeCAD skillset.

I've attached the FreeCAD file to Thingiverse. But beware! There be ... well no dragons but something nasty is in there for sure. 😃

@DA6SEB Not nasty. And parametric! I can see the iteration on the paddle design. The final chamfer on the outside edge of the cap is broken. It has two edges selected that got deleted at some point, but just deleting both of them and selecting the top outer edge "Edge1" fixes it. (You don't need multiple edges because fillets and chamfers follow tangency.)

For fun, I lined up the paddle where it's intended to go, and created a clone just to show the two paddles as they would be.

I really like the way you used the base mounting magnets to also be cap retention magnets. Nice design!

(LMK if you want copy of the tweaked FCStd.)

@DA6SEB So, I like 3D printed keys. And I have been slowly thinking one out that has everything I want.

Yours is dangerously close to my idea, ha! If it weren't so late, I'd fire up solidworks just to show you.

The only thing I wanted to do differently is use a common bearing, like a 608 or so.

Very neat design, I know what I'm printing next.

@yo3gnd I think as far as miniature bearings go the 604 is actually pretty common. At least they are easily available.

With the common "skateboard" bearings like the 608 I see two issues:
* The 608 is much larger. 4x12x4 vs 8x22x7. This would make the whole thing about 30% larger and double it's height
* 608 are made for much higher loads and don't actually run that smoothly if there is no load on them. You would have to open them up and remove the grease with brake cleaner to make them usable.

@yo3gnd having said that, there are some things I would reconsider:

* The round adjustment screws need (tree) supports. This was intentional for the looks but still. These could be flat at the top instead, then no supports would be needed at all without changing the looks too much.
* Using 4mm brass pipe works nicely but is a bit of a faff. I think M4 hardware could be used without changes (simply omitting inserts) and if that makes the center pivot wiggle, just add some tape around the bolt.