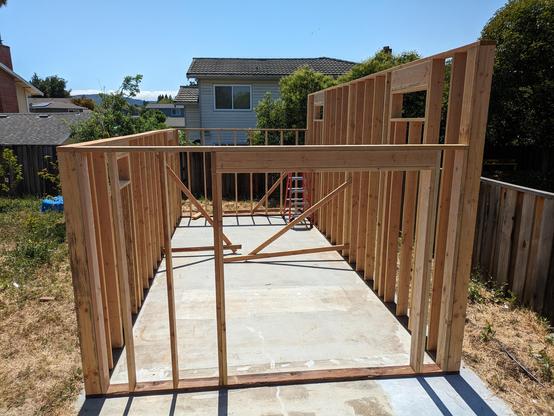
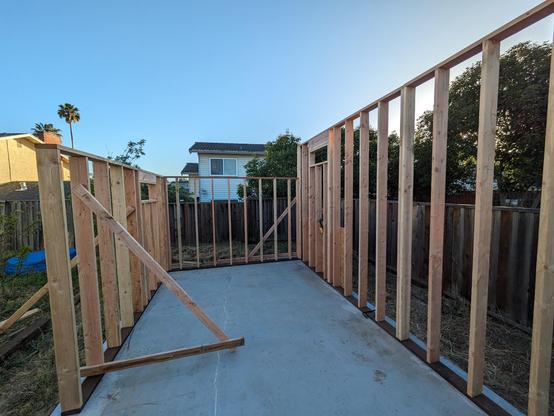
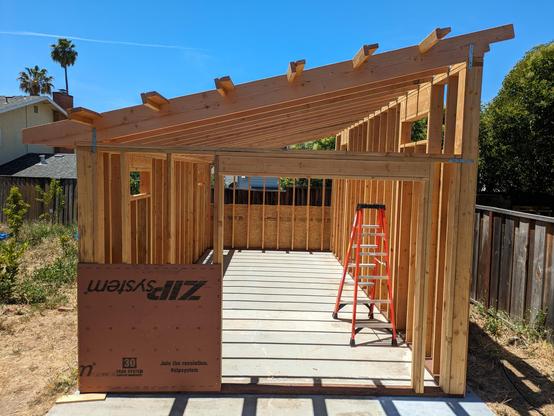
The inaugural mistake! I meant to leave that stud out so I'd have room to nail the header in.
So I guess we've moved to the "improvising" stage of this project.
The inaugural mistake! I meant to leave that stud out so I'd have room to nail the header in.
So I guess we've moved to the "improvising" stage of this project.


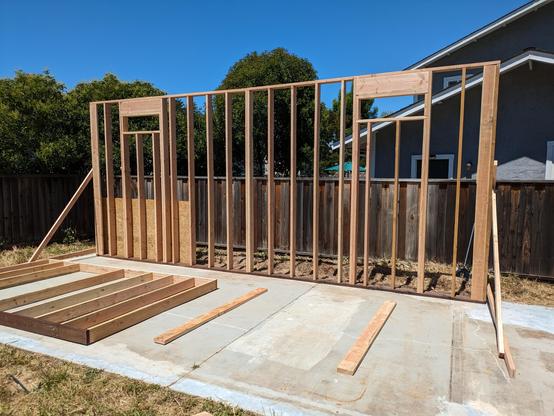
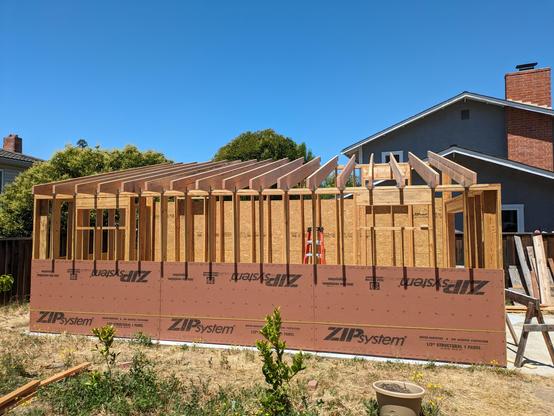
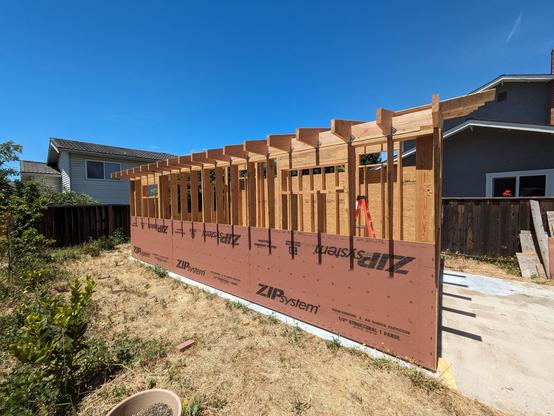
The second panel went together much faster.
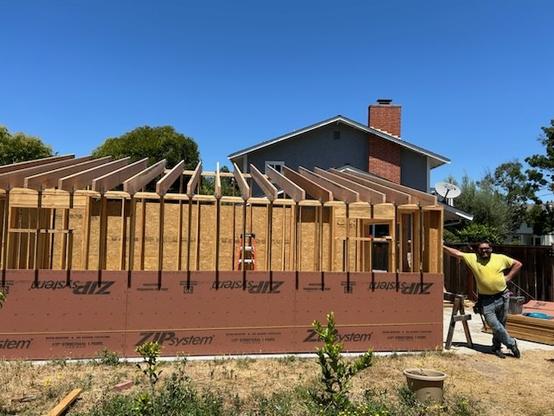
The site supervisor is sleeping in my office.


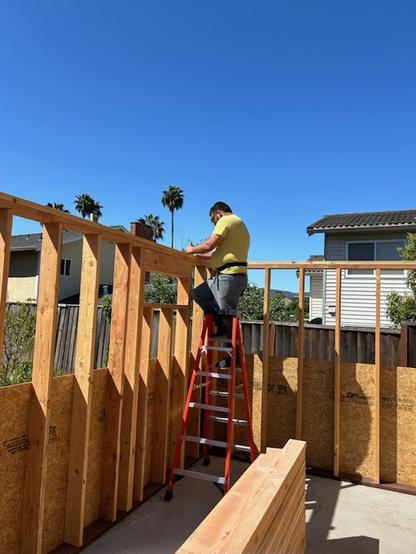

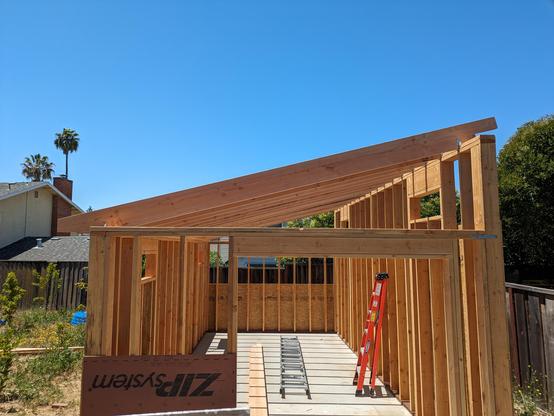
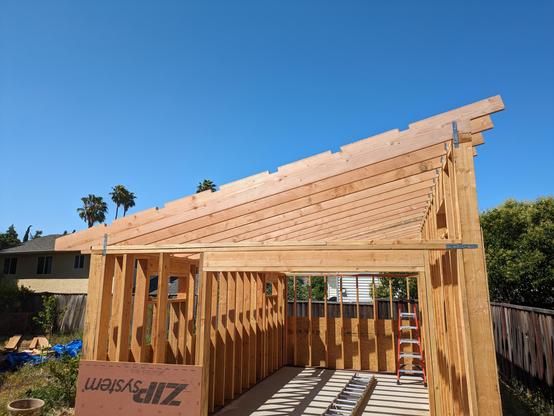
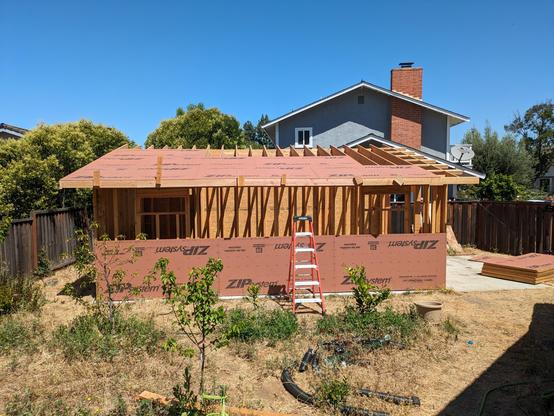
At that point we were ready to start putting rafters in the air, so why not?
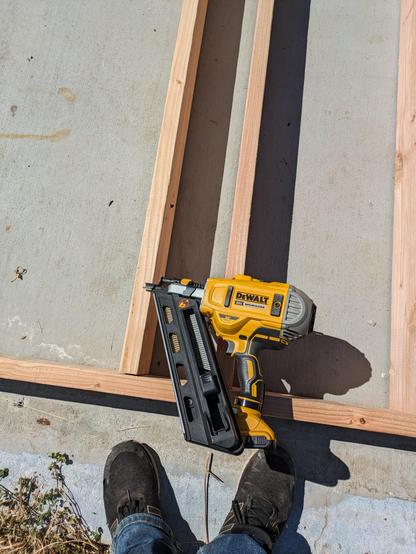
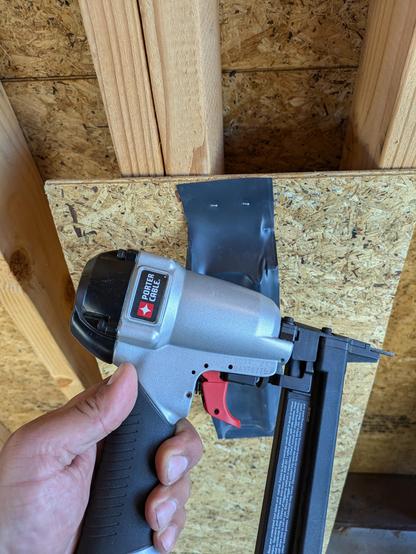
The palm nailer was amazing for driving the hanger nails 11 feet up on an extension ladder. Easily the best $30 I've ever spent at Harbor Freight. Anyone who has an air compressor should pick one up; they're just so handy for driving nails in awkward tight spaces.


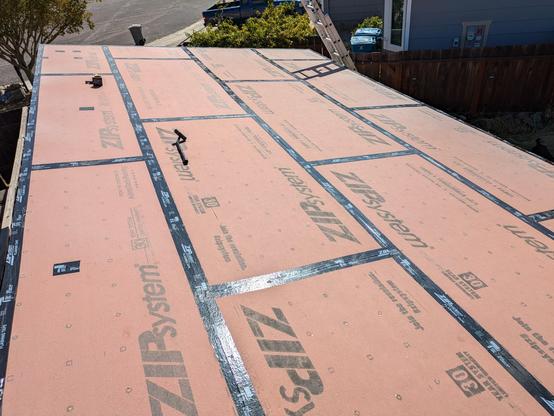
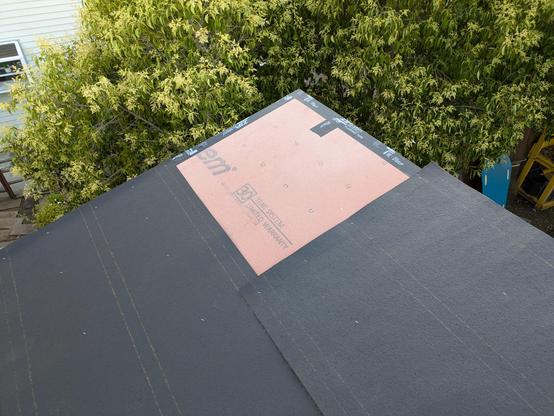
Climbing the learning curve on applying zip system flashing tape this morning. Glad I started on the walls and not the roof.
And before you ask; yes, I rolled the tape. #zipsystem


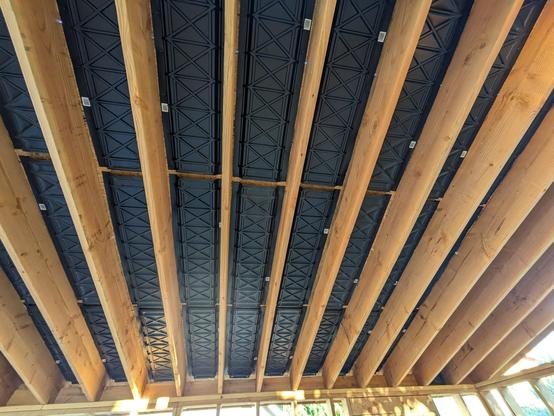
T-50 staples weren't cooperating going into the OSB, so while my gun isn't technically rated for them, you ARE able to buy 3/8" narrow crown staples. Short enough to not poke all the way through the 1/2 roof decking, but rigid enough to not be giving my any trouble stapling the insulation baffles to the bottom of the roof deck.
These baffles are because I'm doing a vaulted / cathedral ceiling in here, so this guarantees an air gap / path between the ceiling insulation and the roof decking. This allows air to flow from the lower soffit to the upper soffit to transport away any moisture that accumulates in these rafter bays and keeps the shingles cooler by having circulation behind them.

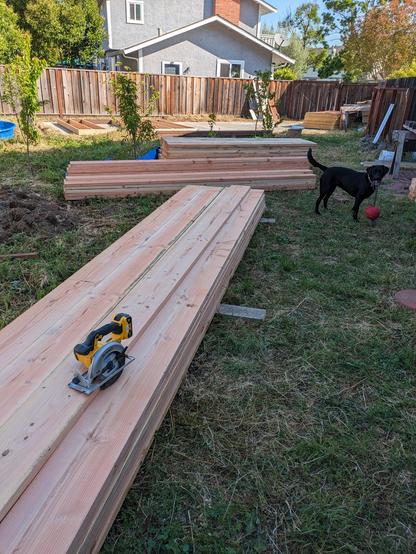
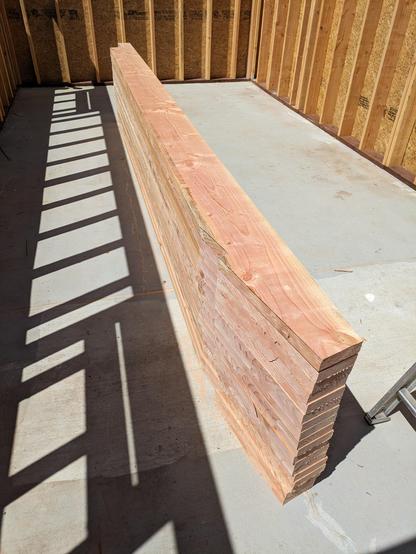
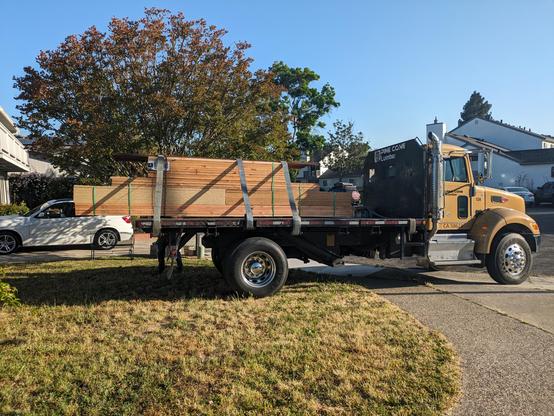
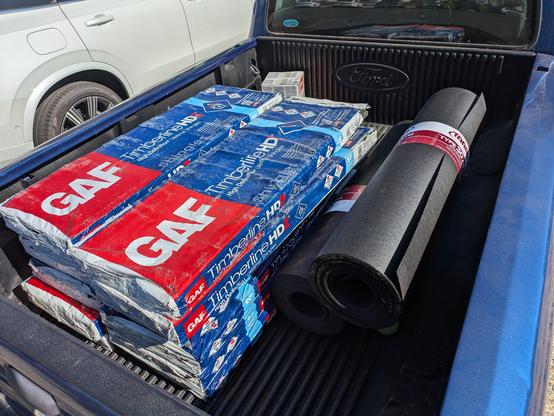
We are getting tantalizingly close to laying down the roof! All of it fits nicely in my pickup too.
Doesn't look too bad when it's all neatly piled on the ground. I'm sure I'll be fine and this part will be easy.

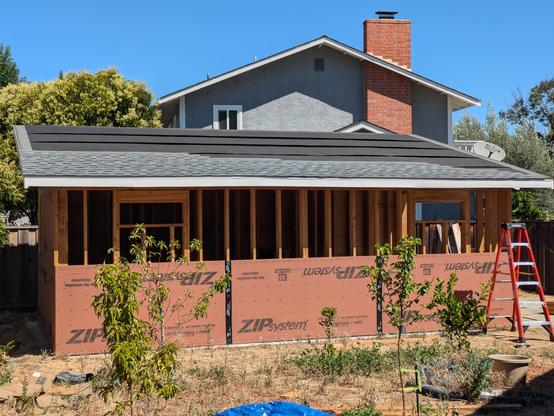
I'm shooting the trim paint on the fascia and rake boards before doing the roof. I figure it's easier to paint it now before I put the drip edge over it.
The dog only got lightly misted with white paint. She still mostly looks black.


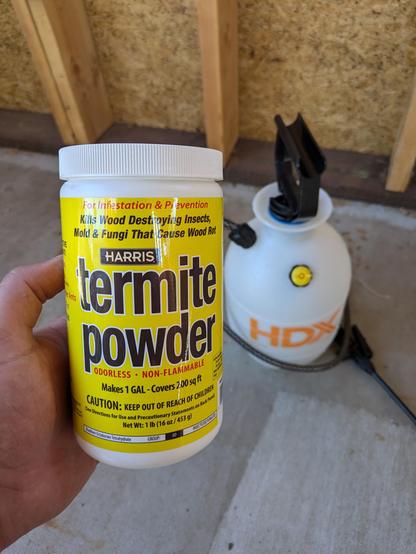
Taking a break from the roof to stay out of the sun, you can get this disodium octoborate powder which you mix with water and spray on your bare studs before closing them in to prevent termite damage.
Am I really convinced this will make a huge difference? Not really. But for $13, it's pretty cheap insurance. And it isn't a question that we'll get termites in here; just a question of how fast and how bad.
Some people also just use Borax for the same thing, but structurally tetraborate and octoborate are different enough I figured I'd splurge for the real stuff.
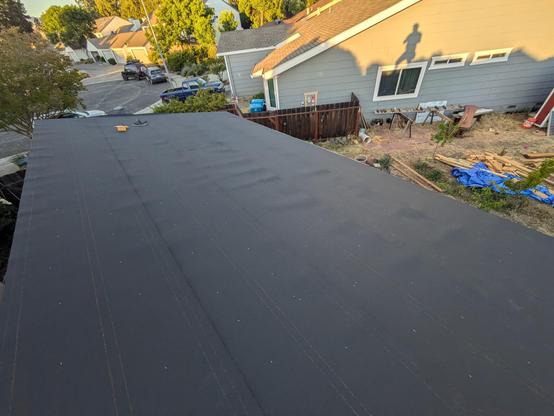
So I put down the two rolls of asphalt paper that goes under the shingles. On steeper roofs, you can get away with just the zip system coating, but since I'm building only a 3/12 pitch roof, I need two layers of underlayment, so I can count the zip system as one, then put down 30 pound felt paper as the second.
Would you believe how much I came up short? I guess I'm going to buy a third roll, for the last nine freaking square feet.
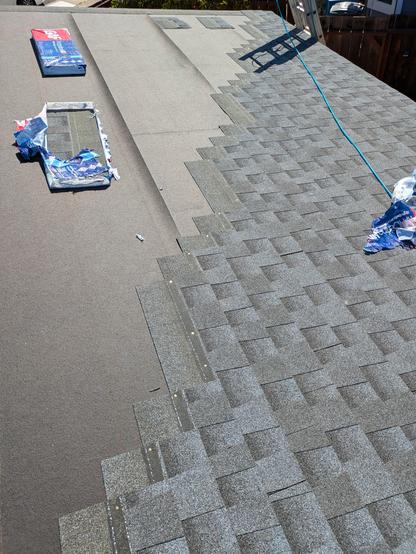
Day one of putting shingles on the roof. I got through four bundles before the sun really came out and I called it quits.
Key take aways:
1) the part that wreaks you is carrying the 70 lb bundles up onto the roof. For larger projects, definitely worth getting the shingles delivered directly to the roof.
2) the little 1 gallon 0.5scfm trim compressor I own is able to keep up with one rookie shooting roofing nails absolutely no problem. Glad I didn't go buy/borrow/rent/steal a larger compressor for this project.
3) I'm definitely just paying someone to reroof my house when it comes time. My dad was freaking crazy when he replaced the roof on his house back in his prime. I, also, am past my prime.
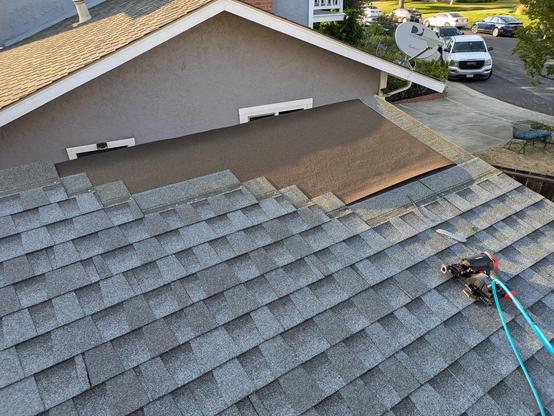
You know how I came up 9 sq ft short on asphalt paper?
You will not believe how much I had left to do when I ran out of shingles tonight.
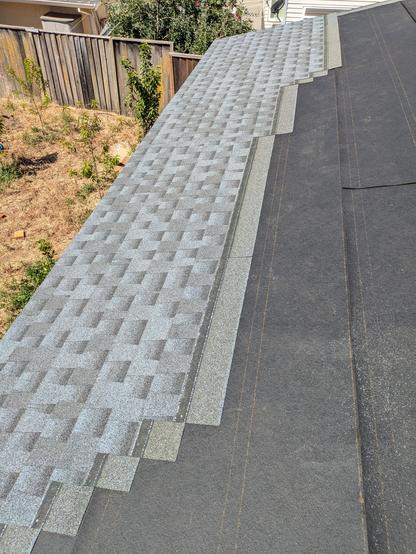
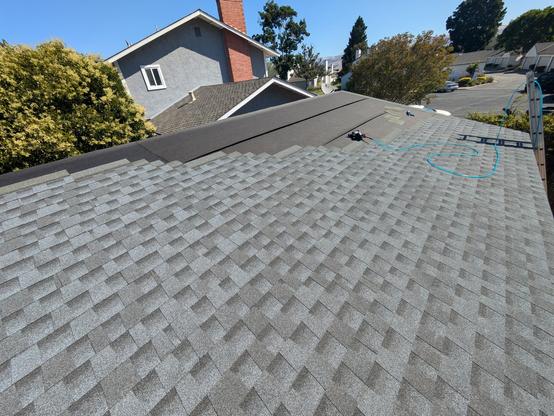
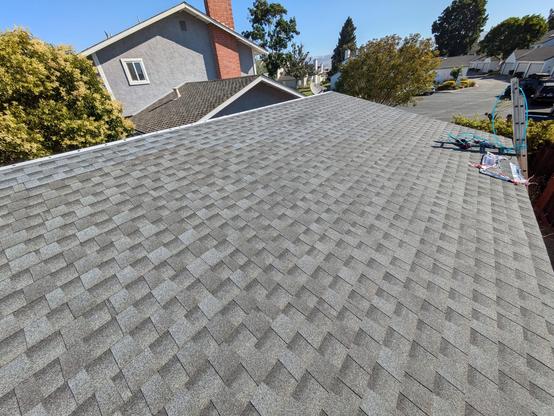
And we are done with the roof! 370 sq ft single slope shed roof with no penetrations. GAF HDZ shingles, pewter grey.
I never did find any manufacturer documentation about how to terminate the top of a single slope, nor reach out to customer service about it, so I ended up just winging it with some 3"x2" drip edge on top of the top course, with asphalt cement on top of every nail.
Now we restart at the ground and work our way back up to the eves with siding and trim.

@madrush thanks!
you mean nails on the seam between two sheets of the last row under the metal? That's a good point.
My original plan was to run a big fat bead of asphalt cement on top of the last row of shingles and wet set the drip edge in it, but chickened out for fear of it running down the shingles.