

Saw someone posting shit "AI"-generated t-shirt designs on the #ergomechkeyboard subreddit in order to make a buck. 🤦♂️
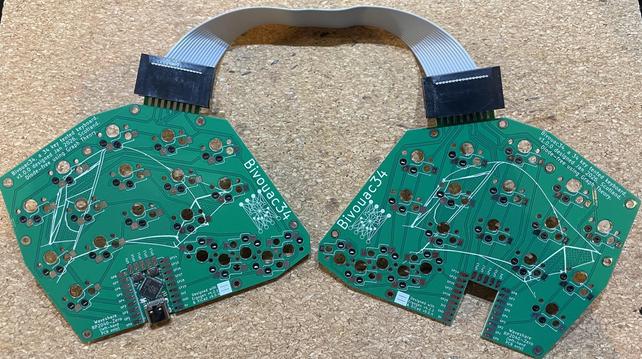
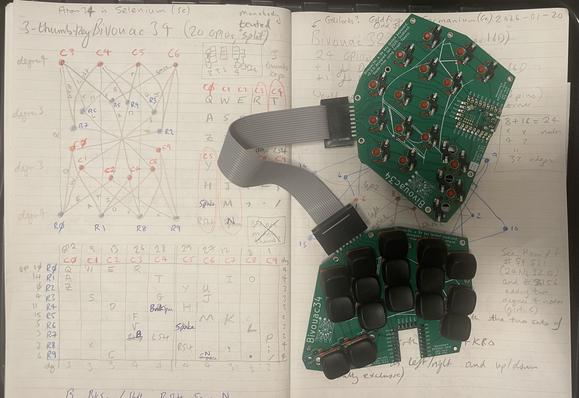
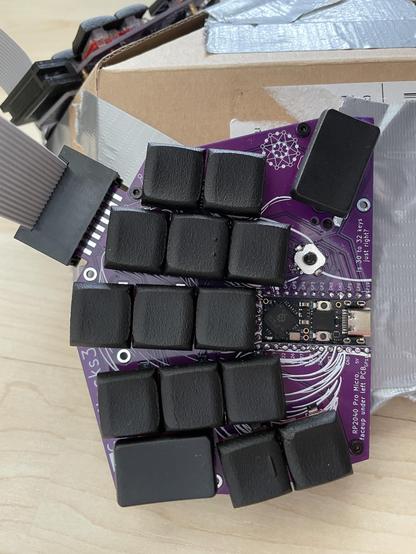
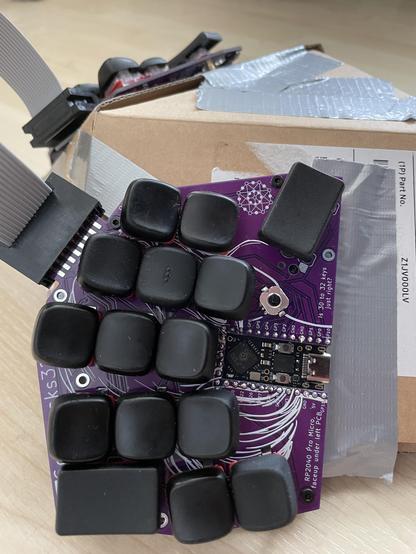
Good news: Even though [I thought] my new #ErgoMechKeyboard design uses 16mm vertical spacing, both my Choc v1 Chicago Stenographer #keycaps and my (preferred) Choc v1 KLP Lamé saddle (#3DPrinted at JLCPLC in resin) work just fine. I was worried I'd not be able to use this new #MechanicalKeyboard without ordering some even more niche minimal-y spaced keycaps. l'll get some matching 1.5u wide caps done at some point...
Bad news: Broke the stem of yet another doing the swap - these things are fragile! Push from below, don't pull!