

Welcome back to my ongoing blog series about my bindicator build!
It’s been a few months since my last proper post about it, I’ve been to Spain and back in that time, done some other things in my life, and my bindicator has been set up and working well for at least the past month!
When last I wrote the parts had arrived and I’d begun modifying the STL files to fit them. That work is now complete and I’ve published it over on printables.com along with the source files in case you wanted to modify them further for your own application.
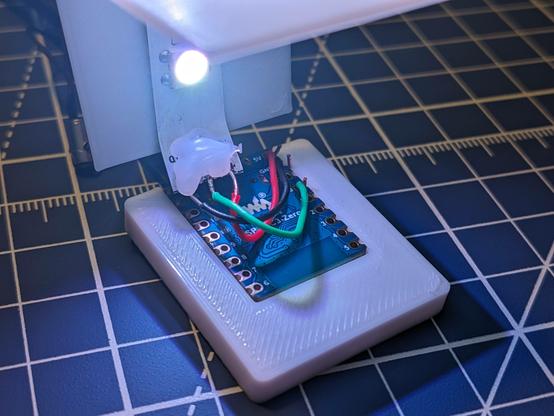
Starting with the original design by CopperLion, I designed a bracket to hold the microcontroller I’d chosen (an ESP32-C3 Zero), slightly enlarged the hole for the USB port to make it suitable for the USB-C plug that the ESP32 uses, and removed two of the three fins from the light baffle so that it would fit an offcut of addressable LED light strip that I had lying around.
From there I printed everything in white (waiting for my order of white filament was actually the biggest delay in the whole process, because Amazon lost it and I had to get a refund and order it again) and it was on to assembly!
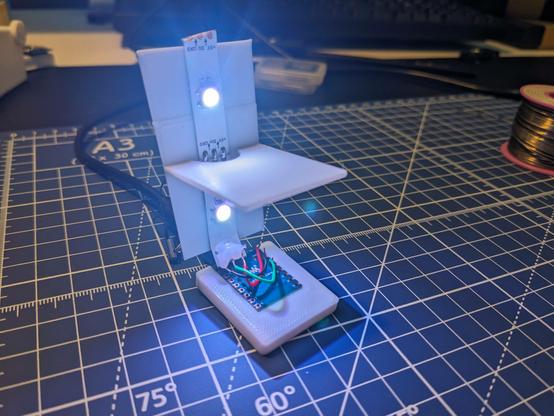
First I soldered three wires from the microcontroller to the light strip – one to the 5v pin, one to ground, and one to GPIO pin for data. Next I peeled the backing off the light strip to reveal its adhesive and stuck it to the baffle, then I glued the microcontroller into its bracket with a little dab of superglue.
With the benefit of hindsight, starting by attaching the baffle was a mistake. The next step was to glue the microcontroller into the bottom of the wheelie bin, and this would have been much easier without the baffle attached. Nevertheless, I managed to get it done.
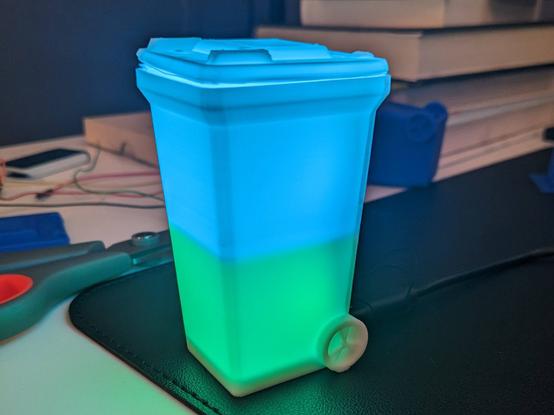
The baffle more or less sits in the right spot without any adhesion but I did put a little dab of glue on the back of it to hold it still, and then finally I glued on the lid. The lid is my least favourite part of the design because it simply rests on top of the bin. Once you’ve glued it in place it’s fine, but gluing it is not the easiest because there’s nothing to hold in place until the glue has set. If I were doing this over I’d like to add a little lip so that it could be inserted and friction-fitted into the top of the bin. On the other hand, that lip would make the top harder to print, so maybe it’s better how it is now? I’m not sure.
With everything working it was on to software, but that’s for a future post. Watch this space!
https://jaywll.co/2024/04/11/project-bindicator-final-assembly/

@esphome powers the lighting in it via @homeassistant, and it's connected to the City of Calgary's garbage day schedule via their extremely handy API. #esphome #homeassistant #bindicator
Except for gluing down the lid (which is slightly warped somehow and therefore I might reprint it) my #bindicator is done!
Why do I have two desks in my home office? Because this is what an in-progress personal project looks like, and I don't want to have to put it all away just to go to work in the morning.
The project I'm working on is #Bindicator https://jaywll.co/tag/bindicator/
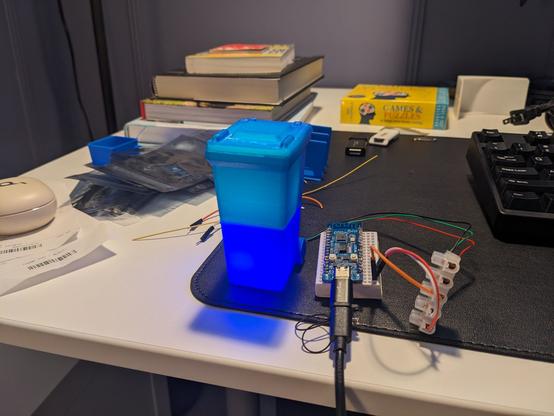
Prototype #Bindicator is alive!
I was worried that only having two LEDs instead of four would result in it not being bright enough, but I’m running it at half brightness with my example code and it seems great.
Next steps are to find a way to fit the tiny microcontroller I’m going to use into the bottom so the USB port lines up for power, and of course print the bin in white.
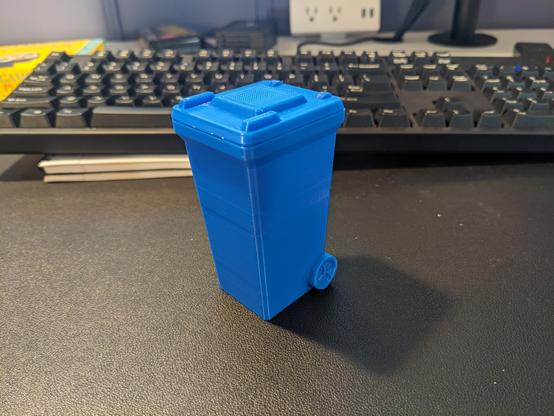
It’s been a busy day of 3D printing, but the first test bin is done and looking good so far!
I’m yet to test if the electronics hardware fits. Wish me luck!
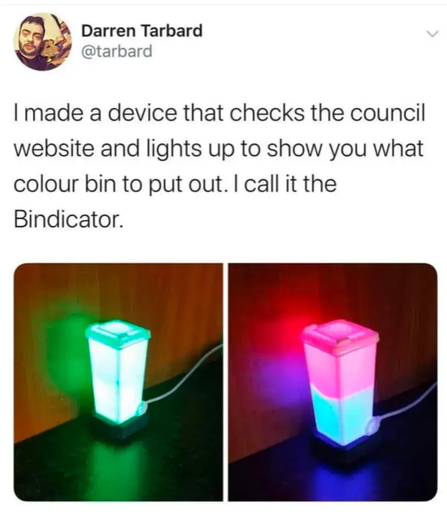
I saw this on twitter five-ish years ago, and now that I can do my own #3Dprinting I think I need to make myself one. More info coming to @[email protected] https://hackaday.com/2020/01/23/bindaycator-lets-you-know-when-to-take-out-the-trash/ #Bindicator #BinDayCator
