Best machine-knitting advice I've got:
"Move slowly, because stitches are easily startled... if you startle the stitches, they'll jump and run away."
Best machine-knitting advice I've got:
"Move slowly, because stitches are easily startled... if you startle the stitches, they'll jump and run away."
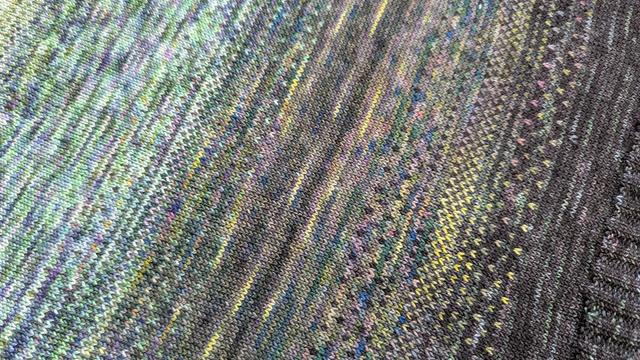
I'm glad to have friends who tell me about semi-sekrit yarn downsizing/destashing sales. This one had $5 cones...
Now, what am I going to make with such fine silk?

And oh yeah! I got to do a photoshoot with the green sweater before this wicked heat wave rolled in!
https://www.knittingpirate.com/2026/05/19/in-which-the-pirate-has-a-new-sweater/
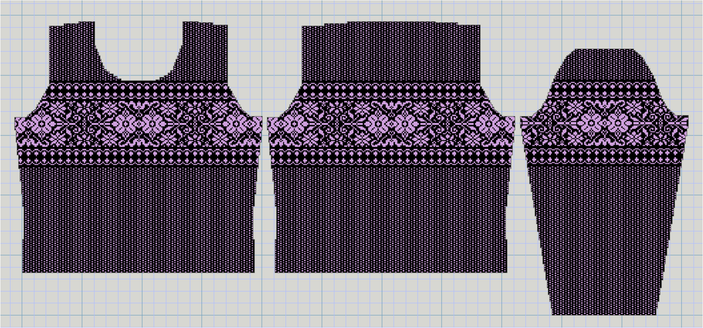
Hmmm, where on a sweater is the best place to put a band of colourwork? I don't want it too high... or too low... but this looks just right.
(This is a future machine-knit project. Please imagine 2" of solid ribbing at the hems/cuffs and also a neckline; the design software doesn't include that for some reason, but it will be on the actual sweater. I'm thinking black for the cuffs/hem and pink for the neckline.)
Sometimes I just sort of stare at what I've made for a while. Like... I did this? with my hands and some sticks and string? How freaking cool is that.
Finishing one sweater project and swatching for the next.
https://www.knittingpirate.com/2026/05/11/in-which-the-pirate-finishes-and-begins-3/
The Extra Lite Bright sweater is all done, washed, and laid out to dry! And I'm already swatching for the next one, which will be the Calluna Pullover with this gorgeous yarn I got for my birthday in January.
Calluna has two different patterned stitches, and gauge is specified for both along with stockinette. I don't want to assume that just because I get gauge in stockinette, I will also get gauge in the pattern stitches - or is that actually a valid assumption?

Got 18 rounds of ribbing done on each sleeve cuff, but my hands are done holding needles for tonight. I'm SO close to being done with this sweater (and so ready to start the next one!)
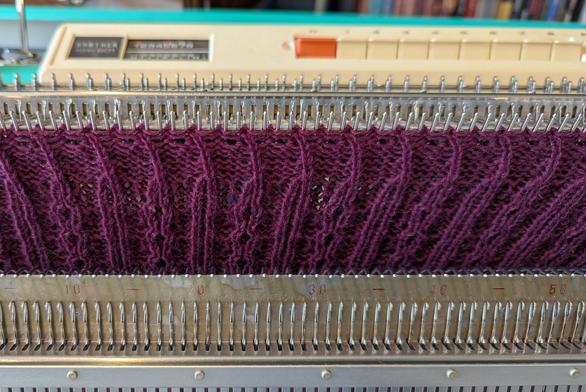
And finally, A HAT.
It might fit a child but still, I have proven my concept!

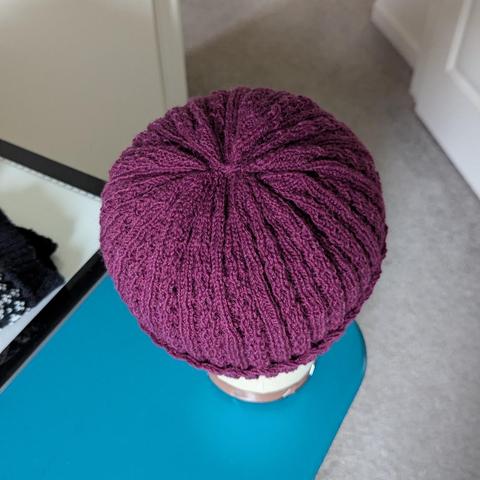
Yet another attempt at machine-knitting this hat (and this time you can see the glorious teal of the knitting machine). I made the plain part of the ribbing longer so it could be folded up. I figured out how to get the decreases to flow nicely from the ribbing pattern. I... ran out of yarn. Anyway here it is still hanging from the needles just after the decreases, which I totally fudged because, again, running out of yarn.
It's such a cool stitch pattern! I want to use it for everything. It uses up so much yarn though... maybe this will be a baby hat.