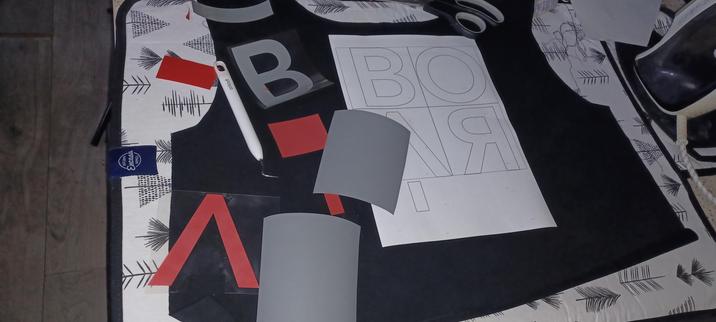
A package with few things from Coscraft, now what could I be planning here. =3
(Bottom left corner is some iron on vinyl I just got off Amazon because I've never worked with it before)
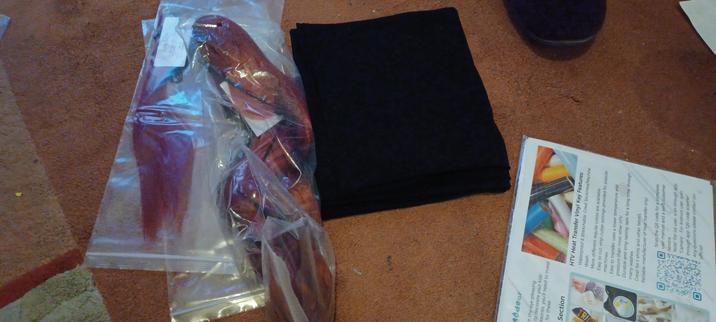
A package with few things from Coscraft, now what could I be planning here. =3
(Bottom left corner is some iron on vinyl I just got off Amazon because I've never worked with it before)
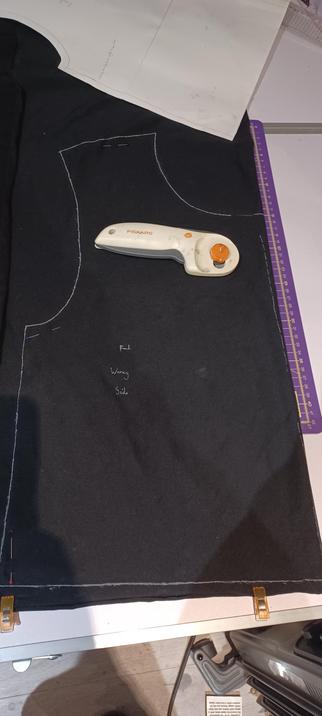
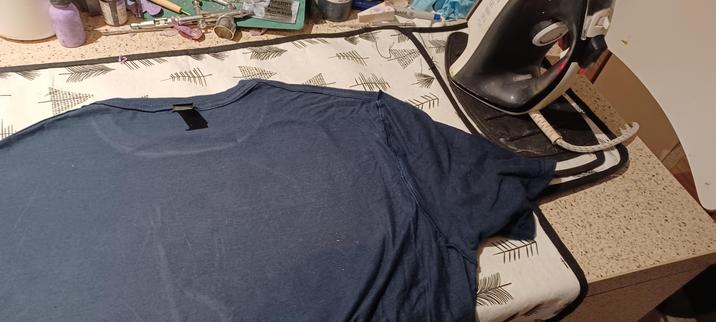
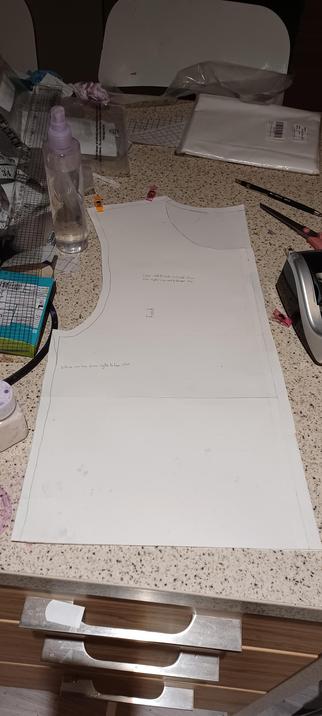
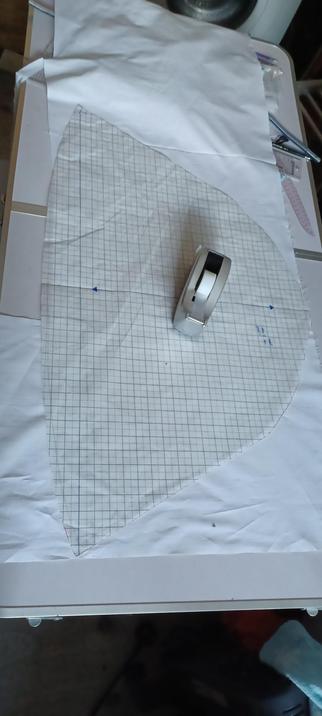
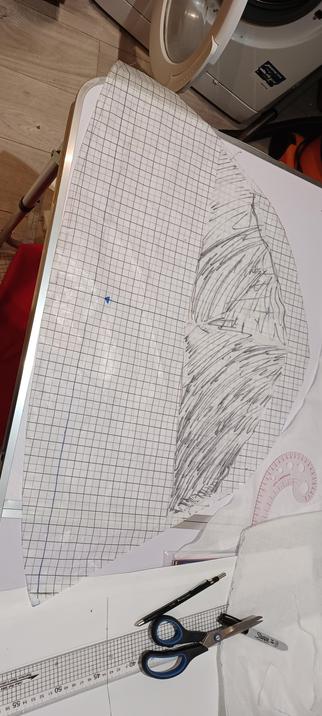
It's pretty easy to copy a shirt pattern without ruining it, but I had to iron it first, which is nearly as bad!
Anyways, next up is modifying it into whatever Faye's wearing!
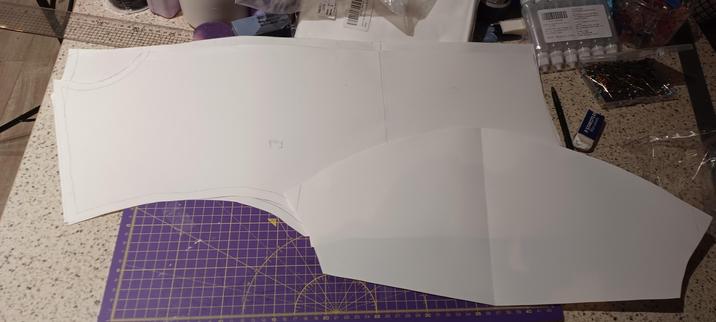
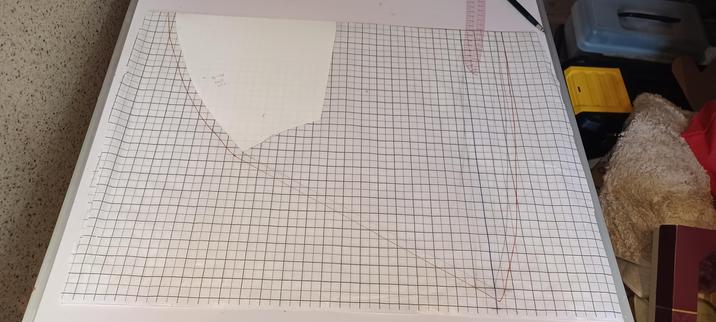
Step 1: Extend the sleeve.
Step 2: Start turning the straight sleeve into a bell sleeve.
Step 3: Realise Faye Demonschool has elbow or 3/4 sleeves and start again.
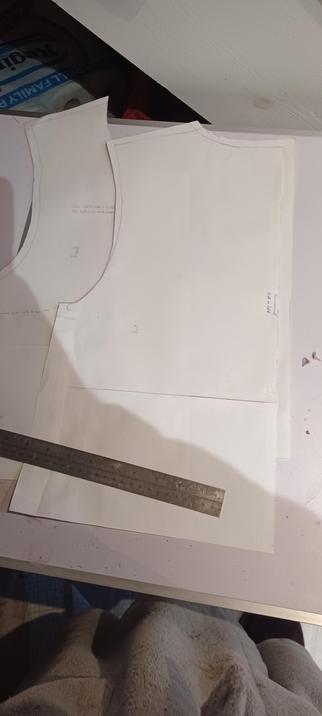
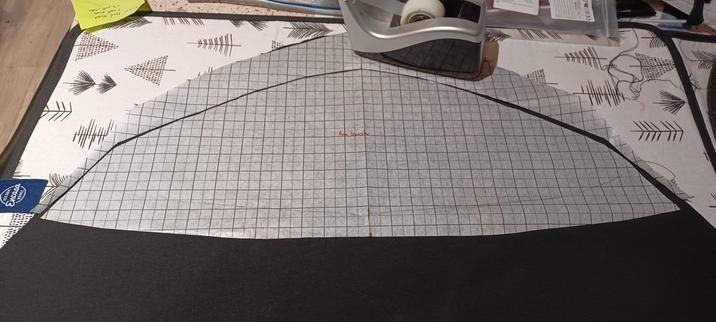
A quick break from trying to understand how flared sleeves work to tidy up the main body, and adjust the length/neckline.
I'm beginning to think drafting my shirt from scratch might have been quicker, but here we are now.
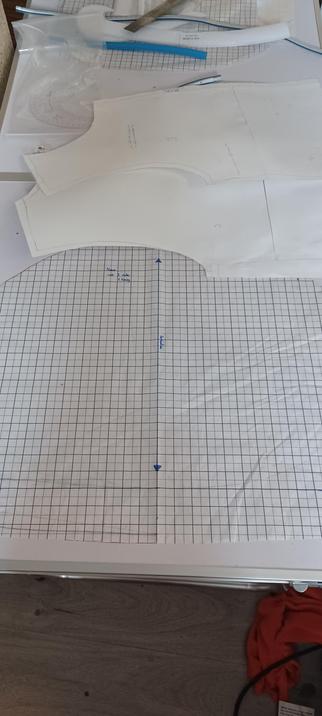
I officially hate sleeves forever, but they're drafted!
Now for the toile (using cheap polyester, because have you seen the price of actual toile or muslin these days?)
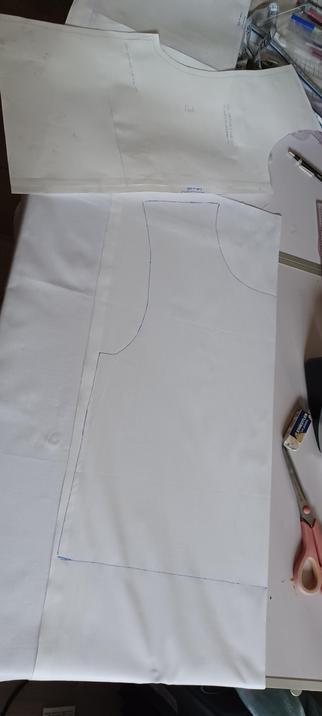
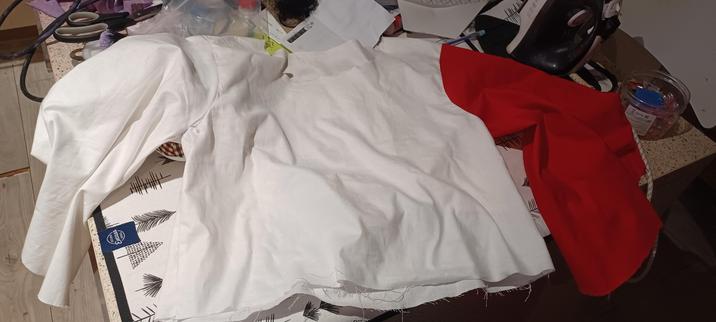
I tried starting to put everything together, aaaaand...immediately realised why using a non-stretch lining for a stretch fabric is a bad idea.
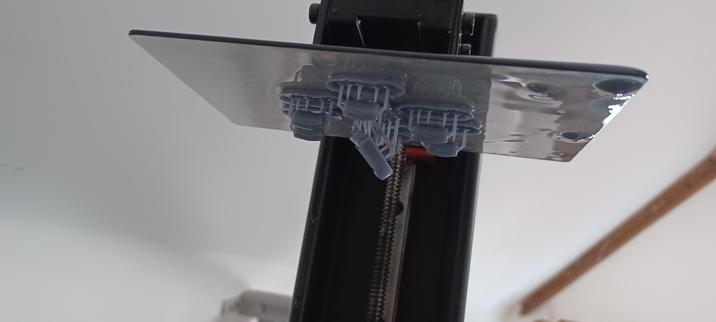
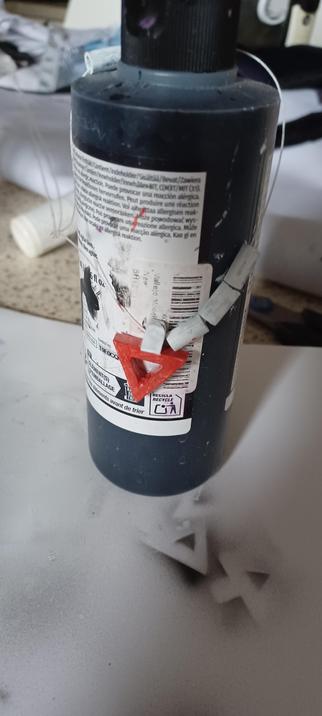
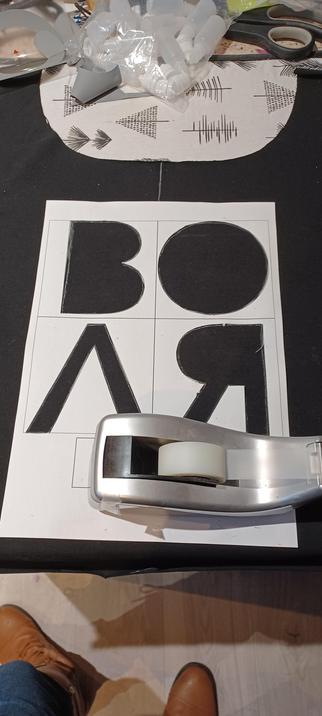
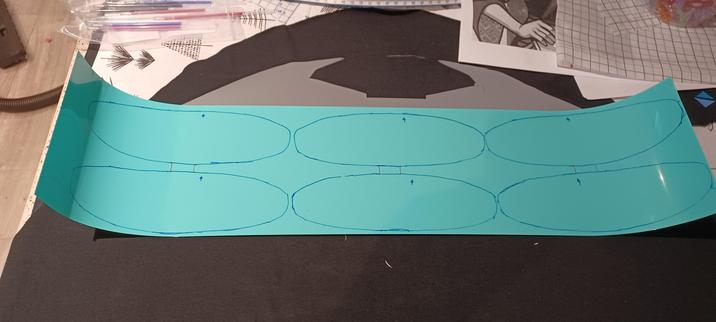
I've ordered some red Jersey to get this done right, but in the mean time, let's sort out the most satisfying part: iron on vinyl, fresh from the cutter!
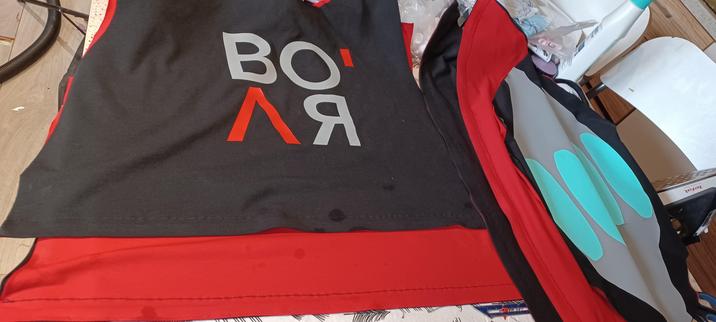
I didn't realise the comma on the shirt was the line from the A. O-o
Shout out to the frens with actual graphic design skills who recognised the font
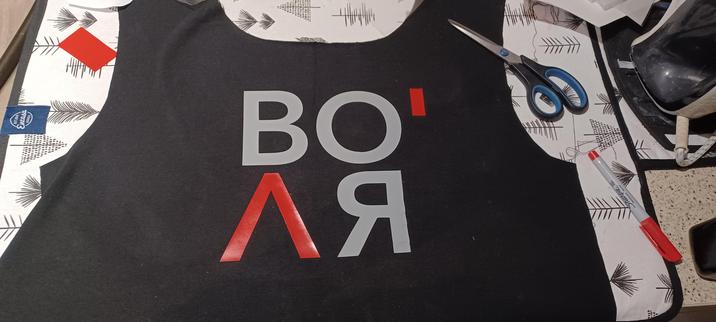
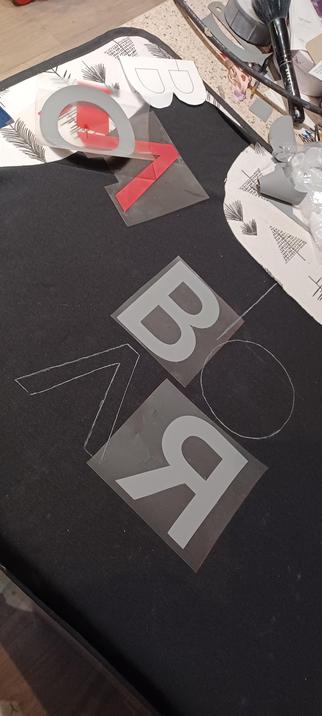
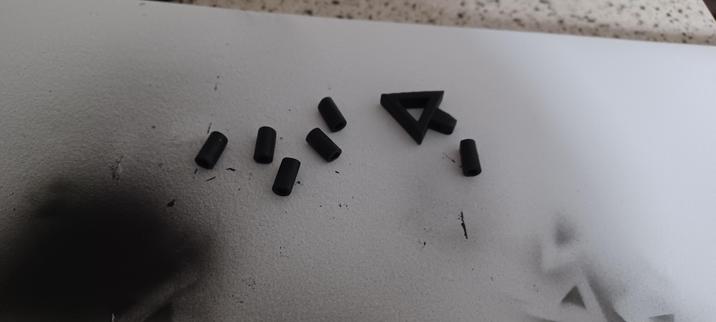
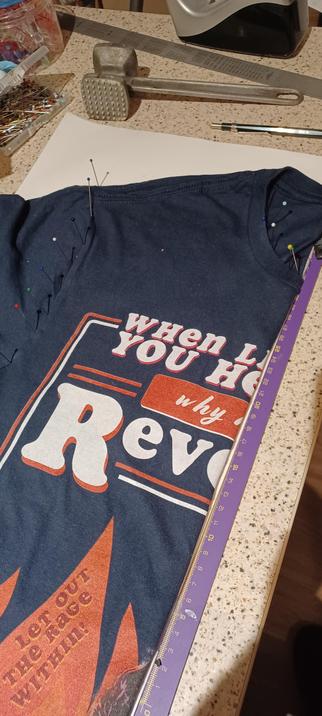
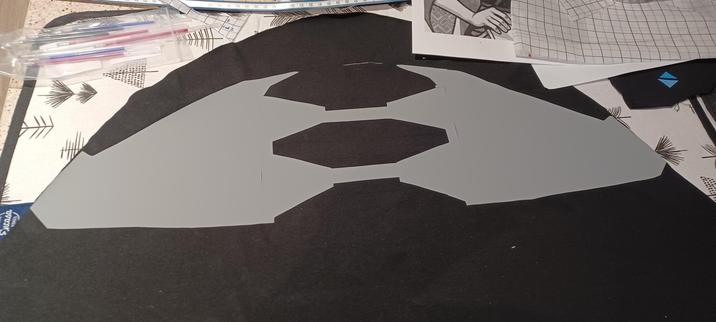
Spent the day trying to work out what size/shape the make the vinyl for the grey part of the sleeve, got frustrated and just made one from scrap fabric to work it out with marker.
The red Jersey arrived yesterday, so hopefully I can get this done for Wednesday!
I started doing the arm stripe things, realised I had the wrong shape.
Then at the end of it all I realised I didn't have enough vinyl.
That's enough of that for today.


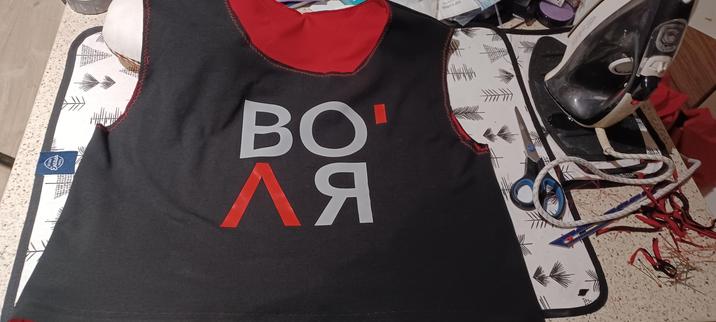
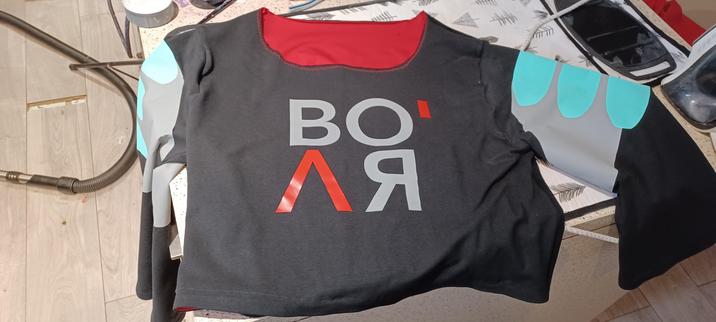
Finally! I had to Frankenstein the grey part together to fit it on there. I realised way too far into the sunken cost fallacy I could have just used grey fabric paint and got a better result. But hey, it's done.
Now I just need to get the other sleeve done, cut out the lining and then sew it!

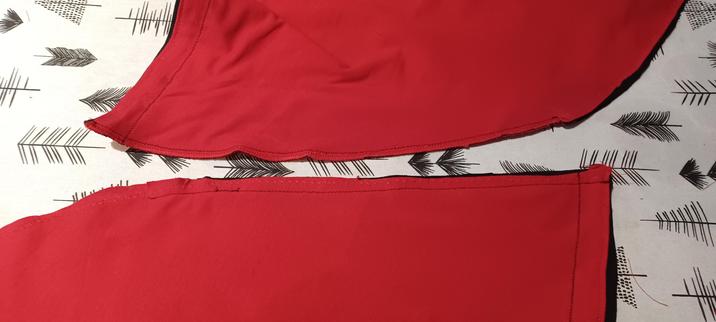
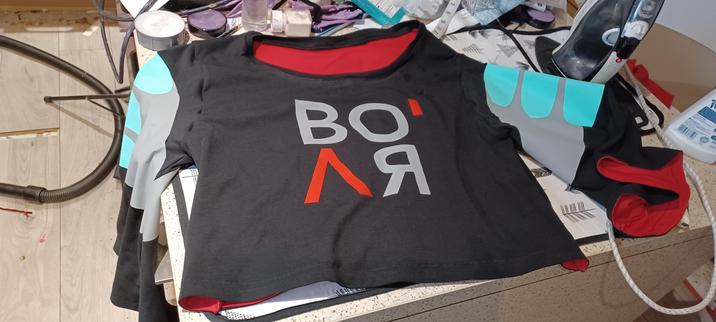
Finally, thread's getting involved! I stitched the lining to the outer pieces at the sleeve and main body hems so I can get that nice clean edge between the red and black.
I just need to tack the lining to the main pieces (flatlining feels like the way to go) and then it's finally time to finish!
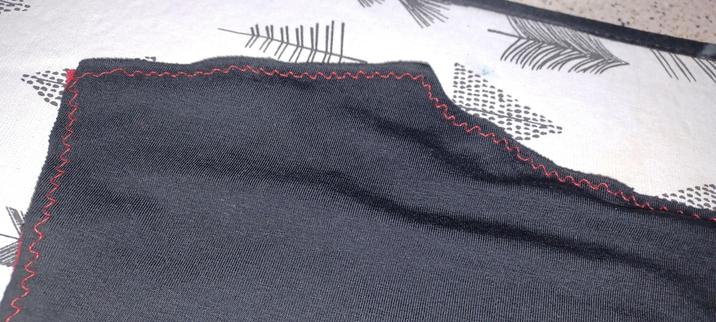
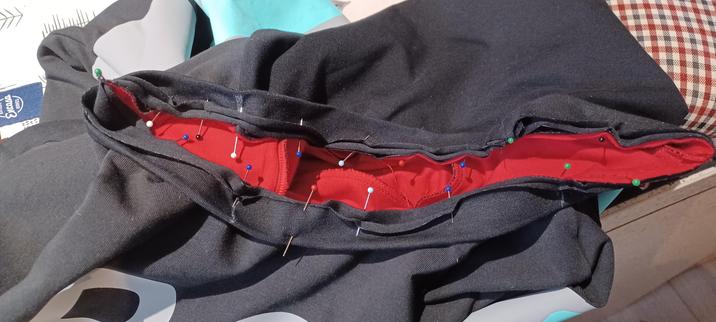
Progress update; my machine has an overlock stitch setting, but I haven't used it much, so I went for a thin zigzag stitch and then trimmed each seam before finishing it with a wider one.
Fun little fact I didn't have space for on bsky; Jersey stretch knit doesn't fray because of the way it's woven, but finishing the edge just looks neater.
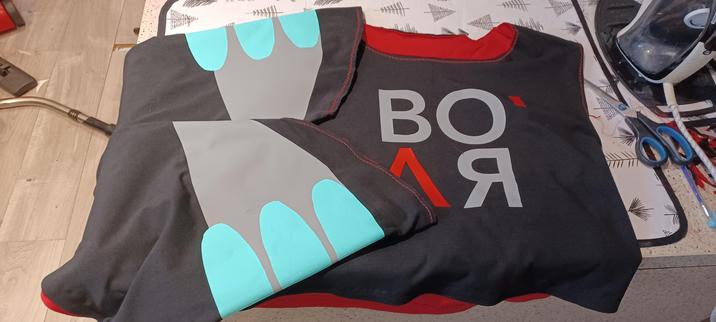
The sleeves and main body are done, so all that's left is to fit the sleeves and cut and attach a neckband!