Project++
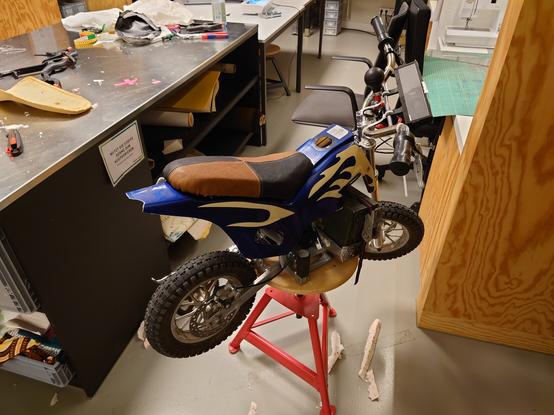
I need a ride for #MCH2022.
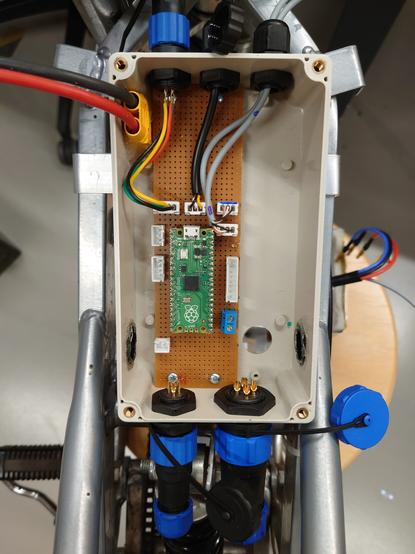
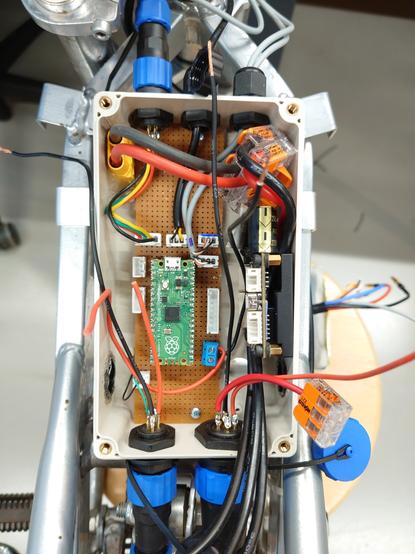
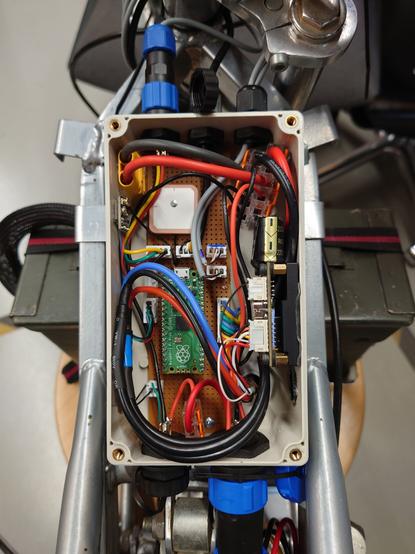
The old stinky two stroke engine will be replaced with an electric motor (once the parts arrive).
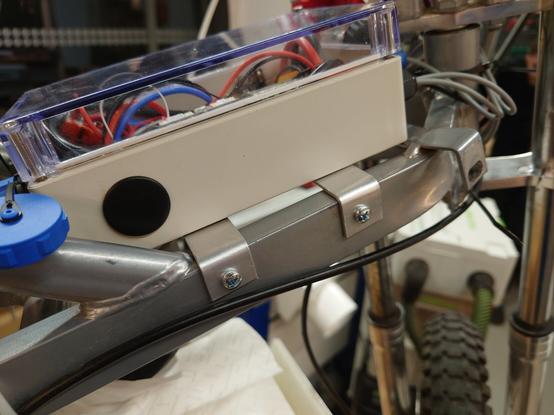
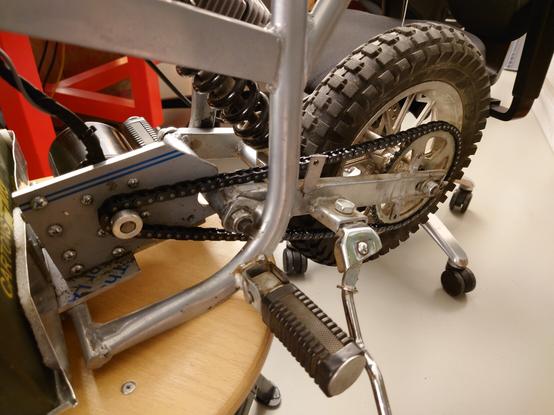
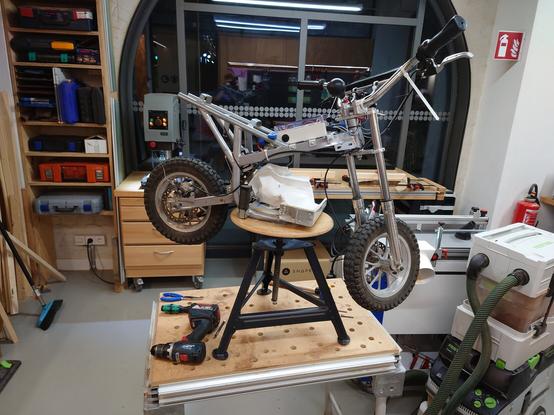
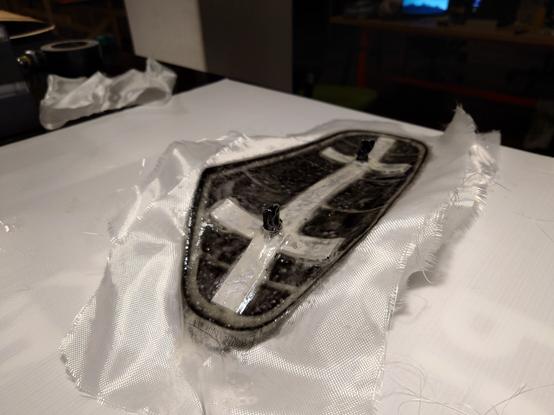
Today I was cleaning and assessing the frame I got from Kleinanzeigen.

Some parts arrived. 1st challenge: mounting the sprocket onto the motor shaft.

With much help from @FranzImsch and @TheVale98 I first turned custom adjusting rings, which will keep the sprocket from wobbling side to side.

For my first piece on a lathe it's acceptable imo 1/2

Next I filed the sprocket hole to fit the profile of the motor shaft. But I still needed to place shims between the flat spot of the shaft and the sprocket, as there was still a gap between those surfaces
And now everything sits on the shaft with only a little rotational play 2/2

First spin up successful ✅

The motor and ESC work very well and it's a tiny bit scary tbh ^^'

Tomorrow I'll hopefully be able to build the motor mount and with a bit of luck it'll already experience it's maiden voyage!

After that I still have many details to work out.

Today the motor mount got ~70% finished.

Done: Chop sawing the base plate, triangle and edge blocks. Drilling the mounting holes, CNC cutting the motor plate and lots of drilling and tapping.

ToDo: Drilling + tapping the remaining 4 out of 6 sides of the edge blocks.

Motor mount is done! (Still needs the correct screws)
There still is a tiny bit of flex in this design, but the original steel motor plate is also contributing to that.
Now we just bodged on the ESC and battery pack and it's ready for the first test drive!

Maiden voyage was a big success!
Project #ePocketBike milestone 1 reached ✅

But there is still _a lot_ left to do ^^"

Massive thanks to @vale_1998, @FranzImsch and @patagona for your help thus far, I couldn't have done it without you

Upgraded the BMS of the battery box today, now it's capable of 60A instead of 40 and can also finally be charged over the main battery connector. I don't need to pull out the individual packs anymore.
Thanks @CatoLynx for sending me yours, so I could finish it before @mch2022camp
The I/O control board for the #ePocketBike is taking shape.

More wiring for the I/O board and box.
Handlebar connections are done, the rest is WIP.

Didn't finish the power wiring tho... (Had to go home at some point ^^')

Finally! The wiring for the #ePocketBike is done!

Preliminary tests show that the ESC still works and the DIY hall-sensored brake lever too!
(For controlled recuperative braking)
Although the signal of it is a bit noisy, probably need to fix it at some point ^^'

Now I can finally get to the fun part: Writing firmware ^^

Mounted the control box more permanently and replaced the chain.
#ePocketBike

[07.06.2023]
Just in time for #GPN21, I mounted the display and quickly hacked together the serial communication, so the actual data coming from the VESC gets displayed on the dashboard I coded last year.

I still need to revamp the layout and some values, now that I actually know what metrics I get from the VESC and what I want to actually display.

#ePocketBike

First time working with fiberglass and epoxy to reinforce the seat of the #ePocketBike.

Either the aluminum underconstruction or the fiberglass laminate by themselves would probably have sufficed, but there's no engineering like overengineering :P

Big thanks to @techbeard, @hmnd and @crexodon for their help. I literally couldn't have done it without them <3

New experience in unfamiliar territory unlocked: upholstery.

Since the original #ePocketBike seat foam was pretty beat up (see past post) and thin to begin with, I decided to completely reupholster it.

I cut a slab of composite foam roughly in shape, glued it to the now reinforced seat base and trimmed it to shape.
Then I wrapped some fabric around it, marked it and used it as a template to cut out the leather pieces.
Now all that was left was sewing the pieces together and stapling it on.