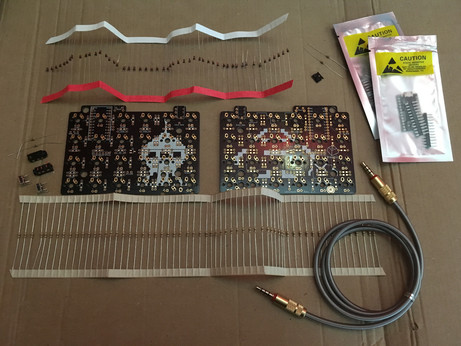
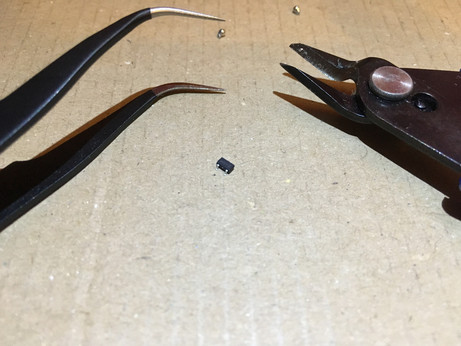
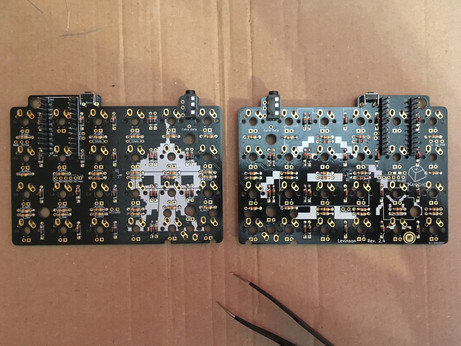
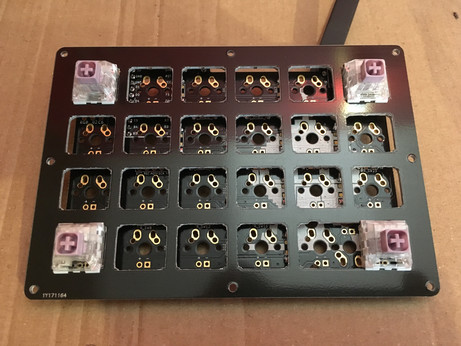
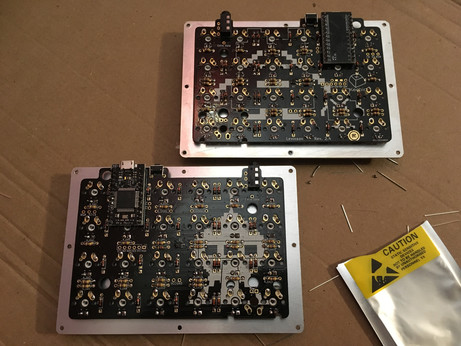
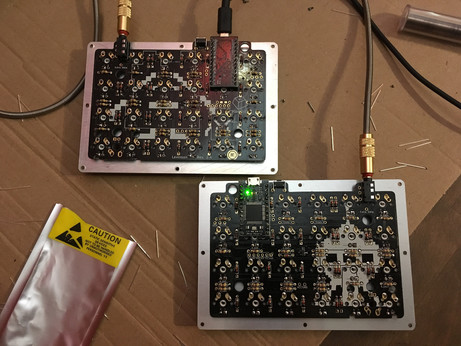
I've started to build myself a Levinson (40% ortholinear split keyboard) and I'm really enjoying the whole process. Except soldering burns maybe.
Soldering diodes and resistors on the Levinson PCBs was the easy part. I think I've finally understood how to use a soldering iron (and I also think the one I use is crap).
Building a 40% split keyboard, part 3: among various other components, I had to solder that awfully tiny thing called a metal-oxide-semiconductor field-effect transistor (MOSFET) and it was a long and painful process. Twice, of course.
That special moment when you've finally soldered everything on your keyboard and suddenly notice you've forgotten the one resistor that would require to de-solder all 24 switches to be installed properly and light up that single missing LED: priceless.
Adventures in mechanical keyboards land update: switches (Hako violet, lovely smooth, light and tactile) have been installed. Entering the hazardous "let's flash the micro controllers and solder them if they work" phase.
Keyboard micro controllers flashed, tested and soldered. It's alive! In fact I had no idea if everything worked or not until I soldered both controllers, especially with this strange mirrored master/slave system, but apparently it does.
More keyboard building adventures: everything is now set up and working. All I need is to add keycaps, then customize the hell out of my layout, because as a French user, I need access to a bunch of annoyingly accented characters.
My 40% split keyboard is now fully working and almost complete (I'm waiting for some RGB LEDs to arrive). It's been a blast to build, and it's a joy to use! That feeling when claiming power over technology I use daily, no matter how simple, is hugely satisfying.
Upgraded my keyboard with some 16.5 and 2 mm silicone bumpers. I wasn't sure about the height but the inclination seems just right for me. And it's indeed way better than blu-tack to keep the keyboard in place.
I'm about to solder a strip of RGB LEDs to my keyboard and I've no idea what I'm doing because the only guide is for another model with a different PCB. Where would be the fun if I had exact instructions, though?
Keyboard underglow LEDs update. Here's what I've soldered to my split PCB: two strips of six SK6812 addressable LEDs, with a few awkwardly bent wires and a bit of guesswork.
More keyboard underglow adventures. These LEDs are much more powerful than what I expected and kind of brutal to look at directly. But they work, no doubt!
Split keyboard underglow update: seems like it works! I still need to do some programming in order to get color settings I like. There are weird default modes like Christmas blinking lights and Knight Rider red scanner...
I've finally understood how to tweak the underglow code of my keyboard and I think I might set the house on fire without a soldering iron.
The problem with my keyboard underglow is it's so bright it reveals all the tiny specks of dust that lie not only on the bottom plate, but also on my whole desk. On the plus side, maybe I'll do the cleaning more often.
I've finally received the Teletype Z-Series keyset I ordered a while ago and it looks really good, I can't wait to try it out on my keyboard.
Got my new keycaps installed and I love them. There are a few plastic removal scratches, and they aren't perfectly aligned, but they're a joy to type with. With their smooth texture, a slightly concave shape, and their low profile, they make Hako Violet switches feel better than with XDA keycaps.
I've upgraded my split keyboard with MIDI capabilities. No soldering required. 👌
@lectronice Glad to hear they're nice to type with! The keyboard is so visually pleasing!
@rpginabox The good thing is also that all keycaps are the same color, so I can actually move them around anywhere if I want to experiment with the layout. I'm starting to understand why some people use blank keycaps :) (but yeah I'm pretty happy with these ones.)
@lectronice That's cool! And yeah, I hadn't thought of that before, blank keycaps would be quite useful when you can program the keys however you want. :)
@lectronice Let me know what they're like to type on
They seem super awkward to me, but I've noticed a few keyboards with them on, so maybe they're okay?
@gaeel Sure, I'll probably install them later today. Individually they feel good, with a nice texture and a very light concave shape, but yeah, it's hard to tell what typing actually feels like for now.

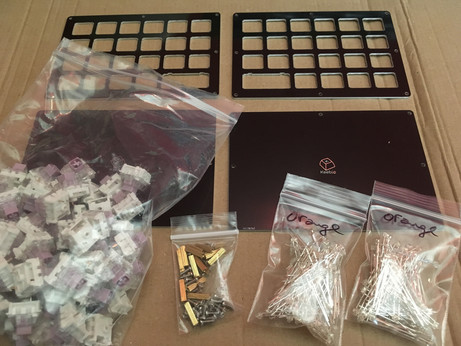
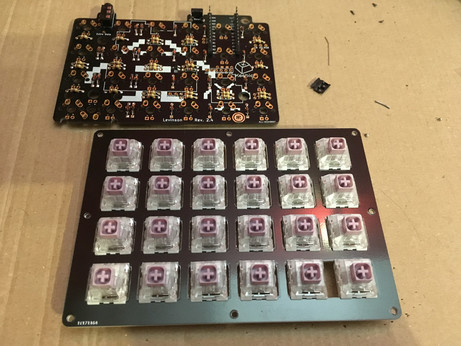
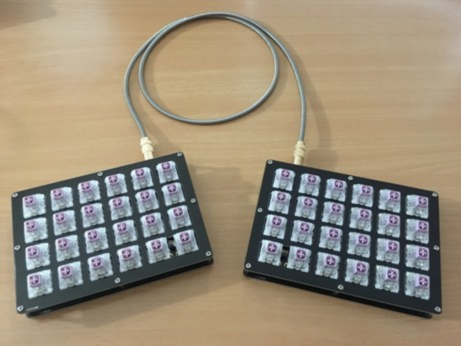
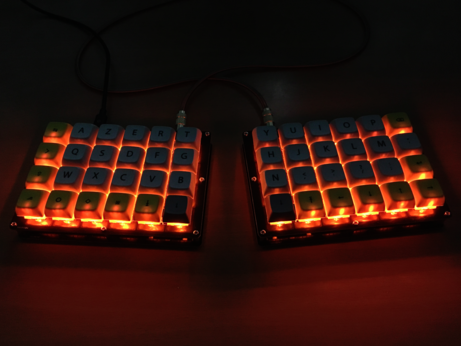
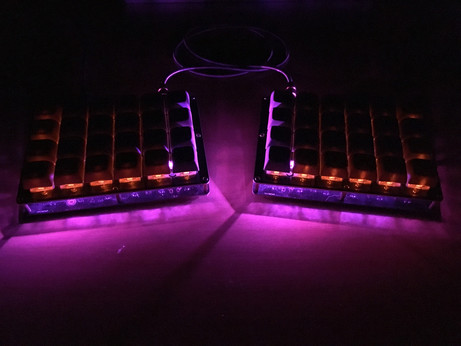
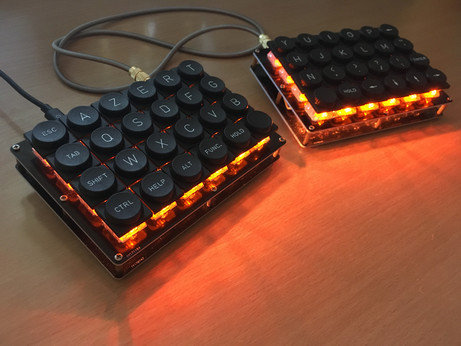
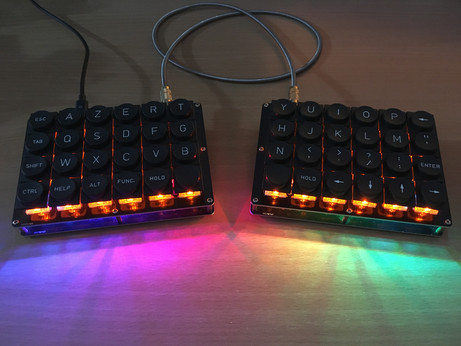
@gaeel Well, after using this keyset during the afternoon, I'd say I like it better than my previous XDA keyset. It doesn't feel especially awkward, even if gaps between keys are indeed wider. I love the texture, and the small concavity of each key reminds me of a fidget cube.

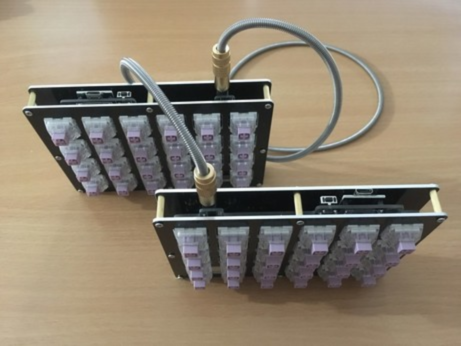
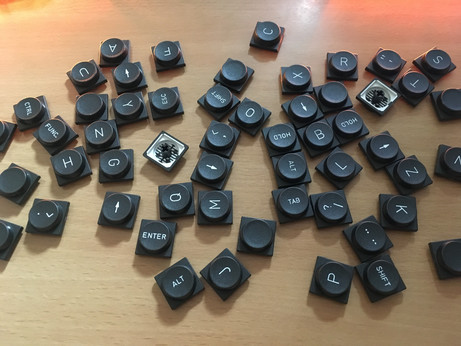
I shall mention a few keys bear some light scratches due to plastic removal, and they aren't perfectly aligned because I didn't solder my switches with a lot of precision. Still pretty cool in my opinion :)

@lectronice
You're supposed to solder the led strip directly on the board? I would have supposed they'd have given you JST connectors in the kit for this, so you can easily swap things around.
@emptyfortress The only kit parts for the LEDs were a couple of resistors and MOSFETs. I'm supposed to connect the strips with a few wires. It doesn't seem very complicated, but I need to try different pins and to do a bit of guesswork. And since it's a split keyboard, it's twice more guesswork :)
@lectronice
MOSFETs like this tiny smd component you posted earlier? You're a braver person than I am xD
@emptyfortress Well I had no idea it would be this tiny... I think I've managed to solder them both correctly but to be sure, I'll also need to solder everything else. It's pretty much a puzzle game where if you lose, you have to buy all your components again lol