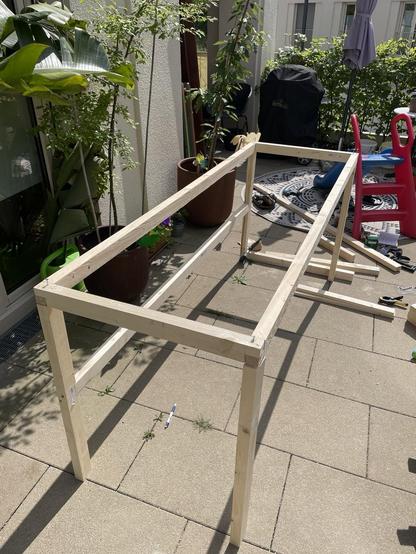
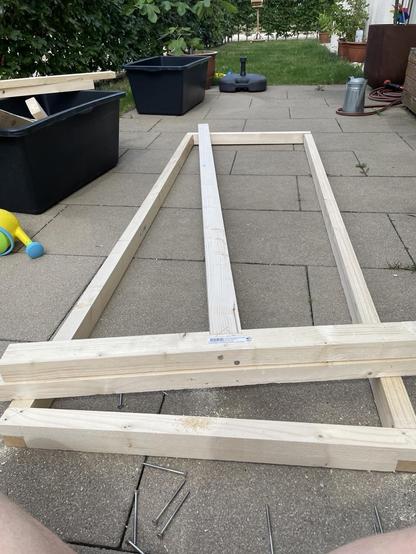
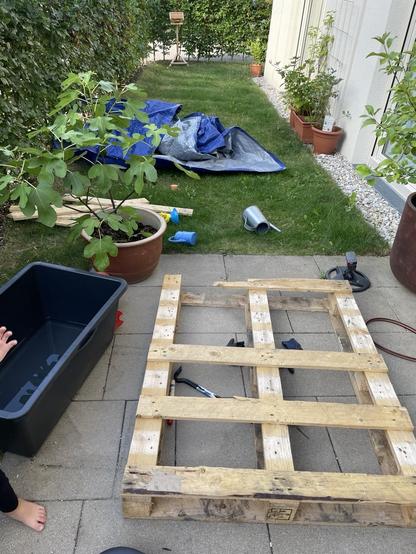
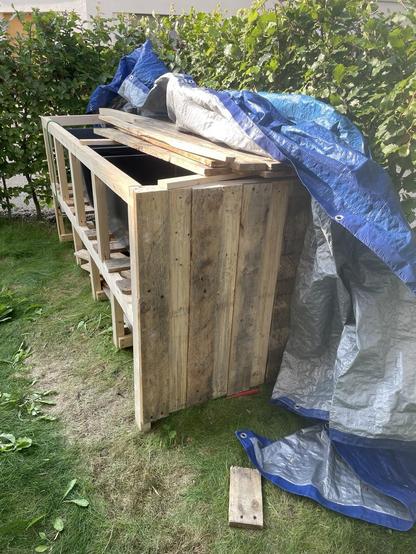
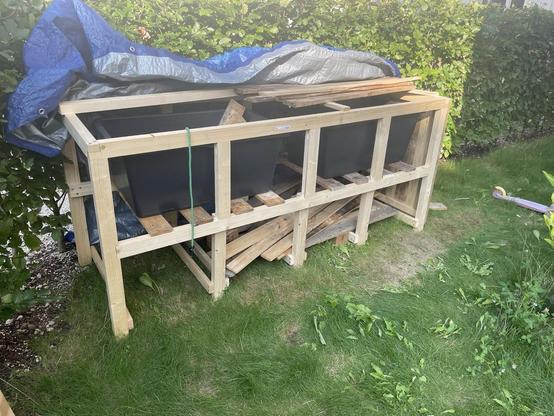
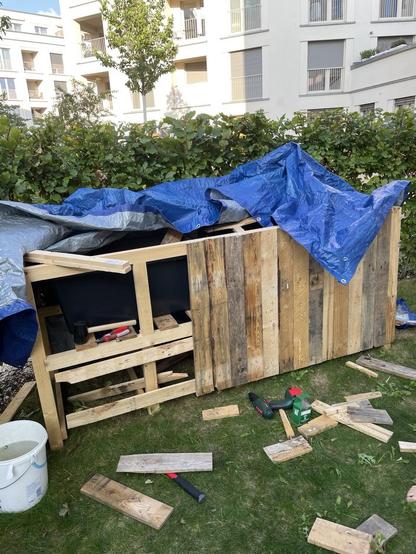
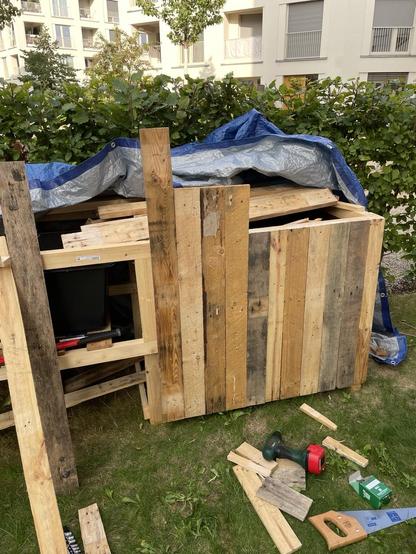
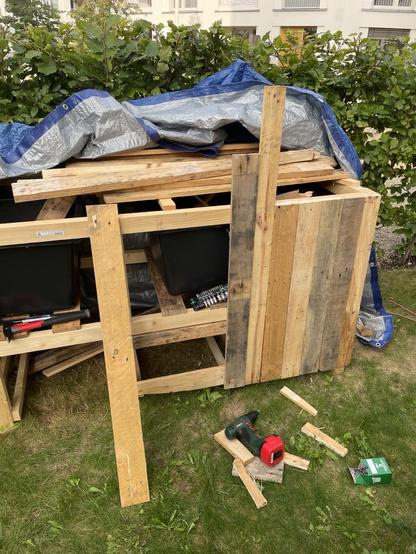
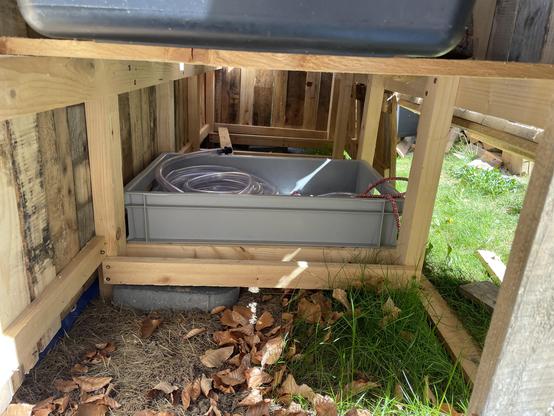
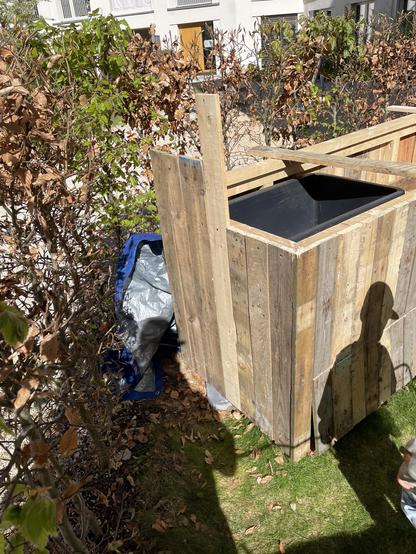
I’d been planning to build a raised garden bed for a while. Of course it needed to do some special things so I couldn’t have just bought one 😅. I wanted it to be able to take some boxes for storage underneath. This felt like it needed a bit of a plan for once, so I even started sketching a bit 😮
#projectdiary #woodworking
Plants should go into cement bins from the hardware store, but all measurements you could find online were not sufficient, so I had to take a trip just to measure them out 🤦‍♂️
More planning and then getting some wood for the frame. Originally planned to get some reclaimed wood for this but couldn’t find the time to go to the reclaimed buildings materials place. #woodworking
Next up: cutting all that stuff into pieces. Did that at @munichmakerlab, with sometimes questionable support methods. We really need some outfeed rollers for the miter saw. But it was such a pleasure going from that stack to all the individual pieces in almost no time at all 😍 #woodworking #makerspace
Time to build the frame. Lots of clamps and pocket holes. And small helping hands ❤️ #woodworking
Of course at some point the weather changes. Luckily there’s still some tarp in the house.
And I realize I made some grant miscalculations and the cement bins aren’t as high on the thing as they should be. But hey, it’s not that bad (at least I just keep telling myself that) #woodworking
Now there’s more to this thing than just the frame. We also need some outer walls. For that I wanted to go with #pallet wood. There’s a place nearby that gives away single use pallets for free in quite large amounts. But I realized I can’t really fit all that many in the trunk. If I do this more often I need a matching bike trailer or something like that (hello next side quest…)
#recycling
Taking those things apart is another story. Since single use pallets are not standardized, some are super fragile and others built like little wooden tanks. Neither means they’re easy to take apart, the fragile stuff might just break super quick as well. So in the end it’s mostly luck and lots of practice. And ideally you don’t always need the entire length of each piece of wood, so it’s not that bad if they break at one end
#palletwood #recycling #woodworking #pallets
Time to move it to its final location. Well, I might regret this when I do the back wall, but it also needs to get off the terrace. Bins are on some pallet slats because I didn’t buy enough wood for the frame. But it works pretty well like that. And now we piece together the first side. Found a good distance to the ground, screwed in the slat, and then sawed off the overlap on the top. With a handsaw, because I just don’t have that much power tools at home 😅
#woodworking #pallets #recycling
On to the front. Some slats not yet cut down to size. I added some slats on the back of the bottom half of the wall because that will be some kind of door to access the storage boxes underneath. Will cut that half off later and reconnect it with some hinges. Let’s see if that plan works out.
Also this is when I ran out of pallet wood and need to go get more. Haven’t found the time yet 🙈
#woodworking #recycling #pallets

Finally giving back the Tesla tomorrow, so I had a last "dirty job" for it this weekend, of getting more wooden pallets for the raised bed build. Couldn't fit in as many as I'd liked but still enough decent wood to get a bit of work done hopefully. Now I just need some decent weather and time...

#diy #pallets #urbanmining

Time for some updates on the raised bed. After taking the Tesla for more pallets, they needed to be taken apart. I guess I'm "I could do a workshop on this now" kind of good at this point, and I tried passing that skill on to these two here already. Great work ethic, improvable attention span. But that was to be expected.
With all that wood, I hat some hope I had enough to finish this. First steps: finish front and back, leaving the left side open in case I needed to get to the inside while cutting the front access doors
I tried cutting the front doors by hand, but quickyl realized this was not going to work with the saws I had available. So i burrowed a jigsaw from @munichmakerlab and this was done in no time. Always cut in sections, screwing in the hinges once cutting paste their designated spots. I split the door in two parts, to not make them too heavy to lift, and the result is quite nice. They swing open a tiny bit "at rest", which I might fix with some magnets, but it's not thaaat bad.
View from the still open left side into the bottom section. There's quite some space it seems. But I'm still curious how well that can be used.
Time to close up that left side as well...
On to the inside. There'll be two containers for plants in there, made from mortar buckets. They need some kind of drainage, but simply drilling holes would mean water runs into the storage underneath. So we add some tubing to move it to the underside of the storage compartment. The diameter of the tubing is absolute overkill but it's what we had on hand (recycling as much stuff here as I can 😅 )
Somewhere in the design I also had a miscalculation on bucket height and height of the storage compartment (probably mentioned it in the thread already). I was ready to just ignore it but when talking it through, it seemed better to do something about it. Easiest fix: Raise the buckets. And luckily, I still had a bunch of blocks from the original pallets lying around.
With both buckets in place, I can add the top layers. Two layers of pallet planks to have the required width. Used the borrowed jigsaw again, the measurements were a bit exhausting and I messed up one piece which was super stupid because I was running out of planks. But I made it with the last full size plank 💪 Really loving this
#pallets #palletwood #recycling #woodworking
some wooden sticks, lots of leaves and two packs of soil: we have a halfway decently filled raised bed. Now I just need to get some plants to actually put in there 🥳