At #PAXEast, my kid had a lot of fun at the arcade area. We worked out a handicap system for Street Fighter Alpha 2: they got to take me down to 40% of my health bar at the start of the round, and then it seemed mostly fair. And they had a great time beating up Dad!

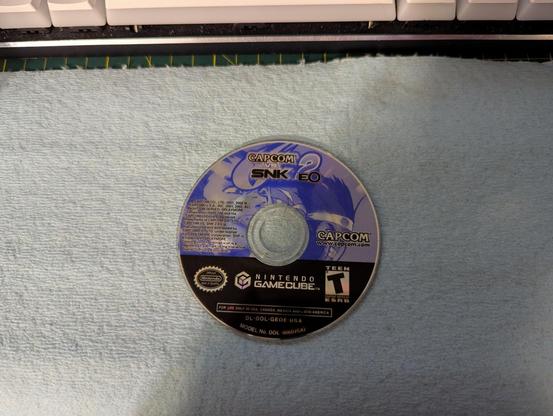
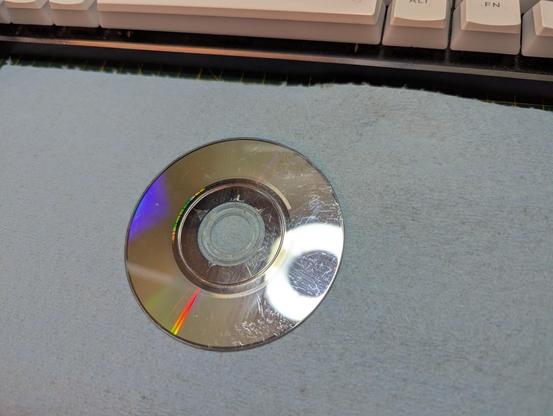
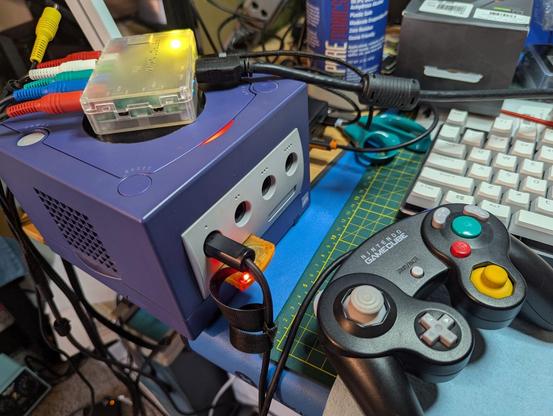
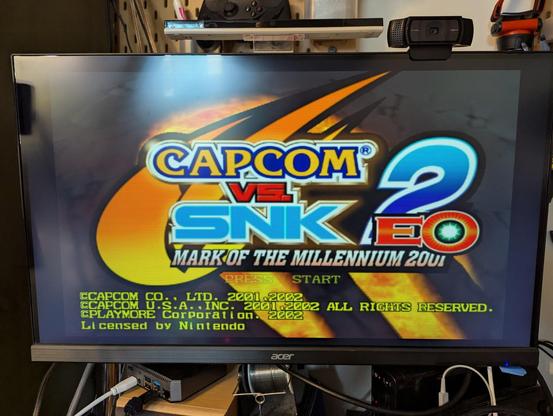
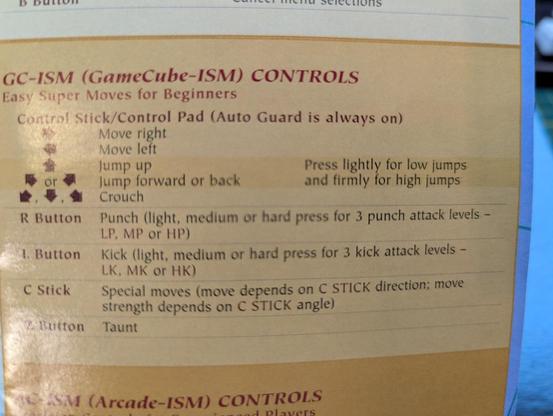
This week, I used that as an excuse to order something for my Gamecube collection: Capcom vs. SNK 2 EO. I found the cheapest Ebay listing that included a manual, and it arrived in today's post.

#FridayGames #Retrogaming

The Gamecube port got poor reviews due to the control scheme. I'll get to that, it's *weird*.

First off, the disc. The listing said "TESTED," but I'll admit I was skeptical when I took it out of the (very good) packaging; the disc was visibly gross, and has lots of scratches and *cracks* around the center hole. Haven't seen that before, at least not in a working disc.

Photos are after I cleaned both sides with a lint-free paper shop cloth and isopropyl alcohol.

Before I show this to the kids, I need to make sure it's working. Quickly assembled the Gamecube and connections at my desk.

Working! Despite the scary physical condition of the disc, my Gamecube has no trouble reading it.

I played a single round for about 30 seconds, then scrambled to find the manual to figure out what on earth was going on with these controls.

This is just wild. Attacks are mapped to the shoulder buttons. Which, on a Gamecube, are *analog,* so light/medium/hard attacks are mapped to *how hard you press the button*.

Someone at Capcom was fondly remembering the original Street Fighter arcade cabinet (https://en.wikipedia.org/wiki/Street_Fighter_(video_game) ), with the pressure sensor pads for attacks, and thought "MY TIME HAS COME AGAIN."

Having tried to wrap my head around this control scheme, I went back into the game and gave it a shot.

It is weird. But it's not bad? I mean, I'm terrible at these games, I bought this cheap just to give it a shot. And I can play the game like this, flailing and button mashing, and having a good time. I got through three rounds of the solo mode and lost to M. Bison, and had fun doing it.

That being said, I'm going to try the Arcade control scheme now, which looks to be a lot more normal.

Ok, Arcade control scheme makes much more sense, it's the standard Nintendo console controls for a Street Fighter game:

A -> Light Kick
B -> Medium Kick
L -> Strong Kick

X -> Light Punch
Y -> Medium Punch
R -> Strong Punch

Kid has now moved on to Tatsunoko Vs. Capcom.

This is good, because my Gamecube is giving me the error message at startup that it needs a new battery. Off to @iFixit !

https://www.ifixit.com/Guide/Nintendo+GameCube+Clock+Battery+Replacement/203682

Nintendo GameCube Clock Battery Replacement

If your Nintendo GameCube's clock, as well as system settings, reset each time you power the console off and on, the clock battery likely needs to...

iFixit

Now pivoting into a light repair thread:

1/9

The only hard part* about taking the top shell off of a #Gamecube is that you need a 4.5 mm gamebit driver. It's part of a standard #iFixit Moray set (https://www.ifixit.com/products/moray-driver-kit), and elsewhere.

Once the four screws are out of the bottom, you flip the Gamecube right side up and the top shell lifts off easily.

#DIY #Retrogaming

2/9

* I'm not counting the #soldering as a hard part, this is very easy and would even be suitable for a first-time soldering project. Soldering may not be your cup of tea, though.

3/9

The circuit board with the 4 controller ports comes out easily, it's just two screws and the ribbon cable is friction-fit.

4/9

The offending lithium cell has been desoldered. Just a few seconds with a Pinecil iron and solder wick.

(As an aside, I sometimes see discussion of solder wick. I don't recall what solder wick I used when I started out, but I know (from using better solder wick) that it wasn't great. I found Superwick #443 (https://mgchemicals.com/products/soldering-supplies/desoldering-braids/solder-wick/) about five years back, and it's good stuff.)

5/9

Problem I was not expecting: the tabbed lithium cells I have will not fit through the through-hole, at least at the negative terminal. I bought these cells a while back as replacements for old Nintendo cartridges that use battery backup, it looks as if they're not quite the right physical fit for the Gamecube.

6/9

Solution: violence. Well, some slight trimming of the tab to fit.

7/9

No issues soldering the cell to the board. Again, this is a very easy soldering project, perfect for a beginner.

8/9

Reassembly is very straightforward, I didn't even think to document that. The iFixit page above has Old Potato-cam photographs, but they're fine for this project.

The Gamecube asked for me to once again set the time and date upon being powered up; it offered a date of 2046-06-01. Is that date random? Does it have some sort of significance?

9/9

But, once the date and time were set, it's not asking anymore. It's a very simple repair, but now I'm not annoyed by it.

Playing Star Wars (1982) on my Gamecube. Without the enclosing cabinet and the looming threat of running out of quarters, this isn't really the same ...

@GamesMissed That's a really good breakdown of the process. Thanks for taking the time to write it up and include pictures. 👍

It's been awhile since I've hooked my Gamecube up. It wouldn't surprise me if it needs its battery replaced. The one in my Dreamcast definitely does. Perhaps I will get around to swapping that one sometime over the summer.

@Judeau The old cell read .143 volts with my multimeter. I don't think I've played on the Gamecube since last year, but I would swear I wasn't getting the date-and-time error then.