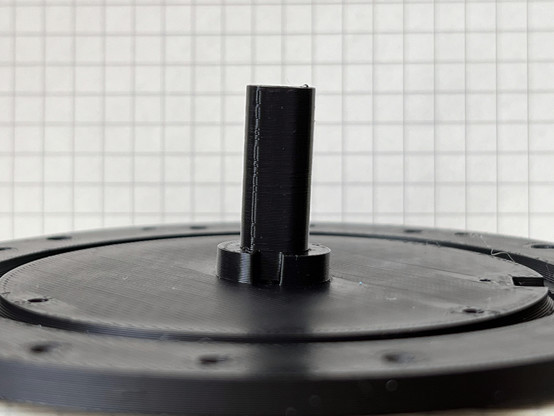
It feels as though I'm endlessly rebuilding it, for diminishing improvements. But in the most recent rebuild I finally solved a mystery that has been bugging me. When the display had been running for a while, it would quite abruptly lose balance and start vibrating. After the last occurrence, it was never quite the same. On stripping it down I found this.
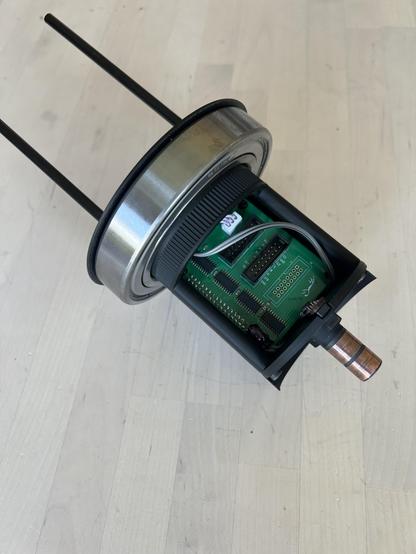
That's the mount for the slip ring. A cylinder carrying a couple of copper bands fits over the pillar, and an M4 bolt goes own the middle to hold it all together. It has very clearly become bent, and without any signs of cracking. Presumably, as it spins, it heats up enough to soften the PLA, and the spring loaded brushes push it out of alignment.
I've reprinted it in ABS; going to see how well that lasts.
I continue to fail to shoot footage of it that does it justice.
This feels like a good match of style and content.
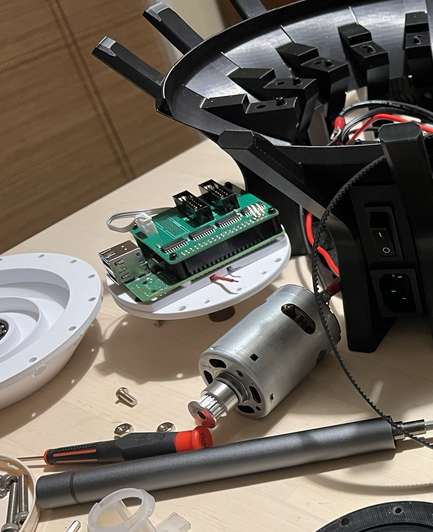
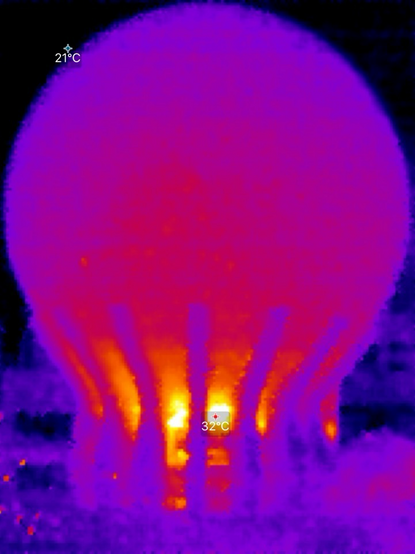
I’m now suspicious of all the PLA parts. The little pit with the Pi in it is getting very warm.
kind of feels like it needs monsters?
 YouTube
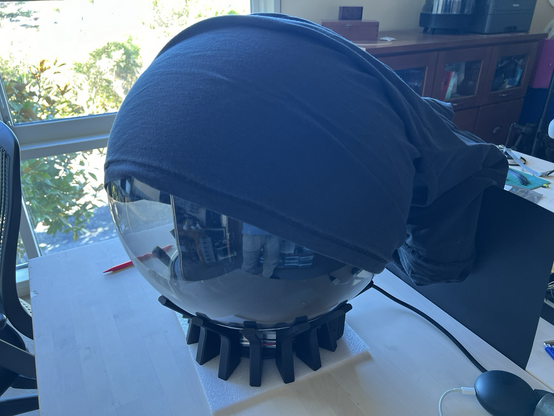
I do like an ample window and natural light, but it makes it hard to see the leds. Hence this pirate astronaut.
Doom running at a larger scale. Easier to make out what's going on, harder to see what's shooting at you.
https://youtu.be/bRe1OSkeiQg YouTube
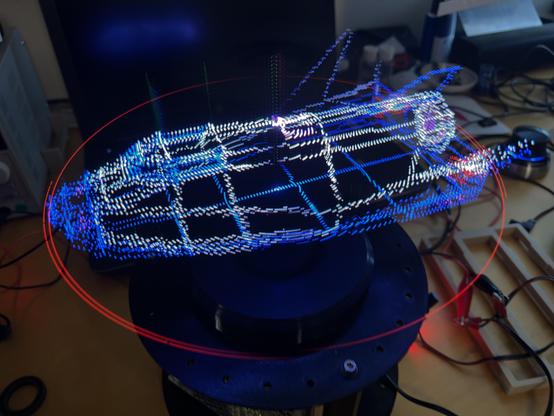
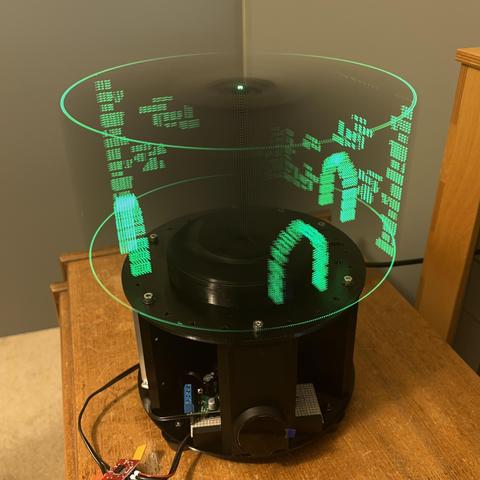
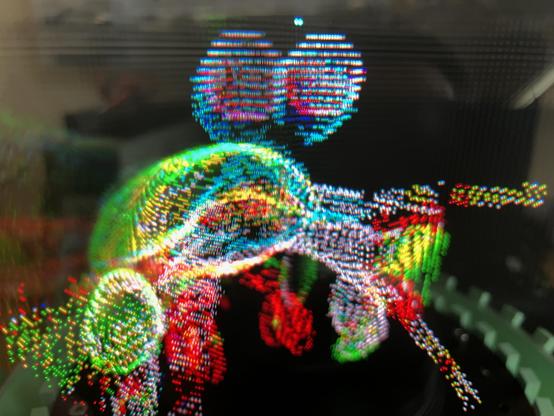
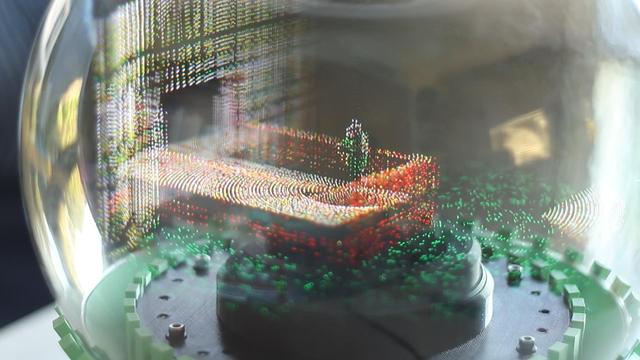
This display works by spinning a matrix display rapidly about a vertical axis, lighting up each LED as it passes through part of a 3D image. The way you update the displays has a big impact on the quality of the image.
In this gif, each dot represents a column of LEDs - we're looking at the device from above. Here the panel is treated like a 2D display which just happens to be moving. Each scan line is repeatedly visited in turn, sweeping out a set of slices where the image can be displayed.
If you turn the panels 90 degrees so their scan lines are now columns, you can do a bit better. The update doesn't have to be sequential - instead of stepping one column at a time, you can skip a few each time. As long as you pick a number which is coprime with the number of columns, and you wrap around once you go past the last one, you'll still visit each of them but spread out more evenly throughout the volume.
The real improvement comes when you adjust the update rate for each column to match the length of the track they have to sweep out. Instead of wrapping around when you reach the last column, you wrap around when your counter reaches the square of the number of columns, and you update the column corresponding to the integer square root of the counter. This gets rid of the bright dense region in the middle, and adds more updates out at the edges making them less sparse.
In practice it's complicated by the fact that these panels update two lines at once. Every time you update a column in the outer half, you're also updating one in the inner half. I couldn't find a simple procedural update strategy to spread these evenly, so I ended up generating a lookup table for it using simulated annealing.
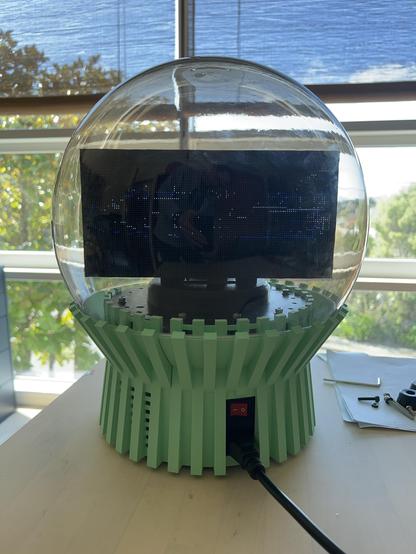
First test of the new design, and already I’m happy. Quiet, high refresh rate, and doesn’t feel like it’s seconds away from embedding itself in my face.
Dynamic balancing using a tray of marbles and iPhone slowmo.
- YouTube
Enjoy the videos and music you love, upload original content, and share it all with friends, family, and the world on YouTube.
So many complaints about the framerate on that last video, so I decided to upload one with a shorter exposure and more flicker. But I still ended up keeping it below 30 fps, so I suspect the complaints will be about both framerate and flicker. Just have to hope the algorithm doesn’t go so large on this one.
https://youtu.be/gBfclb9hXCI- YouTube
Enjoy the videos and music you love, upload original content, and share it all with friends, family, and the world on YouTube.
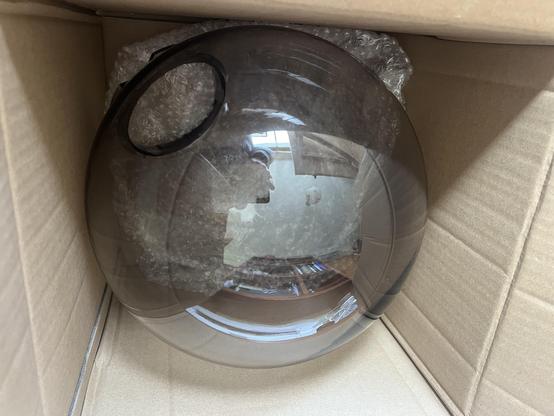
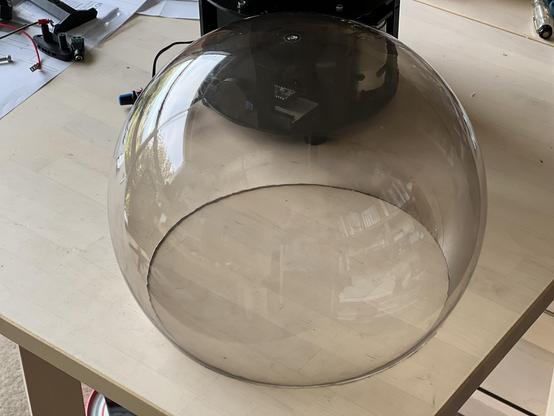
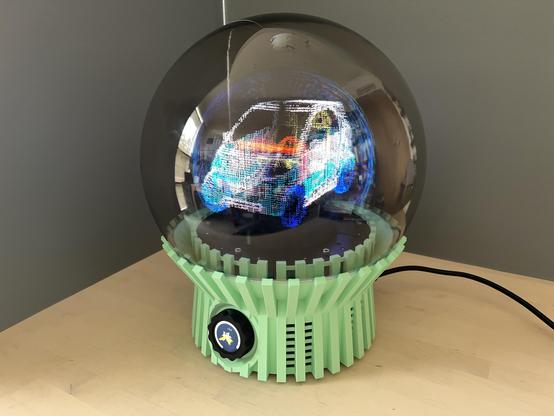
New dome!
There are many advantages to moving to smaller panels in the new design (momentum etc), but the price drop going to a 300mm dome from 400mm would be justification enough.
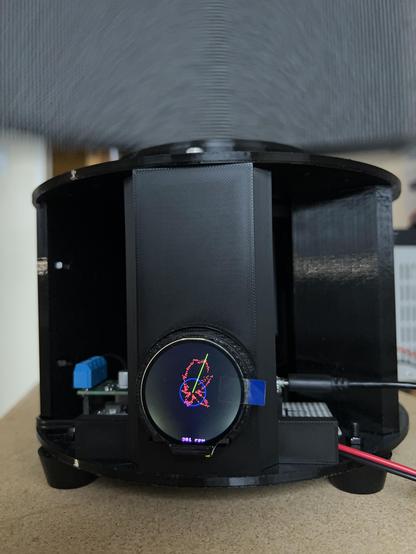
There’s now an accelerometer in the base, synced to the rotation of the screen. I’m hoping this will help me get it balanced better. I don’t entirely understand the shape it’s producing, but the line is pointing in roughly the direction I think it should be pointing.
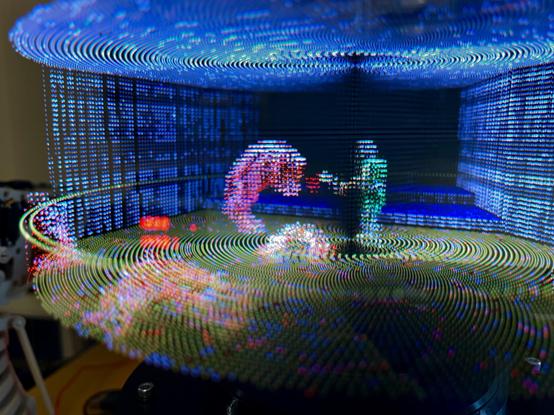
2D video of 3D projection of 4D object.
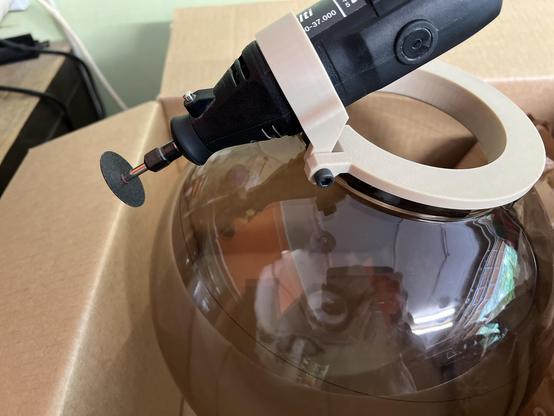
There’s a fair bit of planning involved in finding the true centre and height of these domes. When I come to make the cut it feels like cleaving the Cullinan diamond.
With the previous dome the cut had a somewhat hand made look to it, so I printed a thin piece of trim to slip over the edge and keep it neat. It was too big for the printer so I used TPU, printing it in a spiral and flexing it back in to the right diameter. An unexpected benefit was that it was way quieter with that isolating the dome from the base.
This time the cut went better, but I’m still going to give it a gasket for that reason.
25 fps. That's an actual frame rate.
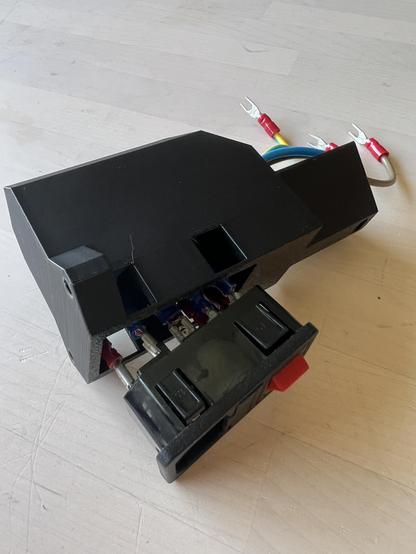
Taking it all apart so I can film myself making it.
Now thinking I should have filmed the tool I made to press all the clips on this IEC socket so I could get it out of the housing in order to film the satisfying click it makes when it goes in.
Easier to see the 3D when it's only the camera that's moving.
Yet another round of finding new places to hang counterweights, and I’ve hit 900rpm - 30fps. Amazing to scroll back to the start of this thread and see me wonder if I could get some sort of rudimentary depth effect going.
https://www.youtube.com/watch?v=ydk3BhlUWYE I've been working more on capturing footage. Hand held camera movement is still a mess, but putting the content into rotisserie mode helps sell the 3D with a static camera.
 YouTube
What this thing needed was another source of barely recognisable low res flickery points of light.
I built a contraption for my camera
Construction video for this display…
https://youtu.be/pcAEqbYwixU YouTube
I tried the thumbnail testing feature on Youtube for the first time, which was fun. Upload 3 different images, and it randomly applies them and shows you which one was the most engaging. This was the winner.
(I didn't include one with my surprised face and an overlaid arrow pointing at something)
Everyone needs to build one of these displays so I can spend my time writing games for it.
Amazing what these Arm processors can do.