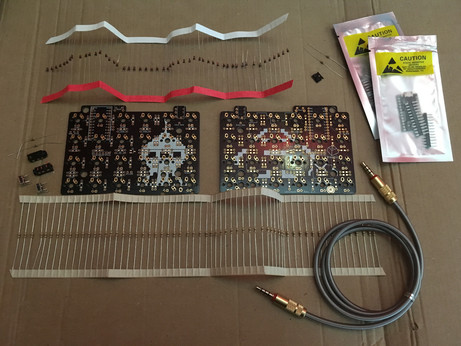
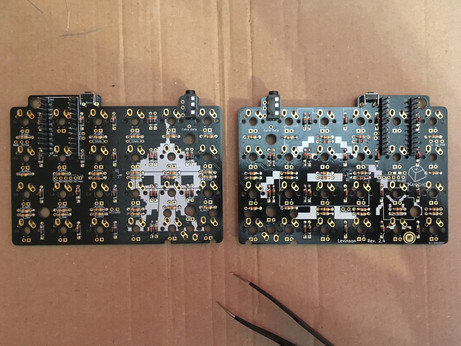
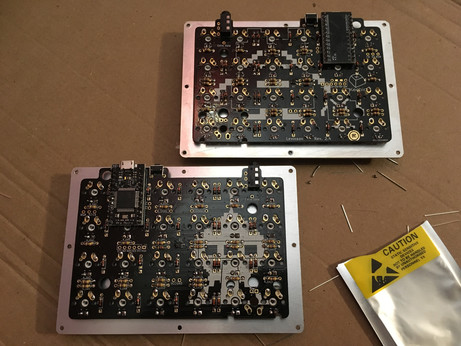
Soldering diodes and resistors on the Levinson PCBs was the easy part. I think I've finally understood how to use a soldering iron (and I also think the one I use is crap).
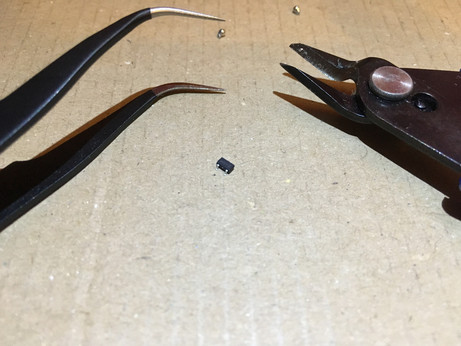
Building a 40% split keyboard, part 3: among various other components, I had to solder that awfully tiny thing called a metal-oxide-semiconductor field-effect transistor (MOSFET) and it was a long and painful process. Twice, of course.
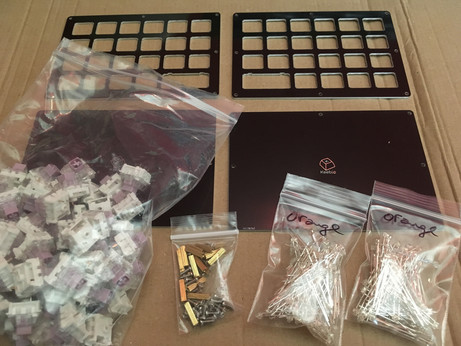
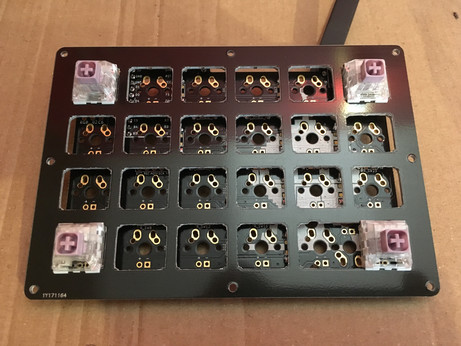
That special moment when you've finally soldered everything on your keyboard and suddenly notice you've forgotten the one resistor that would require to de-solder all 24 switches to be installed properly and light up that single missing LED: priceless.
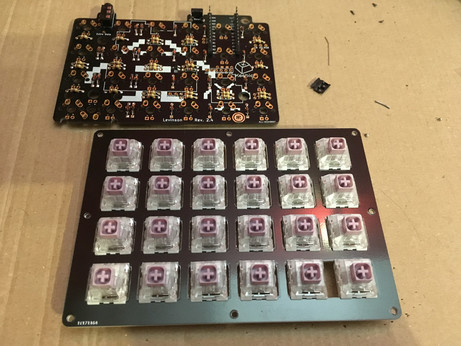
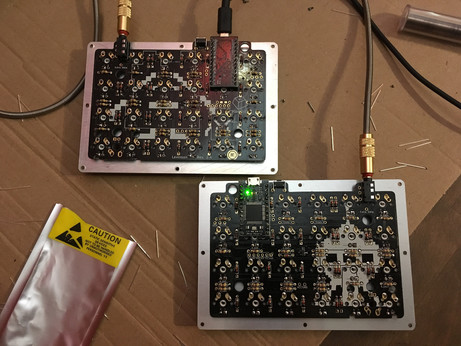
Adventures in mechanical keyboards land update: switches (Hako violet, lovely smooth, light and tactile) have been installed. Entering the hazardous "let's flash the micro controllers and solder them if they work" phase.
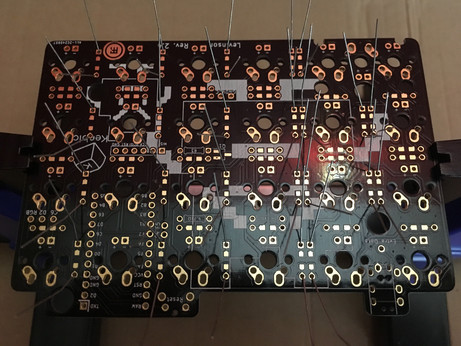
Keyboard micro controllers flashed, tested and soldered. It's alive! In fact I had no idea if everything worked or not until I soldered both controllers, especially with this strange mirrored master/slave system, but apparently it does.
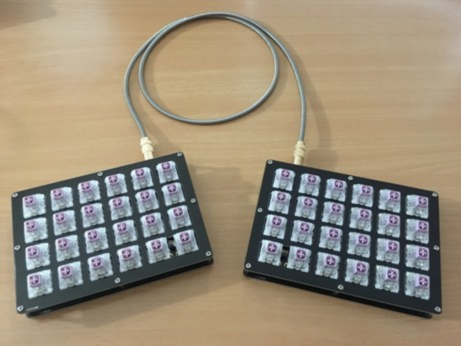
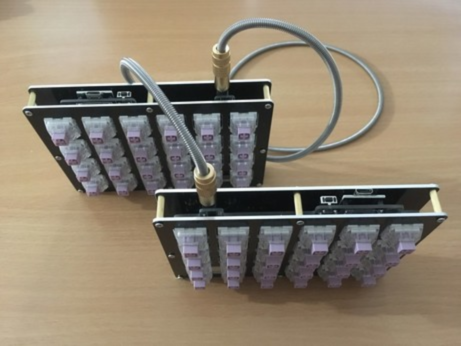
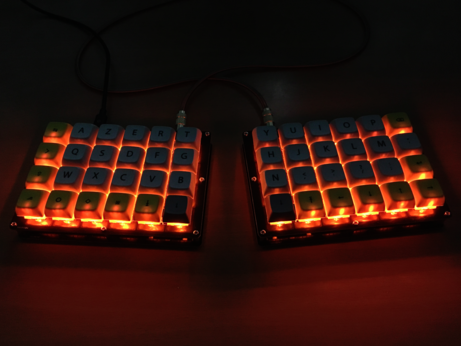
More keyboard building adventures: everything is now set up and working. All I need is to add keycaps, then customize the hell out of my layout, because as a French user, I need access to a bunch of annoyingly accented characters.
My 40% split keyboard is now fully working and almost complete (I'm waiting for some RGB LEDs to arrive). It's been a blast to build, and it's a joy to use! That feeling when claiming power over technology I use daily, no matter how simple, is hugely satisfying.
@Pomplemoose I've built it myself with various parts I've chosen but most of them are available as a kit from keeb.io (keycaps and swiches comes from KBDfans.cn, and LEDs from 1upkeyboards.com)
@Pomplemoose Thanks :) I wasn't sure how it would actually look, it's the first time I build a full keyboard. Some parts where a bit challenging to solder since I'm not very experienced, but overall it was a very interesting DIY project.