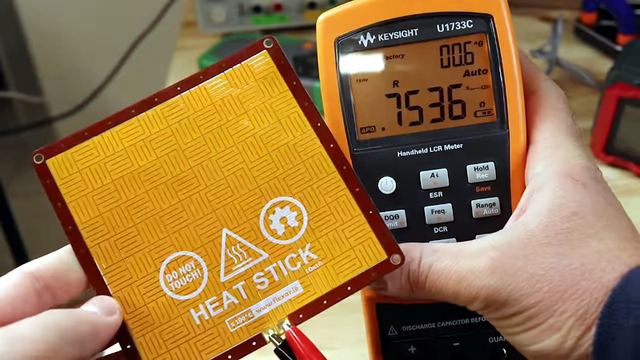
[Carl] is always looking at making heater plates for PCB reflow and other applications. In his latest video, he shows how he is using thin flexible PCBs with adhesive backs as stickers that get hot. You can find gerber files and design files on GitHub.
You might think that this is a pretty simple thing to do with a flex PCB, but it turns out while the PCB might be flexible, the traces aren't and so the typical long traces you see in a heater won't allow the sticker to bend, which is a problem if you want to wrap it around, say, a coffee mug.
The answer was to create a pattern where the traces change direction frequently, and that's what [Carl] did. He also talks about using stiffeners around the edges of the board.
The video shows quite a few tests that indicate the substrate discolor after a long time with high heat. The adhesive also tends to melt in those conditions. So the recommendation is to use them where you need lower temperatures for a long time or higher temperatures for a short duration. Of course, depending on your application, the color change may not matter as long as it doesn't affect the long-term reliability.
What would you do with a flexible heated sticker? The self-warming mug is a no-brainer. A sticker to put on exposed pipes for a cold day comes to mind. A thin 3D printer bed heater or an irregular-shaped reptile habitat might be useful, too.
As long as you are putting patterns in any way, we wondered about making thermal digits on a sticker like this. It seems like every time we check in on [Carl] he's heating up something.