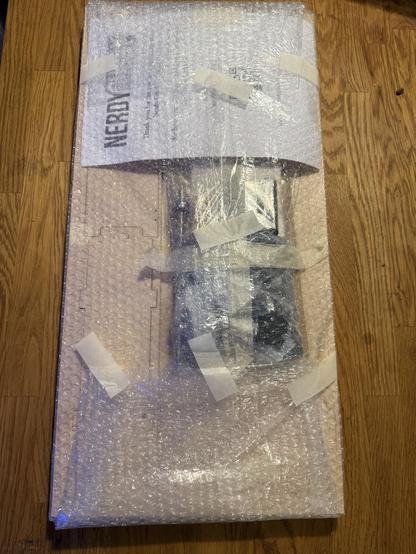
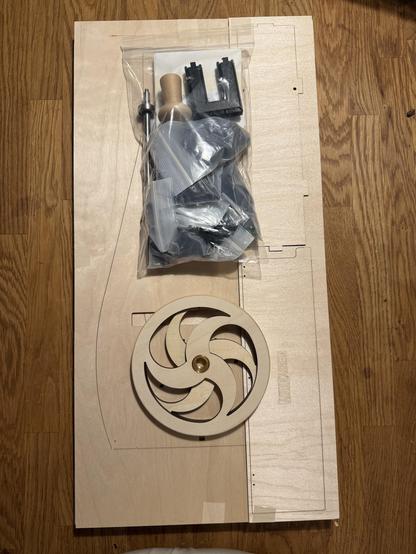
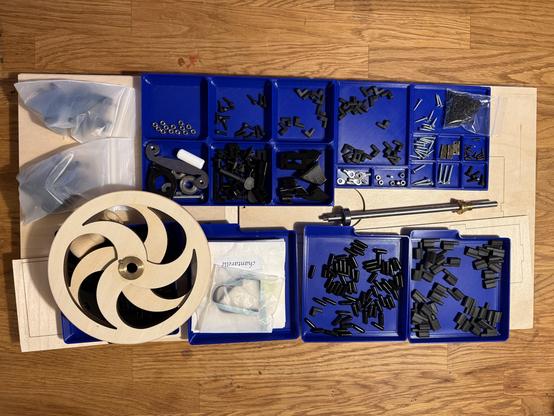
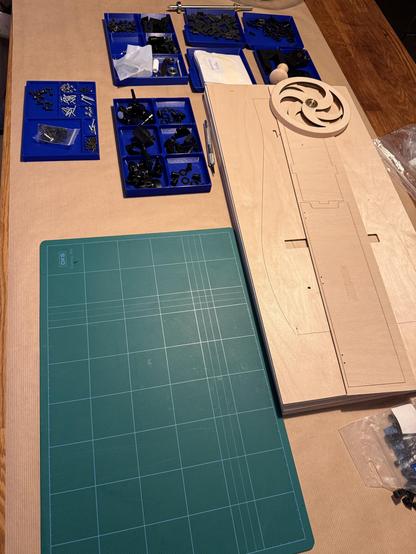
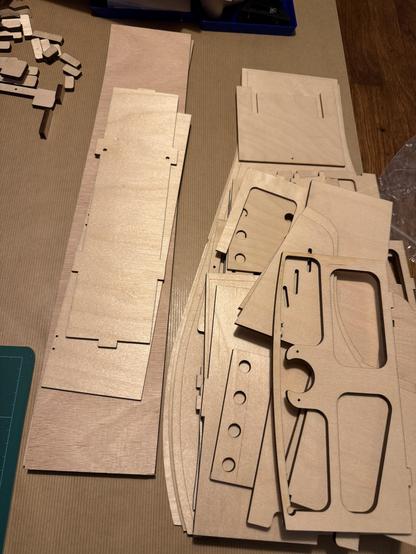
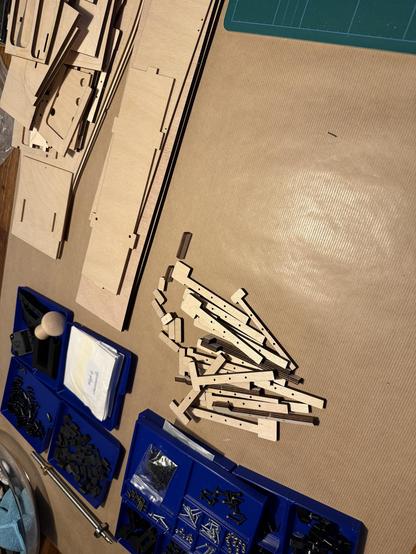
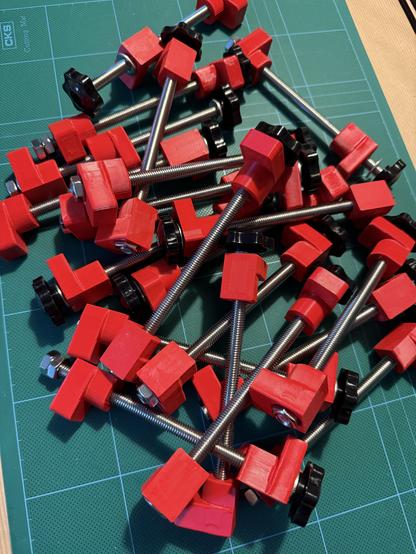
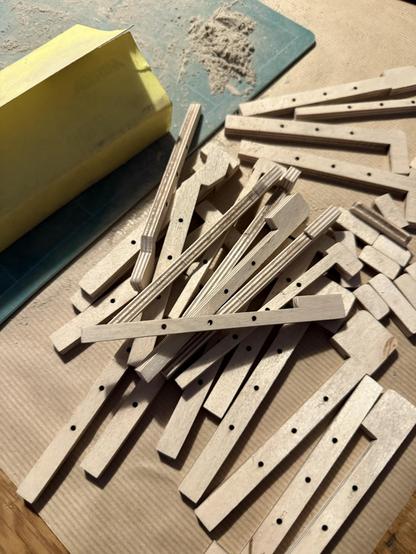
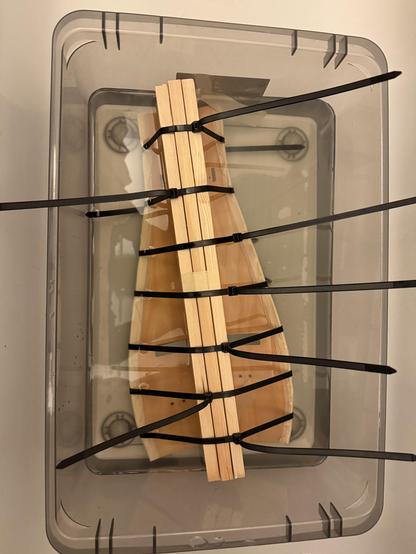
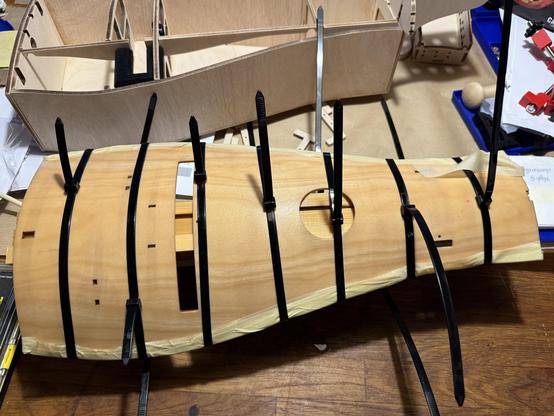
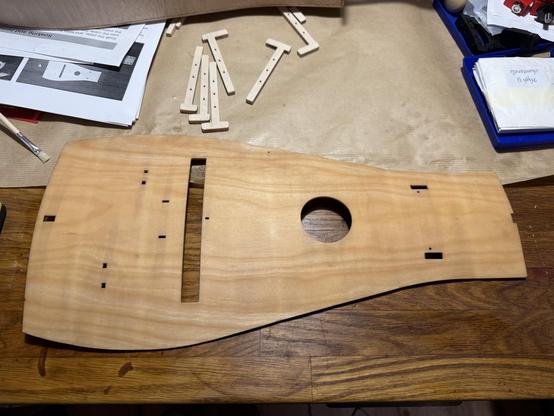
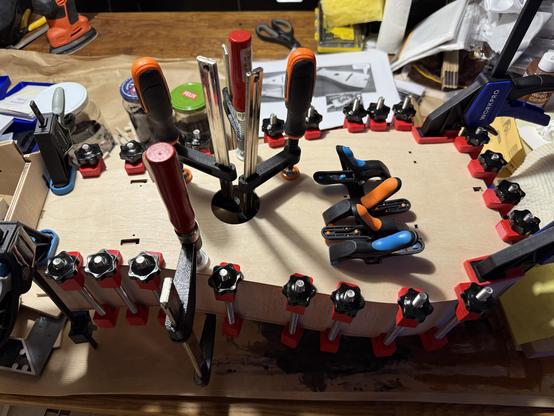
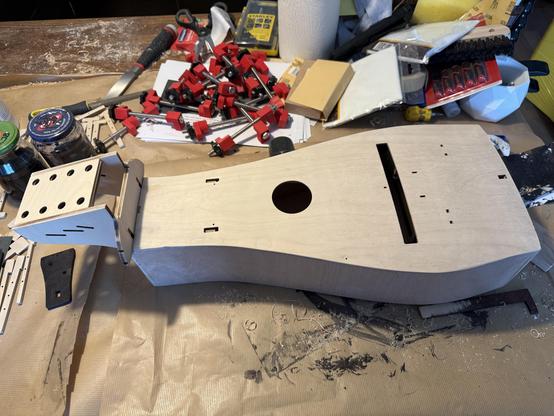
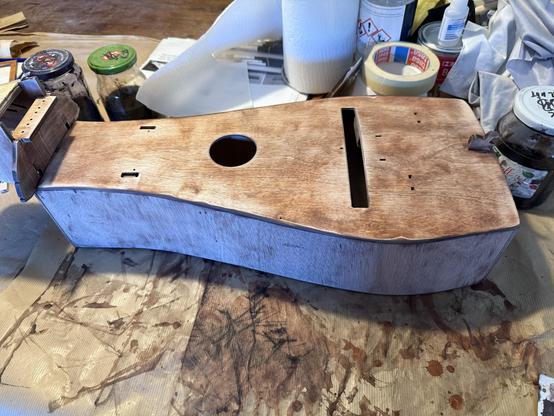
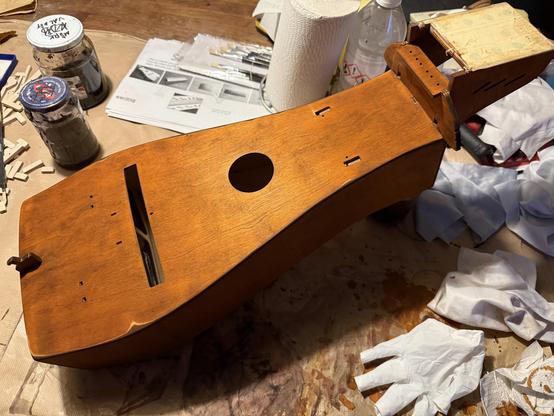
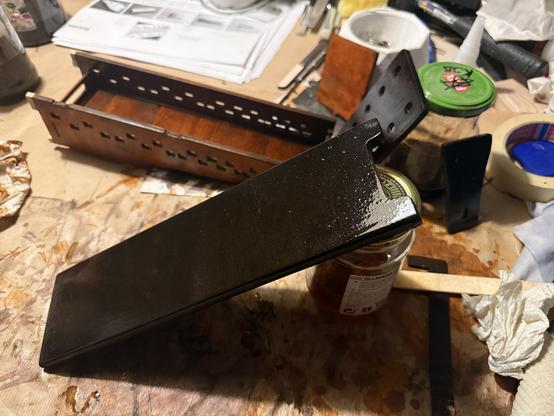
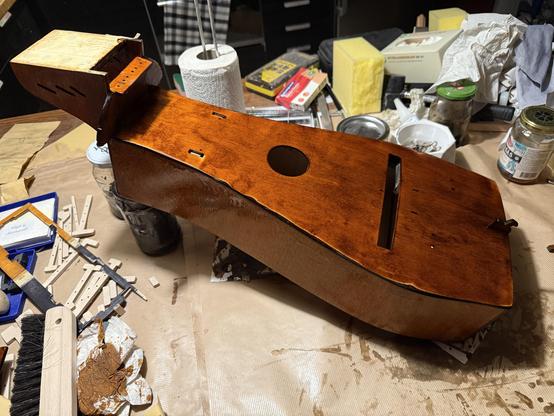
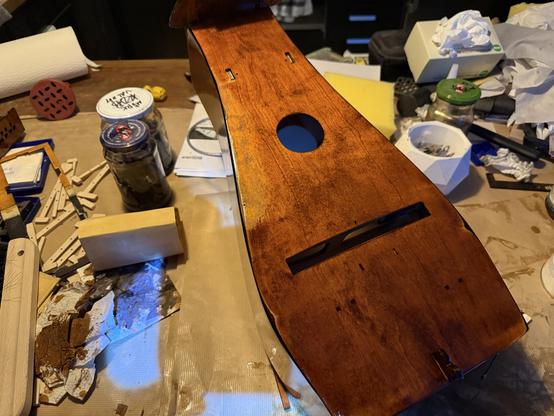
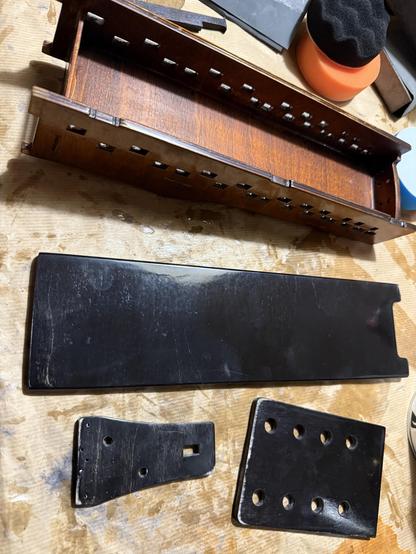
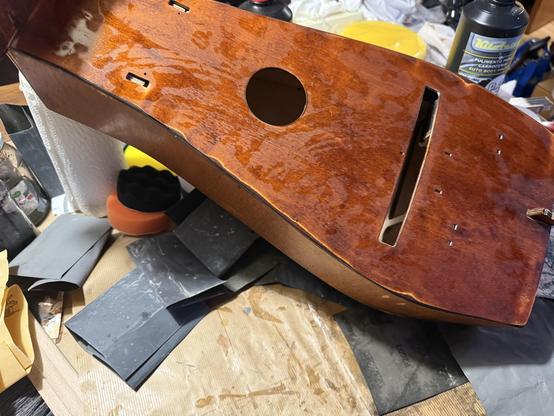
I’ve been totally nerd sniped by the Nerdy Gurdy. It’s a DIY hurdy gurdy made from 3D printed parts and laser cut plywood. There’s a version on Thingiverse with all the files needed to print and laser cut all the parts (except for some hardware). There are also newer models that can be bought as kits or pre-built.

Since I’m not musical at all, I probably wouldn’t be able to play it. But the build seems doable and a lot of fun.

https://www.nerdygurdy.nl/

https://www.thingiverse.com/thing:5368197

#NerdyGurdy #HurdyGurdy #3DPrinting #LaserCut #DIY

Nerdy Gurdy – instruments

I received my Nerdy Gurdy Fortran kit today! I’ve checked the contents and everything seems to be included.

I’m going to go slow with this build and try to be as careful as possible. Today was just unpacking and separating all the hardware into separate trays. I need to print another tray with a few compartments to have everything separated.

#NerdyGurdy #Fortran #HurdyGurdy #DIY #LaserCut #3DPrinting

I’ve started with the Nerdy Gurdy build. I’m taking it slow, today I just removed all the pieces from the plywood. There were quite a lot of pieces, so it did take a while.

#NerdyGurdy #Fortran #HurdyGurdy #DIY #LaserCut #3DPrinting

While waiting for the kit to arrive, I 3D printed parts for twenty glue clamps. I hope this will be enough. I also have a bunch of small clamps, and a few larger ones.

The glue clamps are made by the same guy who designed the Nerdy Gurdy. The 3D model is available on Thingiverse: https://www.thingiverse.com/thing:6517348

#NerdyGurdy #Fortran #HurdyGurdy #3DPrinting

I’ve started to sandpaper the plywood pieces. So far I’ve sanded all 24 keys with a coarse grit sandpaper which took all evening. I will have to go over them again with a finer grit as well.

#NerdyGurdy #Fortran #HurdyGurdy #DIY

I should’ve changed sandpaper earlier, it was completely smooth before I realized it. But the coarse sandpapering of all the plywood pieces is done now.

Next up is doing the whole thing again with a finer grit sandpaper.

#NerdyGurdy #Fortran #HurdyGurdy #DIY

I have finished sanding all the plywood pieces for my Nerdy Gurdy Fortran build. Now I have started dry-fitting the main body to see how all the pieces fit together. It’s starting to look like half of a hurdy gurdy.

#NerdyGurdy #Fortran #HurdyGurdy #DIY

Today I started gluing together the plywood pieces for the hurdy gurdy. I really hope I don’t mess up.

#NerdyGurdy #Fortran #HurdyGurdy #DIY

I’ve been gluing together a few pieces every day on my Nerdy Gurdy build. I had to buy some more clamps as the ones I built won’t work for any thin pieces. There’s a lot of waiting for the glue to dry with this build. But the frame is starting to take shape, which is exciting. But I’ve only done 24 out of 90 pages in the build manual.

As per instructions I’ve now been listening to Eluveitie while building.

#NerdyGurdy #Fortran #HurdyGurdy #DIY

Some photos of gluing together some parts om the head, and there were twenty clamps to glue together the sides of the body.

#NerdyGurdy #Fortran #HurdyGurdy #DIY

It was finally time for the scariest part of the hurdy gurdy build. Bending the top plate of the body. I placed a short wood piece along the length of it and tie long cable ties around it. The whole thing was then placed in water for about four days, while continuously tightening the cable ties every now and then.

I could then glue it to the body with lots and lots of glue clamps. I did a dry fitting first to figure out where to place clamps and how to get it to be placed correctly.

#NerdyGurdy #Fortran #HurdyGurdy #DIY

Now the main part of the body of the hurdy gurdy is complete and it’s ime to stain it. After sanding everything I added a layer of walnut brown stain that I then sanded down again. Now it’s time to add the final stain color, which is going to be a lighter brown color.

#NerdyGurdy #Fortran #HurdyGurdy #DIY

I’ve stained the body with a light brown color. The test piece I did was a bit too light, making it almost orange, so I tried to leave more of the dark brown base coat. I’m going to add another coat of the light brown color tomorrow, and then I need to start adding coats of polyurethane. I’m planning on doing at least three coats, maybe four. And it needs to dry for 12 hours between each coat, so it’s going to take a while.

#NerdyGurdy #Fortran #HurdyGurdy #DIY

Today I added the first coat of polyurethane to the smaller pieces. I have to wait at least 12 hours between each coat, so it’s going to take a few days to finish them. Once those are done, I’ll start on the body. I want to wait until it has dried for a few days before I start adding coats to it.

#NerdyGurdy #Fortran #HurdyGurdy #DIY #LaserCutting

I’ve added three coats of polyurethane to the keybox, keybox lid and some other parts. I hope that will be enough, it looks pretty thick.

I just added the first coat to the main body, and it’s starting to look really good.

Apparently it’s going to take two weeks for the polyurethane to harden fully. Since I’m going away to London for a few days next week that seems like good timing.

#NerdyGurdy #Fortran #HurdyGurdy #DIY #LaserCutting

I’ve added the last coating of polyurethane and now I’m going to let it harden fully before I polish it.

#NerdyGurdy #Fortran #HurdyGurdy #DIY #LaserCutting

I’ve let the polyurethane coating harden for two weeks. Now I’ve sanded the small pieces with 400 grit sandpaper followed by wet sanding with 600, 1000, 2000 and 2500 grit. After that I used a buffer pad on my drill to polish with two different polishing compounds.

#HurdyGurdy #NerdyGurdy #Fortran #DIY #3DPrinting #LaserCut

Now that the coating on the main body has hardened for two weeks as well, I’ve sandpapered it as well. I started with regular sandpaper at 400 grit. Then I moved on to wet sandpaper at 600, 1000, 2000 and finally 2500. It took me quite a while, so I need to rest a bit before I start with the polishing.

#HurdyGurdy #NerdyGurdy #Fortran #DIY #3DPrinting #LaserCut

Phew! I finally finished polishing with two different compounds, though I haven’t buffed it yet. That’ll have to wait until tomorrow.

#HurdyGurdy #NerdyGurdy #Fortran #DIY #3DPrinting #LaserCutting

Another day, another small step in the build process of my hurdy gurdy. Now that all the painting and coating and sanding and polishing is dine I can finally start mounting the pieces together. This step is just gluing on the black piece on top of the head where all the tuner pegs will be mounted.

#HurdyGurdy #NerdyGurdy #Fortran #DIY #build #making #3DPrinting #LaserCutting

The hurdy gurdy is starting to take shape. Today I went through page 39 to 48 in the build manual and added lots of small bits to the body. I finally got to mount some of the 3D printed pieces.

The manual I had printed was missing a build step, luckily I also double checked on an up-to-date pdf. It would’ve become obvious later though, and I think it wouldn’t have been a problem to mount those pieces then.

#HurdyGurdy #NerdyGurdy #Fortran #DIY #build #making #3DPrinting #LaserCutting

@ollej very shiny! 🤩
@skyr Yes! It was a lot of work, but it feels like it’s worth it now.
@ollej looking great! You got lucky with the wood grain of your soundbaord, its a really nice piece!
@Nonverbalpoetry Thanks. I have nothing to compare it to, but it looks nice. Apart from where I sanded through the top layer
@ollej Nice work. The #nerdyharpa was the first time I needed to bend wood. I just got my Fortran #NerdyGurdy and your posts are helping prepare me. Thank you
@tomwsmf I’m glad my posts are helpful to someone! I hope you post photos of your build as well.
@ollej finally somebody who listens to instructions 😂
@dec_hl I don’t want to make any unnecessary mistakes!
@ollej well, if you are not careful you'll end up like me: inked all over and a #HurdyGurdy hoarder 🤣
https://mastodon.social/deck/@dec_hl/111783646954806198
@dec_hl Those look really nice. I still don’t know how they are to play or if I’ll ever manage to learn how to play. So maybe I’ll manage to keep myself from buying more.
@ollej Do you have a link for the clamps?
Thank you!
@Siff Yes, it’s available on Thingiverse: https://www.thingiverse.com/thing:6517348
Glue clamps for musical instrument building by JaapBrand

Glue clamps for building musical instruments, for example the Nerdy Gurdy (https://www.nerdygurdy.nl).Hardware needed:M8 threaded rod (> 15 cm for Nerdy Gurdy)2 x M8 nut1 x butterfly nut, or some other nut that can be tightened by hand8mm washer (optional)Jaap BrandMarch 2024

Thingiverse
@ollej may your build be joyous and your wood bending smooth!
@tomwsmf Thank you! It’s going to take me a while. I don’t think I’ve done a build this big before.
@ollej so cool! Good luck and have fun assembling it!
Since the kit includes the metal parts this may be a non-issue, but: Take extra care that the wheel spins perfectly and has no wobble whatsoever. A wheel that moves back and forth while turning will constantly pull off the cotton wool from the strings - and that's not fun to play.
@skyr Thanks, I’m hoping it will be a fun build! And thanks for the tip. I’m hoping the included wheel and shaft will work well without too much work. But I’ll definitely make sure to be extra careful with the wheel.

@ollej the best part about these is they're actually really good playable instruments! You can turn up to a lesson or a workshop with one of these and nobody would bat an eye - the professional players I know also own nerdy gurdies as backup instruments, camping instruments, or as something I lend friends who want to try them out!

It's really worth getting the kit though - the wheel is really tricky to make if you're going full DIY and the comes pre-made with a properly lathe machined shaft instead of the inferior threaded rod of the thingiverse version.

@Nonverbalpoetry Yeah, the wheel seemed hard, didn’t even think of the shaft. The build seems hard enough without having to do that. I’m still not convinced I’ll be able to make it sound good.

I decided to buy the Fortran kit and have started making glue clamps and ordering some of the needed materials.

@ollej ohh good luck with the Fortran! It's definitely the hardest of the kit so make sure to take every step really slow and double check the instructions every step, and get everything as precisely aligned as possible.

I really recommend once it's built, get an online lesson with a hurdy teacher- almost all of the difference between a hold soh ding NG build and a terrible sounding one is setup, and that's something that a teacher can really help you with!

@Nonverbalpoetry Thanks for the tip. I’m definitely going to get an online lesson to get me going once I’ve managed to finish the build. Though I think that is going to take quite a while.
@ollej learning the maintenance on a gurdy does take a lot of practice, especially cotton - I've been at it for a year and still have bad setup days! But it's also such a rewarding, fun to play instrument that gets you absolutely hooked. I swear I've thought about nothing else for the last year now. You'll be surprised how quickly the kit comes together though!

@ollej

Impressive project.

Please do not take the following seriously, it is an attempt at humour.

"You'll be using hide glue of course. What type?"

(The joke here is the whole idea of telling someone how to do their own significant project.)
#HideGlue

@ollej good luck, I've built the original NG some years ago and it was a lot of fun.

PS: Listening to Eluveitie while building a HG is mandatory! 🤣

@dec_hl Thanks! It’s going well so far, but I’m taking it very slow. I haven’t listened to Eluveitie though, I guess I have to start now.