Ubuntu 4.10 Beta 09/15/2004 on a KT4AV MS-6712
Ubuntu 24.10 Oracular Oriole celebrates the 20th year anniversary of Ubuntu and Canonic by bringing in some of the vintage memories from the original version of Ubuntu, which is Ubuntu 4.10 Warty Warthog (aka. Sounder) released on October 20th, 2004. Let’s go back to 2004 and see the beta version of Ubuntu that was released on September 15th, 2004, with the fact that earlier beta versions going back as early as July 2004, when development started on May 7th, were spotted but not publicized due to lack of archival.
Let’s test the only publicly available beta version of Ubuntu 4.10 on a KT4AV MS-6712, using the same QEMU tricks as we’ve done when testing both Red Hat 7 Guinness and BeOS 5 PE Max.
The command that we’ve used to initiate the installation was this:
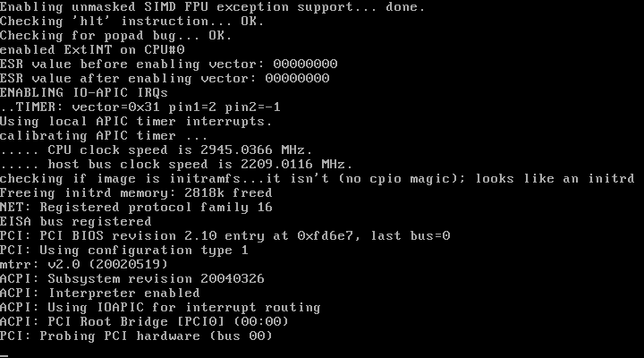
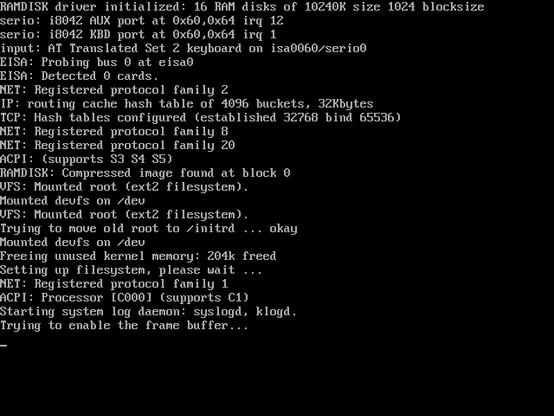
sudo qemu-system-i386 -m 512M -cpu athlon -drive file=/dev/sda -cdrom warty-i386.isoFirst, we’re greeted with a screen telling us to press ENTER to boot to the installation CD-ROM. After that, we saw few messages as Ubuntu starts up:
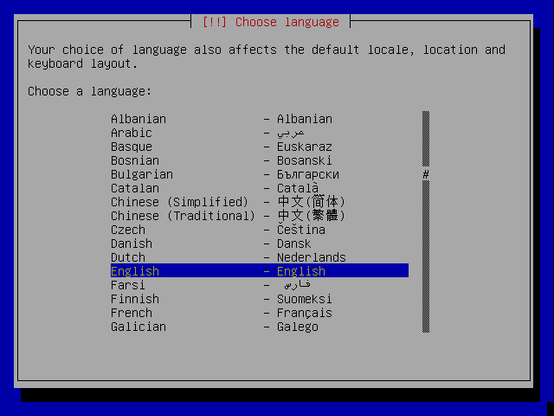
After that, we have been asked for language and for region.
Afterwards, the installer went through several stages, starting from detecting the CD-ROM reader to scanning the CD-ROM of Ubuntu to loading the components to network configuration, at which point it started asking for the hostname.
We’ve provided the host name in the below dialog box.
Afterwards, the installer started to detect the disks. Fortunately, the QEMU disk that directly talks to our host hard drive was detected. This was evidenced by the partitioning tool seeing our hard drive and its partitions.
As we didn’t want to format the whole disk due to the host system running on this hard disk, we’ve decided to start manually partitioning the disk by creating a new partition. Because we’ve already created it in the previous test, we’ve decided to reuse the partition by selecting it from the list.
When we’ve selected the partition, we’ve decided to use it as a root partition for the Ubuntu Warty Warthog installation.
As soon as we’re done partitioning, we’ve finalized the changes by confirming our selection, at which point the Ubuntu installer started installing the system.
From here, the installation starts.
As soon as the reboot had commenced, we’ve shut down QEMU and ran sync on the host system. Afterwards, we’ve reinstalled the host GRUB found in Arch Linux 32 and regenerated the boot menu file using the following command:
sudo grub-install --target=i386-pc /dev/sda
sudo grub-mkconfig -o /boot/grub/grub.cfg
We’ve rebooted into the new Ubuntu installation using the automatically generated boot entry. It was initially detected as a Debian testing system. Unfortunately, because the configuration between QEMU (HDD in the primary master) and the host machine (HDD in the secondary master) was different, we’ve seen a kernel panic message.
So, we’ve edited the boot entry inside GRUB to point to the correct root drive, which is /dev/hdc5. The boot entry was generated like this:
Why hdc? Because this Linux kernel makes the appropriate device block files for hard drives according to the BIOS settings. For example, if your hard drive is set as primary master, then it will be located at hda, secondary master as hdc, primary slave as hdb, secondary slave as hdd, and so on.
When we’ve made this change, Ubuntu started successfully.
Afterwards, the second-stage installation phase asked if the time zone was correct or not. Then, we’ve been asked to provide the full name, the username, and the password.
We were asked to decide whether we’re going to use Point-to-Point Protocol (PPP). As we don’t have a PPP modem or an ADSL account but a fiber-optic wireless internet, we’ve selected No. Furthermore, connecting such an old operating system to the Internet is not wise due to security concerns, and this version of Ubuntu didn’t support Wi-Fi, so we’ve declined using the Internet to download software.
Then, all the packages began installing and configuring themselves.
However, configuration differences have caused ubuntu-artwork and gdm to fail to install, because it was trying to query hda, which is non-existent. As a result, we’ve seen this screen.
We’ve edited both the /etc/fstab and the /boot/grub/device.map files to point to the correct drive. Afterwards, we’ve retried the installation of the failed packages, and it’s a success. The installation was a success!
We’ve run startx, and Ubuntu’s GUI based on GNOME 2.8 had started up like this:
The only problem was that the default screen resolution was 1280×960 according to both the system settings and the monitor information OSD as you can see below:
As soon as we’ve changed the resolution to 1024×768, we’ve seen the Ubuntu desktop in the more awesome form.
Then, we’ve run the glxtools and the glxgears programs to verify that the graphics acceleration existed.
It’s accelerated! It uses the hardware renderer provided by Mesa 4.0.4 written specifically for the Radeon 9200 series. The glxgears application said that it was running at 613 FPS.
We’ve rebooted the system, and GDM appeared, just like below.
#410Beta #Experiment #news #Tech #Technology #Tests #Ubuntu #Ubuntu410 #Ubuntu410Beta #Ubuntu410Warty #Ubuntu410WartyWarthog #UbuntuWarty #UbuntuWartyWarthog #warthog #warty #wartyWarthog